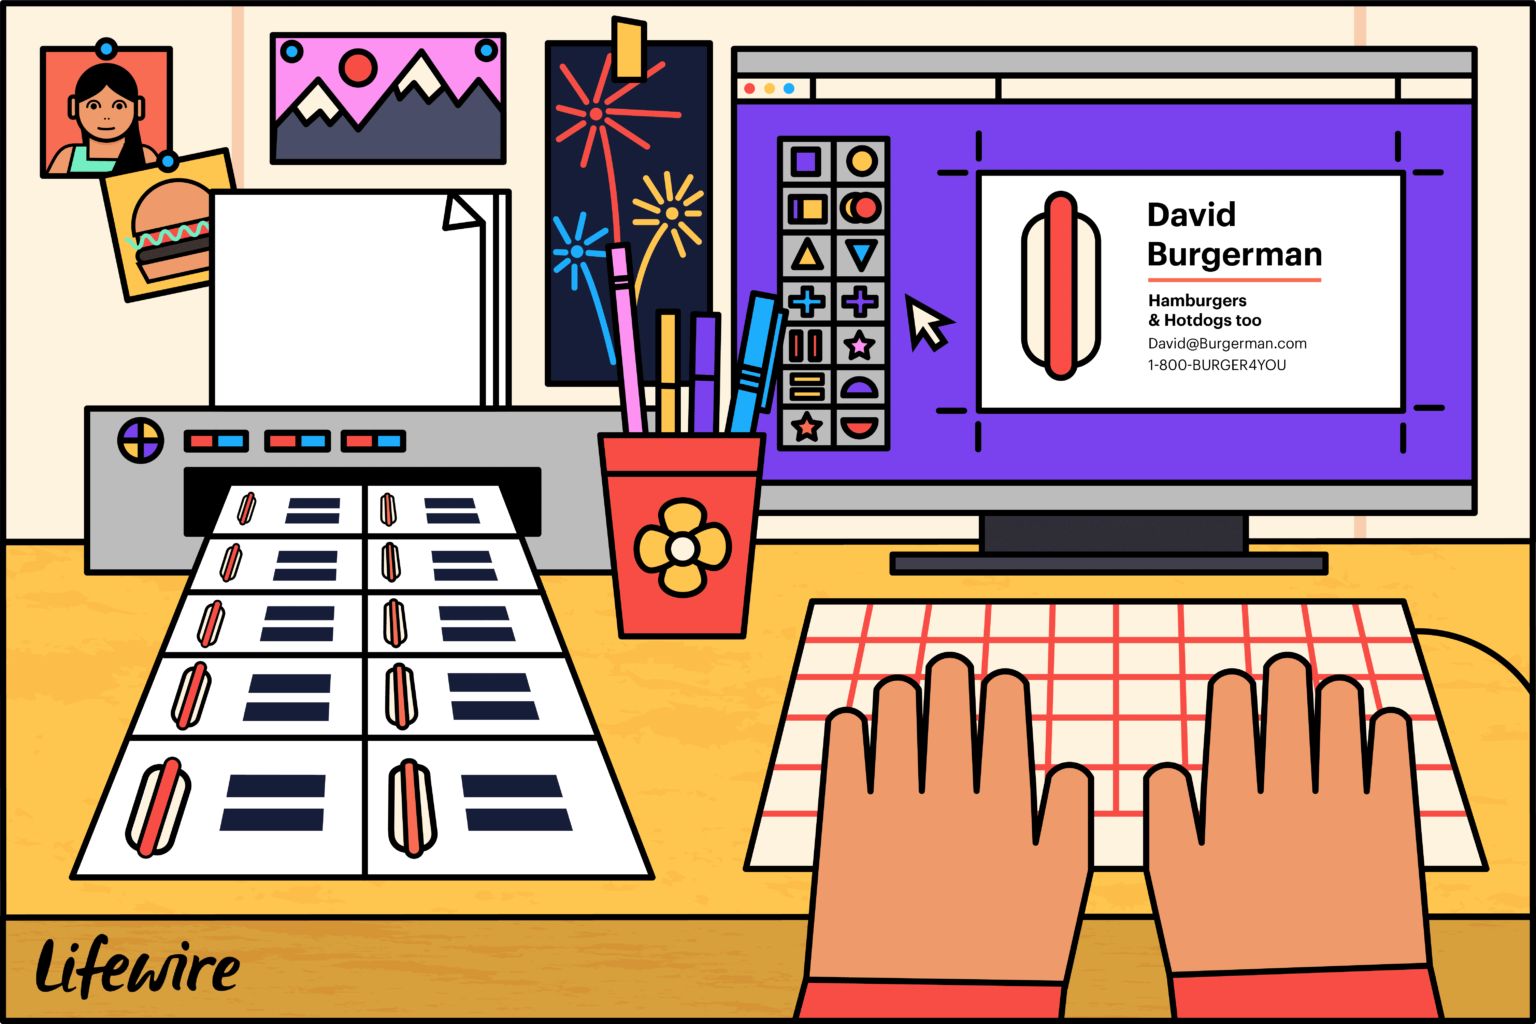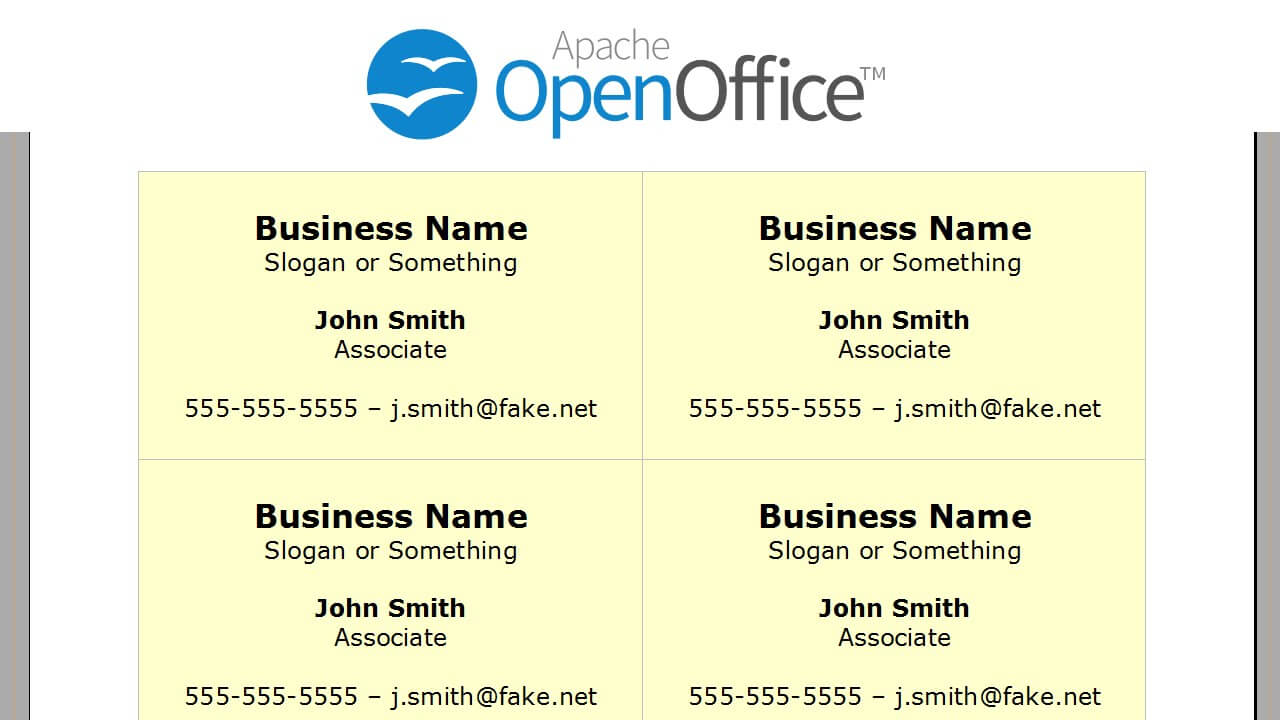
Whether you are an entrepreneur, freelancer, or business professional looking to network and make a lasting impression, having well-designed business cards is essential. While there are many design software options available, OpenOffice offers a versatile and cost-effective solution for creating professional business cards. In this article, we will guide you through the process of using OpenOffice to design and print your own unique business cards that reflect your brand and leave a memorable impact on potential clients and partners.
Why Choose OpenOffice for Business Card Design?

OpenOffice is a free and open-source office suite that provides various applications, including Writer, Calc, and Draw. This suite is a popular choice among individuals and businesses alike due to its user-friendly interface, extensive functionality, and compatibility with multiple operating systems.
Creating business cards in OpenOffice Draw allows you to harness its powerful graphic design capabilities, making it an ideal choice for designing visually appealing and professional cards. With the ability to customize templates, import images, and apply various fonts and colors, OpenOffice empowers you to fully express your creativity and create business cards that stand out from the crowd.
Step-by-Step Guide to Designing Business Cards in OpenOffice

Step 1: Gathering Information and Inspiration
Before diving into the design process, it’s important to gather all the necessary information that will be incorporated into your business card. This includes your name, title, contact details (such as phone number, email address, and website), and any other relevant information you wish to include.
Additionally, take some time to explore different business card designs online. Look for inspiration, noting the layouts, fonts, colors, and overall aesthetics that resonate with your brand. This step will help you conceptualize and visualize your own unique business card design.
Step 2: Setting Up the Document
To begin designing your business cards in OpenOffice Draw, you first need to set up the document with the correct dimensions.
- Open OpenOffice Draw.
- Go to File > New > Drawing.
- In the Format section, select Page.
- In the Page Format window, click on the Page tab.
- Set the page width and height to the dimensions of a standard business card, typically 3.5 inches by 2 inches.
- Adjust any other necessary settings such as orientation and margins.
- Click OK to create the new document.
Step 3: Designing Your Business Card
Now that you have set up the document, it’s time to unleash your creativity and design your business card based on your gathered information and inspiration.
- Start by selecting the Text tool from the Drawing toolbar on the left.
- Click and drag on the canvas to create a text box for your name, title, and other contact information.
- Choose an appropriate font and font size that aligns with your brand identity and promotes readability.
- Format the text by applying bold or italic styles, adjusting the spacing, and experimenting with different colors.
- Repeat the above steps to create additional text boxes for other information you wish to include, such as your slogan or tagline.
Step 4: Customizing the Layout
OpenOffice Draw offers flexible layout options to arrange elements on your business card. Experiment with different layouts to find the one that best presents your information and creates visual harmony.
- Use the Shape tools from the Drawing toolbar to add shapes, lines, or borders to your business card.
- Apply colors, gradients, or patterns to these shapes to enhance their visual appeal.
- Consider aligning your text boxes and other elements to create a visually balanced composition.
- You can also import your logo or other relevant images by going to Insert > Picture > From File. Resize and position them accordingly to ensure they contribute effectively to your overall design.
Step 5: Proofreading and Finalizing Your Design
After completing the design of your business card, take a moment to review and proofread all the information you have included. Check for any spelling or formatting errors to ensure a professional and polished final result.
Once you are satisfied with the design and content, it’s time to save your work and prepare it for printing.
Step 6: Printing Your Business Cards
To print your business cards using OpenOffice, follow these simple steps:
- Go to File > Print.
- Make sure your printer is selected and properly connected.
- Select the number of copies you want to print.
- Ensure the page orientation matches your business card design (typically, landscape for horizontal cards).
- Choose any other desired print settings.
- Click Print to start printing your business cards.
Conclusion
Designing and printing your own business cards using OpenOffice can be a rewarding and cost-effective solution. By selecting OpenOffice Draw as your tool of choice, you gain access to powerful graphic design features that allow you to create professional-looking business cards that reflect your brand identity.
Through the step-by-step guide provided in this article, you now have the confidence to unleash your creativity and design personalized business cards that leave a lasting impact on potential clients and partners. OpenOffice’s user-friendly interface ensures that even those with limited graphic design experience can successfully create visually appealing and well-crafted business cards. So go ahead, start designing, and make your mark in the business world with your unique and professionally designed business cards using OpenOffice!
Isabella, a branding guru, merges her love for storytelling with her marketing expertise. Her fascination with cultural diversity and travel lends a global perspective to her writing about business cards and graphic design. In her free time, she explores new cuisines and documents her culinary adventures.