
Are you looking for an easy and cost-effective way to create professional and eye-catching business cards? Look no further than Google Docs! With its user-friendly interface and powerful features, Google Docs offers a convenient solution for designing and printing business cards right from your computer. In this article, we will walk you through the step-by-step process of creating beautiful business cards using Google Docs. So, let’s get started!
Why Use Google Docs for Designing Business Cards?

Before diving into the details of creating business cards in Google Docs, it’s important to understand why it can be a great choice for this task. Here are a few reasons why using Google Docs for designing business cards is advantageous:
- Accessibility and Availability: Google Docs is a web-based platform, which means you can access it from any device with an internet connection. This makes it convenient and accessible, especially if you need to create business cards on the go.
- Collaboration Made Easy: Google Docs allows multiple users to work on the same document simultaneously. This feature is especially beneficial if you are collaborating with colleagues or clients on your business card design, as it enables real-time editing and feedback.
- Cost-effective Solution: Unlike some specialized software or design tools, Google Docs is free to use. This makes it an excellent choice for small businesses or individuals who want to create business cards without investing in expensive software or professional design services.
Now that you understand the advantages of using Google Docs, let’s move on to the step-by-step process of creating business cards in this versatile platform.
Step 1: Setting Up Your Document
To start creating your business cards in Google Docs, you need to set up the document with the appropriate dimensions and margins. Here’s how:
- Open Google Docs and click on “Blank” to create a new document.
- Click on “File” in the top menu, then select “Page setup.”
- In the “Page setup” dialogue box, click on the “Paper size” drop-down menu and choose “Custom.
- Enter the dimensions for your business cards. The standard size for business cards is 3.5 inches by 2 inches.
- Next, set the margins for your document. Typically, margins of 0.5 inches all around work well for business cards.
Once you’ve set up your document with the correct dimensions and margins, you’re ready to move on to the next step.
Step 2: Designing Your Business Card
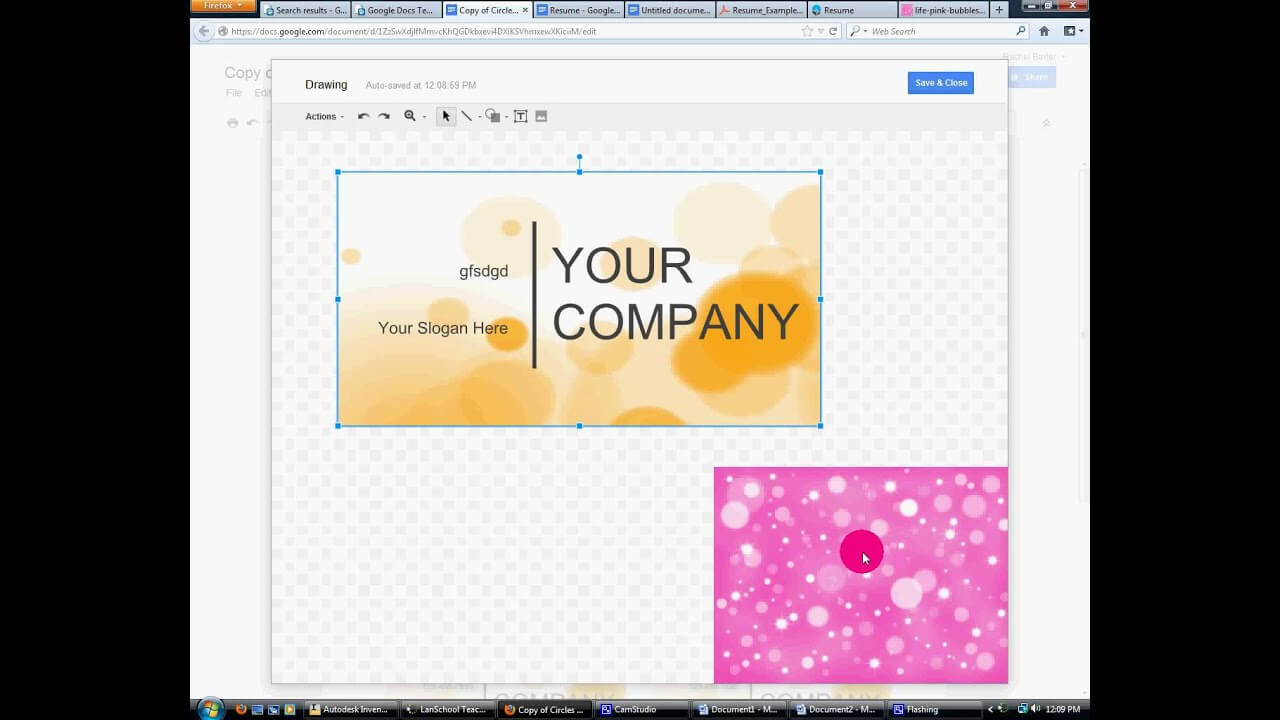
Now that you have your blank document ready, it’s time to unleash your creativity and design your business card. Google Docs offers a range of tools and features that allow you to customize the look and feel of your business cards. Here’s how you can design your business card:
- Insert a table: Click on the “Insert” tab in the top menu, then select “Table.” Choose a 2×5 table to create space for ten business cards on a single sheet of paper.
- Personalize your business card: Each cell in the table represents an individual business card. Add your logo, contact information, and any other details you want to include on your business card to each cell.
- Customize the design: Google Docs offers various options for customizing the design of your business cards. Experiment with font styles, sizes, and colors to create a visually appealing and professional look. You can also insert images or shapes to enhance the design.
- Add borders and shading: To make your business card stand out, consider adding borders or shading to specific elements. This can help create a sense of visual hierarchy and draw attention to important details.
Take your time during the design process, ensuring that your business card reflects your brand identity and communicates your message effectively. Once you are satisfied with the design, it’s time to move on to the final step.
Step 3: Printing Your Business Cards

After putting the finishing touches on your business cards, it’s time to prepare them for printing. Here’s what you need to do:
- Proofread and review: Before printing your business cards, make sure to carefully proofread all the text and double-check the design. Look for any spelling mistakes, alignment issues, or inconsistencies.
- Print a test sheet: Before printing a large number of business cards, it’s a good idea to print a test sheet to ensure everything looks as expected. Pay attention to the alignment, font size, and overall quality of the printed cards.
- Load the appropriate paper: To print your business cards, load the suitable paper into your printer. Use high-quality cardstock or professional-grade business card paper for the best results.
- Print your business cards: Once you’re confident that everything is in order, print your business cards. Make sure to select the correct paper size and printer settings to ensure accurate printing.
Congratulations! You have now successfully created and printed your business cards using Google Docs. Your next networking event or client meeting will surely be more memorable with these professional-looking cards.
Conclusion
By now, you should have a clear understanding of how to create business cards in Google Docs. This versatile platform offers a simple and efficient solution for designing and printing professional business cards, all without the need for specialized software or design skills. Whether you’re a small business owner, a freelancer, or an individual in need of business cards, Google Docs can be your go-to tool for this task. So, why wait? Give it a try and leave a lasting impression with your custom-made business cards in no time!
Ethan is a branding enthusiast and a master of storytelling. With a background in advertising, he leverages his expertise to explore the art of graphic design and its impact on business. In his free time, Ethan enjoys photography and capturing the world’s visual intricacies.