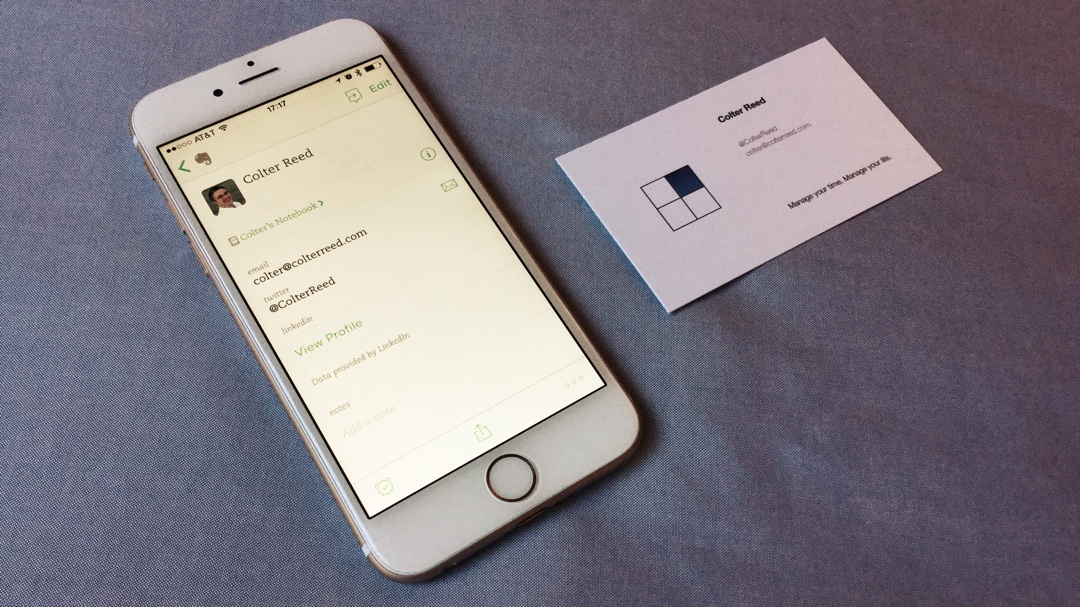
Are you tired of having a stack of business cards cluttering your desk or wallet? Do you struggle to keep track of important contact information? Look no further! In this article, we will guide you step by step on how to scan business cards into Evernote, a popular note-taking app that will help you stay organized and have all your contacts in one place.
Why Scan Business Cards into Evernote?

Before we delve into the details of how to scan business cards into Evernote, let’s first understand why you should consider using this method. Business cards are essential for networking and building professional relationships, but they can easily get lost or misplaced. By scanning your business cards into Evernote, you can enjoy several benefits:
- Digital Organization: With Evernote, you can store and manage all your business cards in a digital format, eliminating the need to carry physical cards everywhere you go.
- Quick and Easy Access: Once your business cards are stored in Evernote, you can access them from anywhere, anytime, using your smartphone, tablet, or computer.
- Searchable Contacts: Evernote’s powerful search function allows you to quickly find specific contacts by name, company, or any other keyword, saving you valuable time.
Now that you understand the advantages, let’s dive into the process of scanning business cards into Evernote.
Step 1: Gather the Required Tools

Before you begin scanning your business cards, make sure you have the necessary tools on hand. Here’s what you’ll need:
- Evernote App: Download and install the Evernote app on your smartphone or tablet. It’s available for both iOS and Android devices.
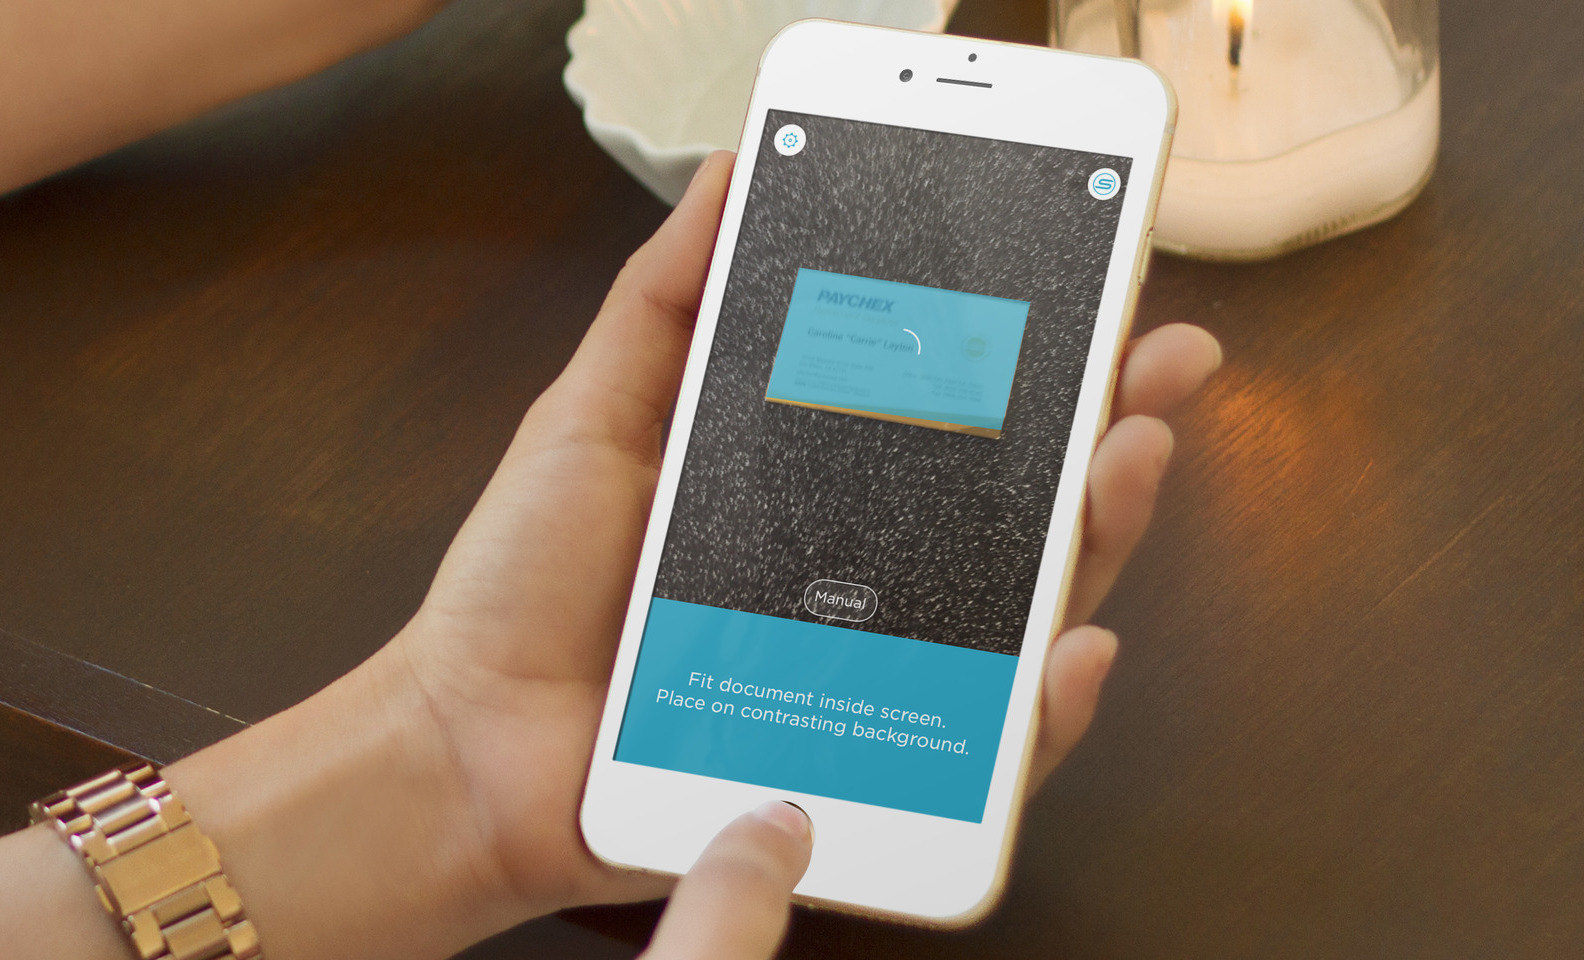
- Business Card Scanner: Invest in a reliable business card scanner to capture high-quality images of the cards. Several options are available, ranging from dedicated scanners to smartphone apps.
Step 2: Capture Business Card Images
Now that you are equipped with the necessary tools, it’s time to start scanning your business cards. Follow these steps to capture clear and legible images:
- Find Good Lighting: Locate a well-lit area to ensure optimal image quality. Avoid shadows or overly bright spots that may affect the clarity of the captured images.
- Position and Align the Card: Place the business card on a flat surface and align it to ensure that all information is visible within the frame.
- Open Evernote App: Launch the Evernote app on your smartphone or tablet. If you don’t have an Evernote account, sign up for oneâ_x0080__x0094_it’s free!
- Select “Camera” Feature: Tap on the camera icon within the Evernote app to access the in-app camera feature.
- Capture the Image: Position your device above the business card, ensuring that the entire card is within the frame. Steady your hand and tap the capture button to take the photo.
Step 3: Enhance and Organize Business Card Information

After capturing the necessary images, it’s time to enhance the scanned business cards and organize the information effectively. Follow these steps to ensure your Evernote contacts are clean and organized:
- Review the Image Clarity: Once you have captured the images, take a moment to review the clarity of each card. If any of the cards appear blurry or difficult to read, consider retaking the photo.
- Rotate and Crop: Evernote allows you to rotate and crop the image to remove any unwanted surrounding areas or skewed orientations. Tap on the captured image and use the available editing tools to make necessary adjustments.
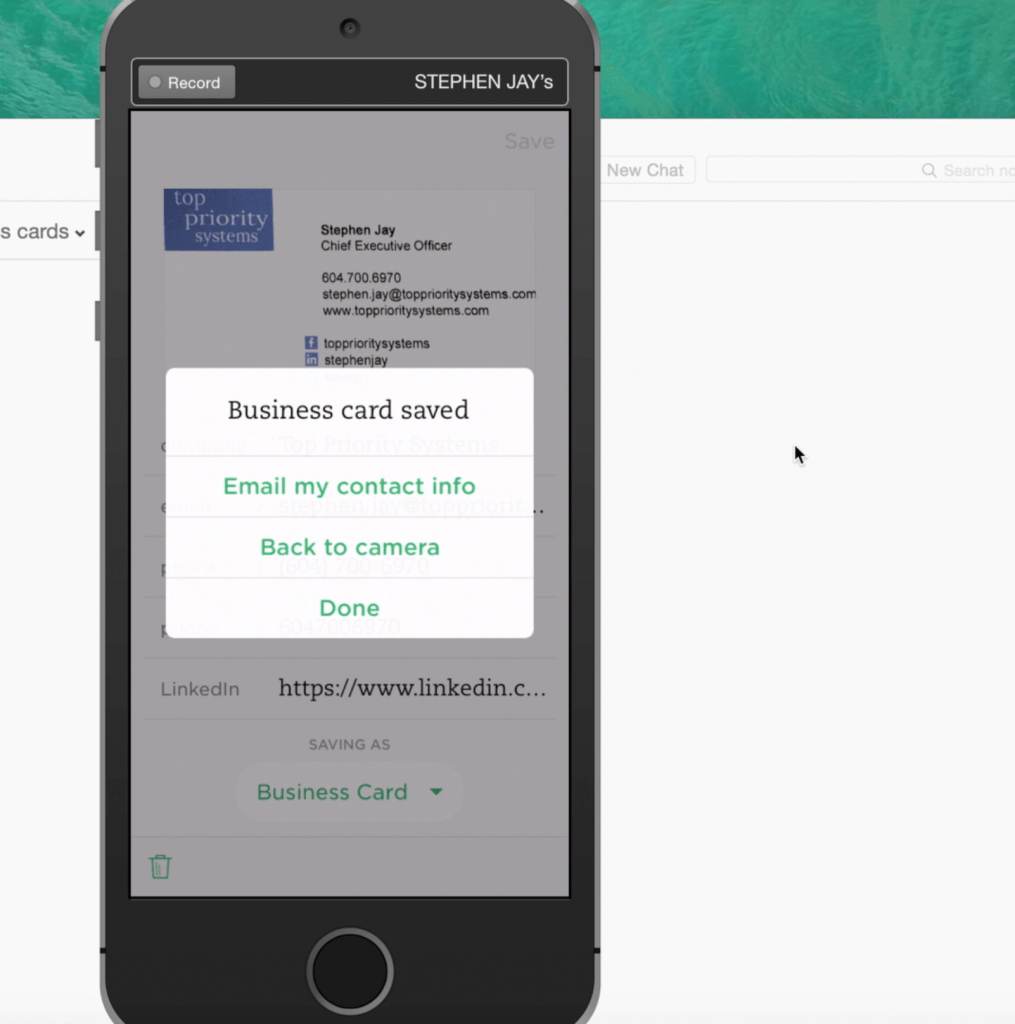
- OCR (Optical Character Recognition): Evernote has a built-in OCR feature that will automatically extract text from the scanned business cards. After capturing the image, Evernote will process the text and make it searchable within the app.
- Review Extracted Text: Once the OCR process is complete, review the extracted text for accuracy. Evernote does a commendable job, but sometimes errors occur, especially if the card has a unique design or font. Make any necessary corrections to ensure accurate information storage.
- Add Tags and Notes: To further enhance organization, utilize Evernote’s tagging system. Assign relevant tags to each business card, such as the person’s name, company, industry, or any other specific identifier. Additionally, consider adding notes to provide context or reminders about the contact.
Step 4: Sync and Access Your Evernote Contacts

Now that you have scanned and organized your business cards, it’s time to sync your Evernote account and access your contacts across all your devices. Follow these steps to ensure seamless integration:
- Sync Your Evernote Account: In the Evernote app, navigate to the settings menu. Select the option to sync your account, allowing all your scanned business card information to be saved and accessible across devices.
- Download Evernote on All Devices: Ensure that the Evernote app is installed on all your devices, including smartphones, tablets, and computers. This will grant you access to your contacts from any device, wherever you are.
- Enable Sync Function: Within the settings of each device’s Evernote app, ensure that the sync feature is enabled. This will ensure that any updates or changes made on one device are reflected on all other devices.
Conclusion

By following these simple steps, you can easily scan your business cards into Evernote and enjoy the convenience of having all your contacts in one easily accessible location. With Evernote’s powerful search function and synchronized account, you’ll never have to worry about losing or misplacing important contact information again. So, start scanning and start organizing today!
Samuel Anderson, a branding connoisseur, brings his knack for design and a strong marketing background to the forefront. He’s a voracious reader and enjoys delving into psychology, which he incorporates into his marketing strategies for business cards and brand development.