
If you’re looking for a cost-effective and convenient way to create professional business cards, look no further than Google Docs. As a versatile and user-friendly online document editing platform, Google Docs offers various tools and features that can help you design and customize your business cards. In this article, we will guide you through the step-by-step process of using Google Docs to create impressive business cards that effectively showcase your brand or personal information.
Getting Started with Google Docs
Before diving into the specifics of creating business cards with Google Docs, it’s important to familiarize yourself with the platform. Google Docs is a web-based document editing application that allows you to create, edit, and collaborate on various documents, including business cards. To access Google Docs, simply open a web browser and navigate to docs.google.com.
Once you are on the Google Docs homepage, sign in to your Google account or create a new one if you don’t already have one. Creating a Google account is free and only takes a few minutes. Once you’re signed in, you’ll have access to the full range of Google Docs features.
Designing Your Business Card
Now that you’re logged in to Google Docs, it’s time to start designing your business card. Follow these simple steps:
- Open a new Google Docs document by clicking on the “+ New” button in the top left corner of the screen.
- In the newly opened document, click on “File” in the top left corner and select “Page setup” from the drop-down menu. Adjust the page setup settings to match the dimensions of a standard business card, which is typically 3.5 inches by 2 inches.
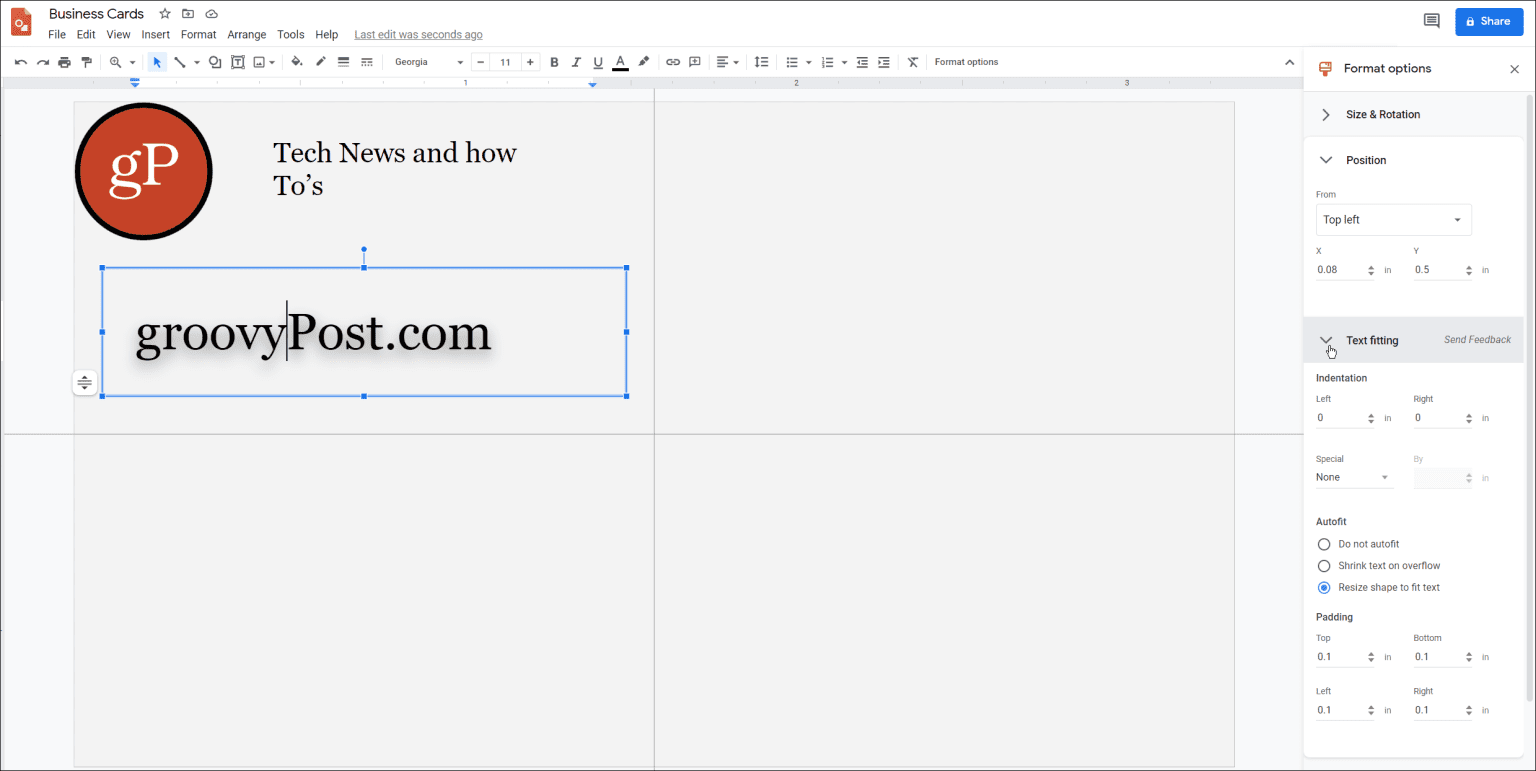
- Next, you’ll want to set up the layout of your business card. Click on “Insert” in the top menu and select “Table” from the drop-down menu. Choose a table layout that fits your desired design, such as a 2×5 table for ten business cards on a single page.
- Customize the appearance of your table by adjusting the border thickness, color, and cell alignment. Right-click on the table and select “Table properties” to access these settings.
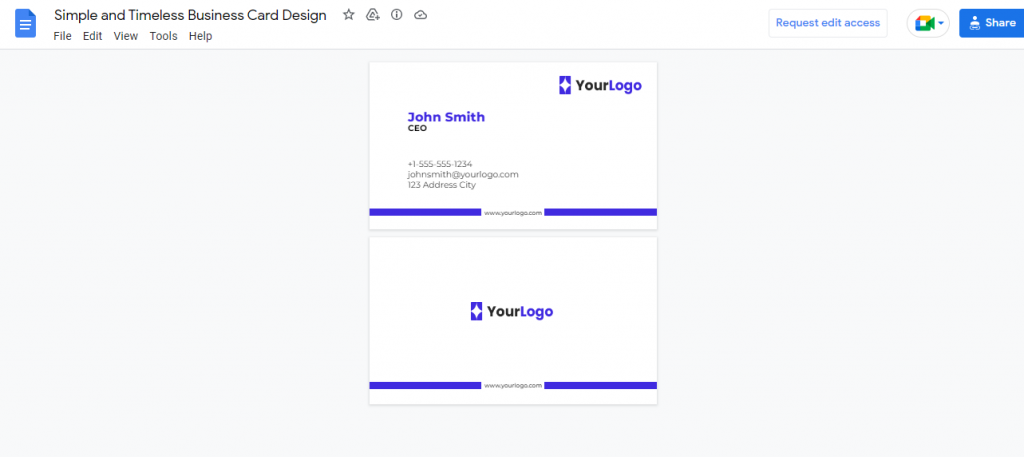
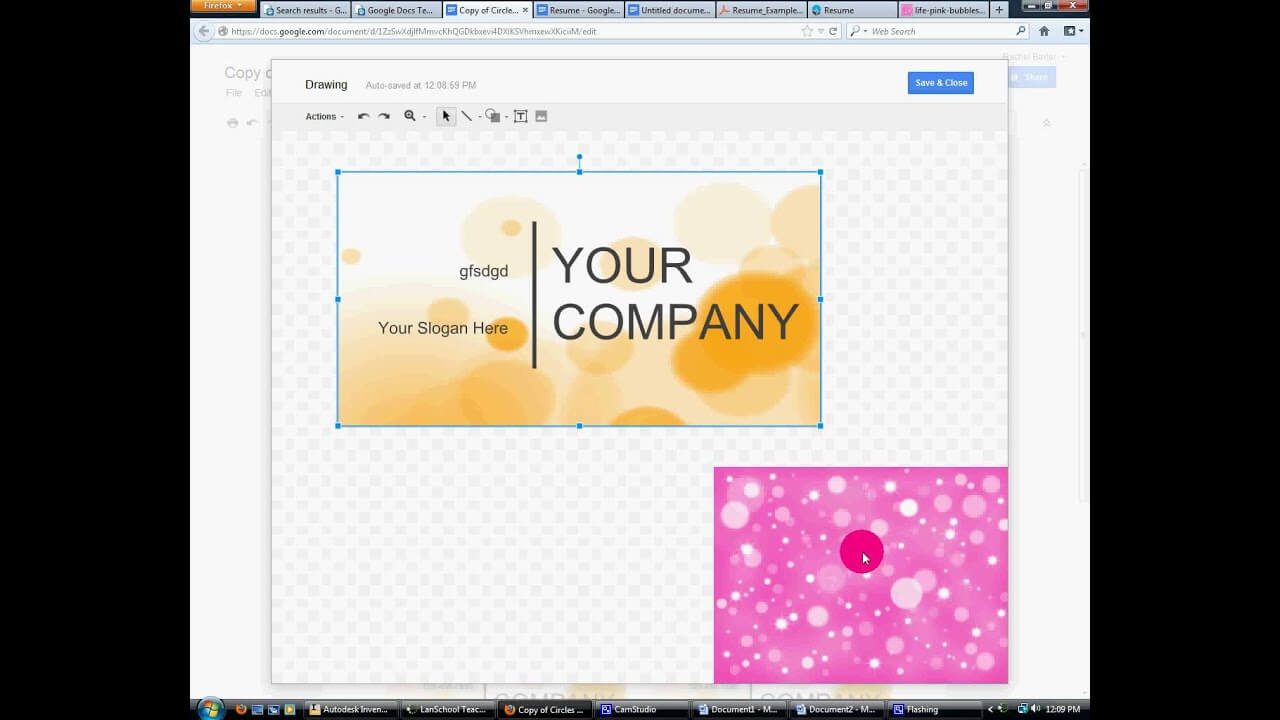
- Fill each individual table cell with your desired business card content, such as your name, job title, contact information, and any additional graphics or branding elements. You can add text boxes, shapes, and images by clicking on the respective icons in the top menu.
Formatting and Customization Options
Google Docs provides a range of formatting and customization options to enhance the look and feel of your business cards. Here are a few key options to consider:
Font Selection and Styling
To choose the right font for your business cards, click on the “Font” drop-down menu in the top menu and explore the various font options available. Consider selecting a professional and easy-to-read font that aligns with your brand identity. You can also adjust the font size, color, and style (bold, italic, underline) to fit your preferences.
Color Schemes and Backgrounds
To give your business cards a visually appealing look, experiment with different color schemes and backgrounds. Google Docs offers a variety of predefined color palettes that you can access by clicking on the “More” option in the “Line color” or “Fill color” menus. Alternatively, you can use the “Custom” option to choose a specific color using the RGB or HEX code.
Templates and Add-ons
In addition to the built-in formatting options, Google Docs offers a wide range of templates and add-ons that can further streamline your business card creation process. To access these resources, click on the “Template gallery” option under the “File” menu. Browse through the available templates or use the search bar to find specific business card templates that suit your needs.
Printing and Sharing Your Business Cards
Once you are satisfied with the design and formatting of your business cards, it’s time to print and share them. Follow these steps to complete the process:
- Click on the “File” menu and select “Print” from the drop-down menu. Review the print preview to ensure that the layout and content appear as intended.
- Adjust the print settings as necessary, such as the number of copies and the printer selection. Make sure you have appropriate business card paper on hand.
- Click “Print” to initiate the printing process. Once the printing is complete, carefully cut out each individual business card using scissors or a paper cutter.
- Share your business cards electronically by clicking on the “File” menu and selecting “Download” from the drop-down menu. Choose the appropriate file format, such as PDF or JPEG, and save the file to your computer. You can then attach the file to emails or upload it to your website or social media profiles.
Congratulations! You have successfully created professional business cards using Google Docs. By utilizing the platform’s features and customization options, you can design and customize business cards that stand out and effectively represent your brand or professional identity.
In conclusion, Google Docs is a powerful and accessible tool for designing and creating business cards. With its intuitive interface and extensive customization options, you can easily create personalized business cards without the need for specialized design software. Start exploring the possibilities today and showcase your brand in a professional and memorable way with Google Docs.
Ethan is a branding enthusiast and a master of storytelling. With a background in advertising, he leverages his expertise to explore the art of graphic design and its impact on business. In his free time, Ethan enjoys photography and capturing the world’s visual intricacies.