Creating your own business cards can be a fun and cost-effective way to showcase your brand and leave a lasting impression on potential clients. With the help of a Cricut machine, you can take your business card design to the next level by adding custom elements and personalized touches. In this step-by-step guide, we will walk you through the process of making business cards on Cricut, ensuring that you end up with professional-looking cards that accurately reflect your brand identity.
Gather Your Materials
Before you start designing and cutting your business cards on Cricut, make sure you have all the necessary materials and tools at hand. Here’s a checklist to help you get organized:
- Cricut machine (such as the Cricut Explore or Cricut Maker)
- Cricut Design Space software (available online or as a downloadable app)
- Cardstock or specialty paper for your business cards
- Cricut cutting mat (appropriate for your chosen materials)
- Cricut fine-point blade
- Optional: scoring tool (if you want to add fold lines to your cards)
- Optional: adhesive or glue (if you plan on adding layers to your cards)
Once you have gathered all the necessary materials, you’re ready to start designing your business cards on Cricut.
Designing Your Business Cards
- Launch Cricut Design Space on your computer or device and create a new project.
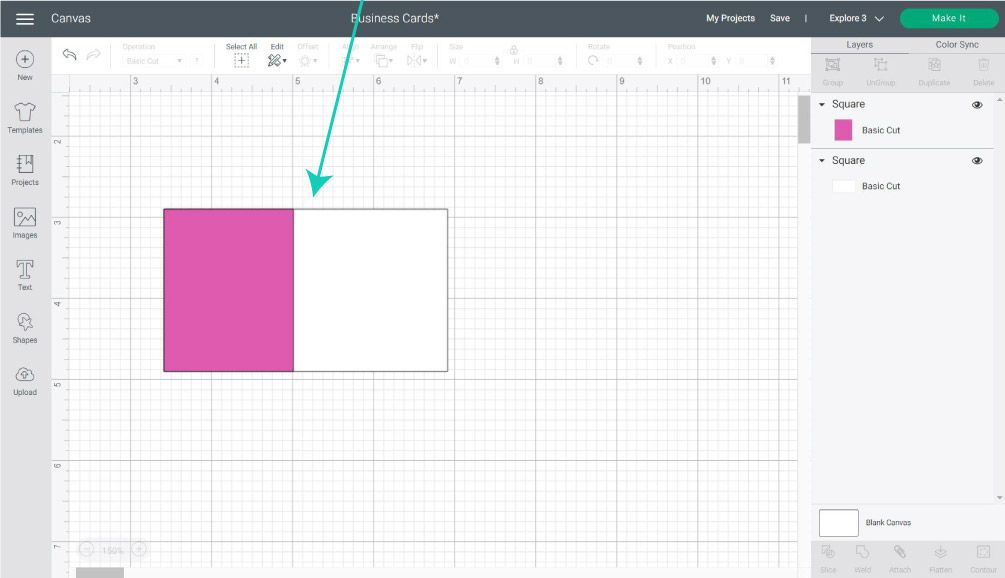
- Choose your card size. Standard business cards typically measure 3.5 inches by 2 inches, but you can also opt for a custom size. Adjust the dimensions accordingly in Design Space.
- Select your preferred design elements. Cricut Design Space offers a wide range of ready-made templates, shapes, fonts, and images to choose from. Alternatively, you can also upload your own design files.
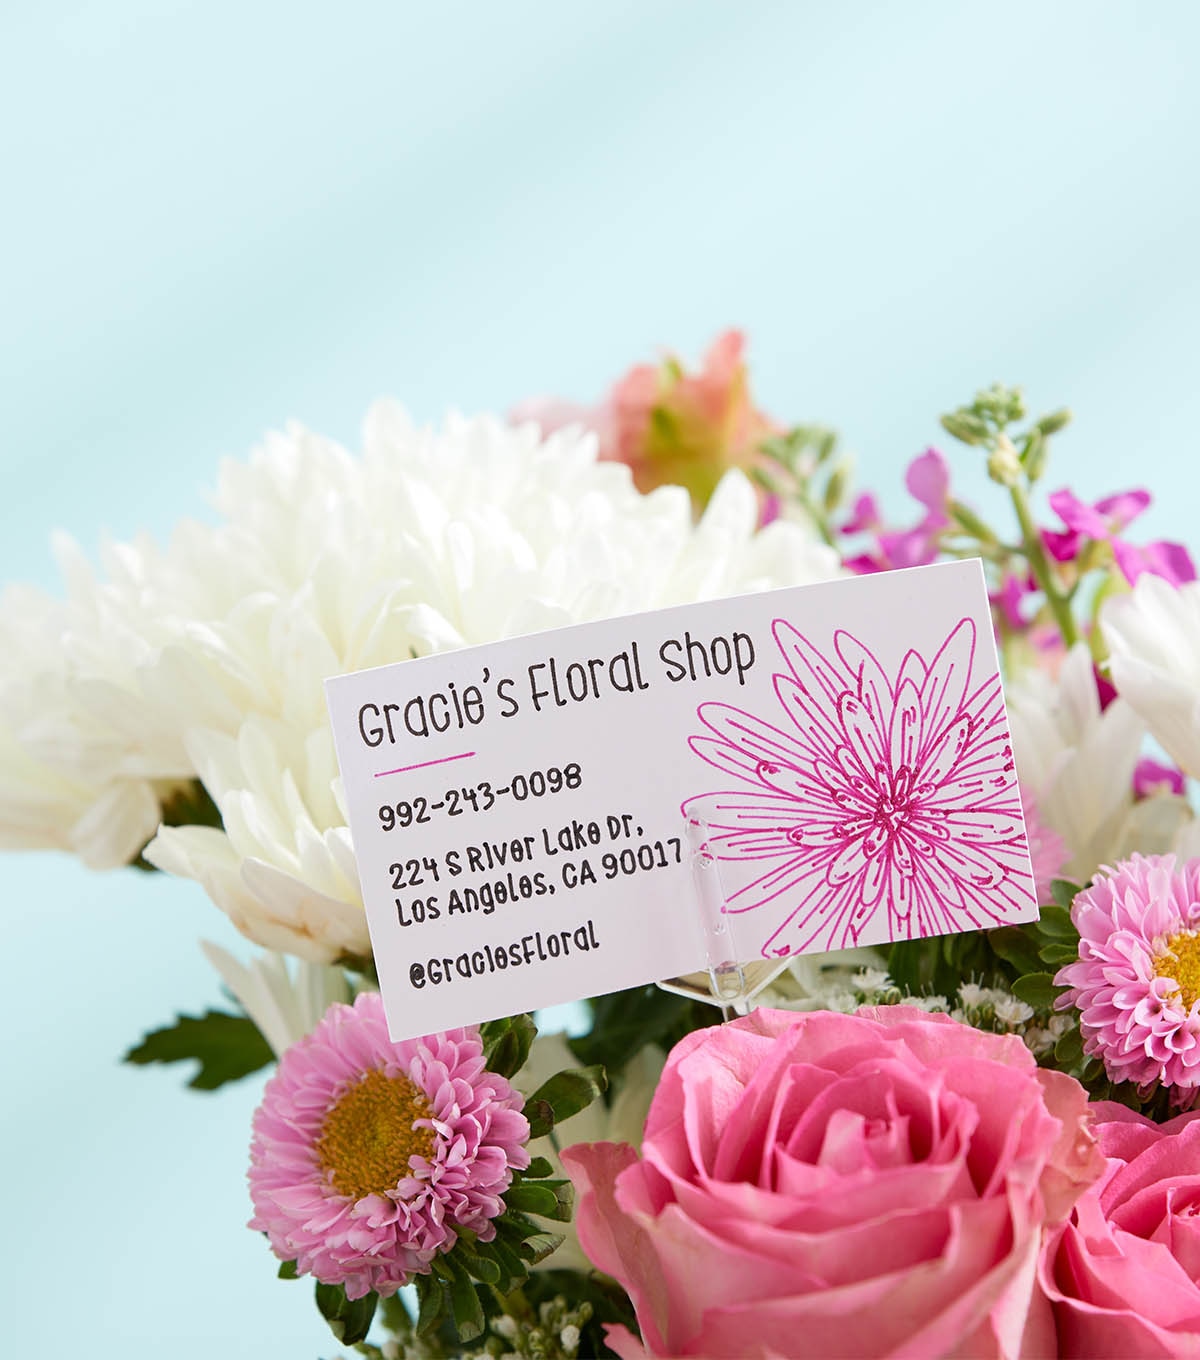
- Customize your business card. Personalize your design by adding your logo, contact information, social media handles, or any other relevant details.
- Organize your design elements on the canvas. Make sure they fit within the dimensions of your chosen card size and leave enough space for cutting and trimming.
- Review your design and make any necessary adjustments. Double-check the positioning and sizing of your elements to ensure they will be cut accurately.
Preparing for Cutting
- Once you are satisfied with your design, click on the “Make It” button in Design Space.
- Design Space will prompt you to connect your Cricut machine to your computer or device if it isn’t already.
- Select your material. Choose the type of paper or cardstock you will be using for your business cards from the list of options in Design Space. This ensures that the machine will adjust its settings accordingly for optimal cutting.
- Load your chosen material onto the Cricut cutting mat. Make sure the paper or cardstock is secured firmly onto the mat to prevent any movement during cutting.
Cutting Your Business Cards
- Place the loaded cutting mat into your Cricut machine.
- Follow the on-screen instructions in Design Space to set your machine’s cutting parameters (such as blade pressure and speed).
- Once your settings are confirmed, press the “Go” or “Cut” button to begin the cutting process.
- Sit back and let your Cricut machine work its magic. It will precisely cut out your business cards according to the design you created.
Assembling and Finishing Touches

- Once the cutting process is complete, carefully remove the cut business cards from the cutting mat.
- If you’ve added fold lines to your design, use a scoring tool or a bone folder to create crisp and clean folds.
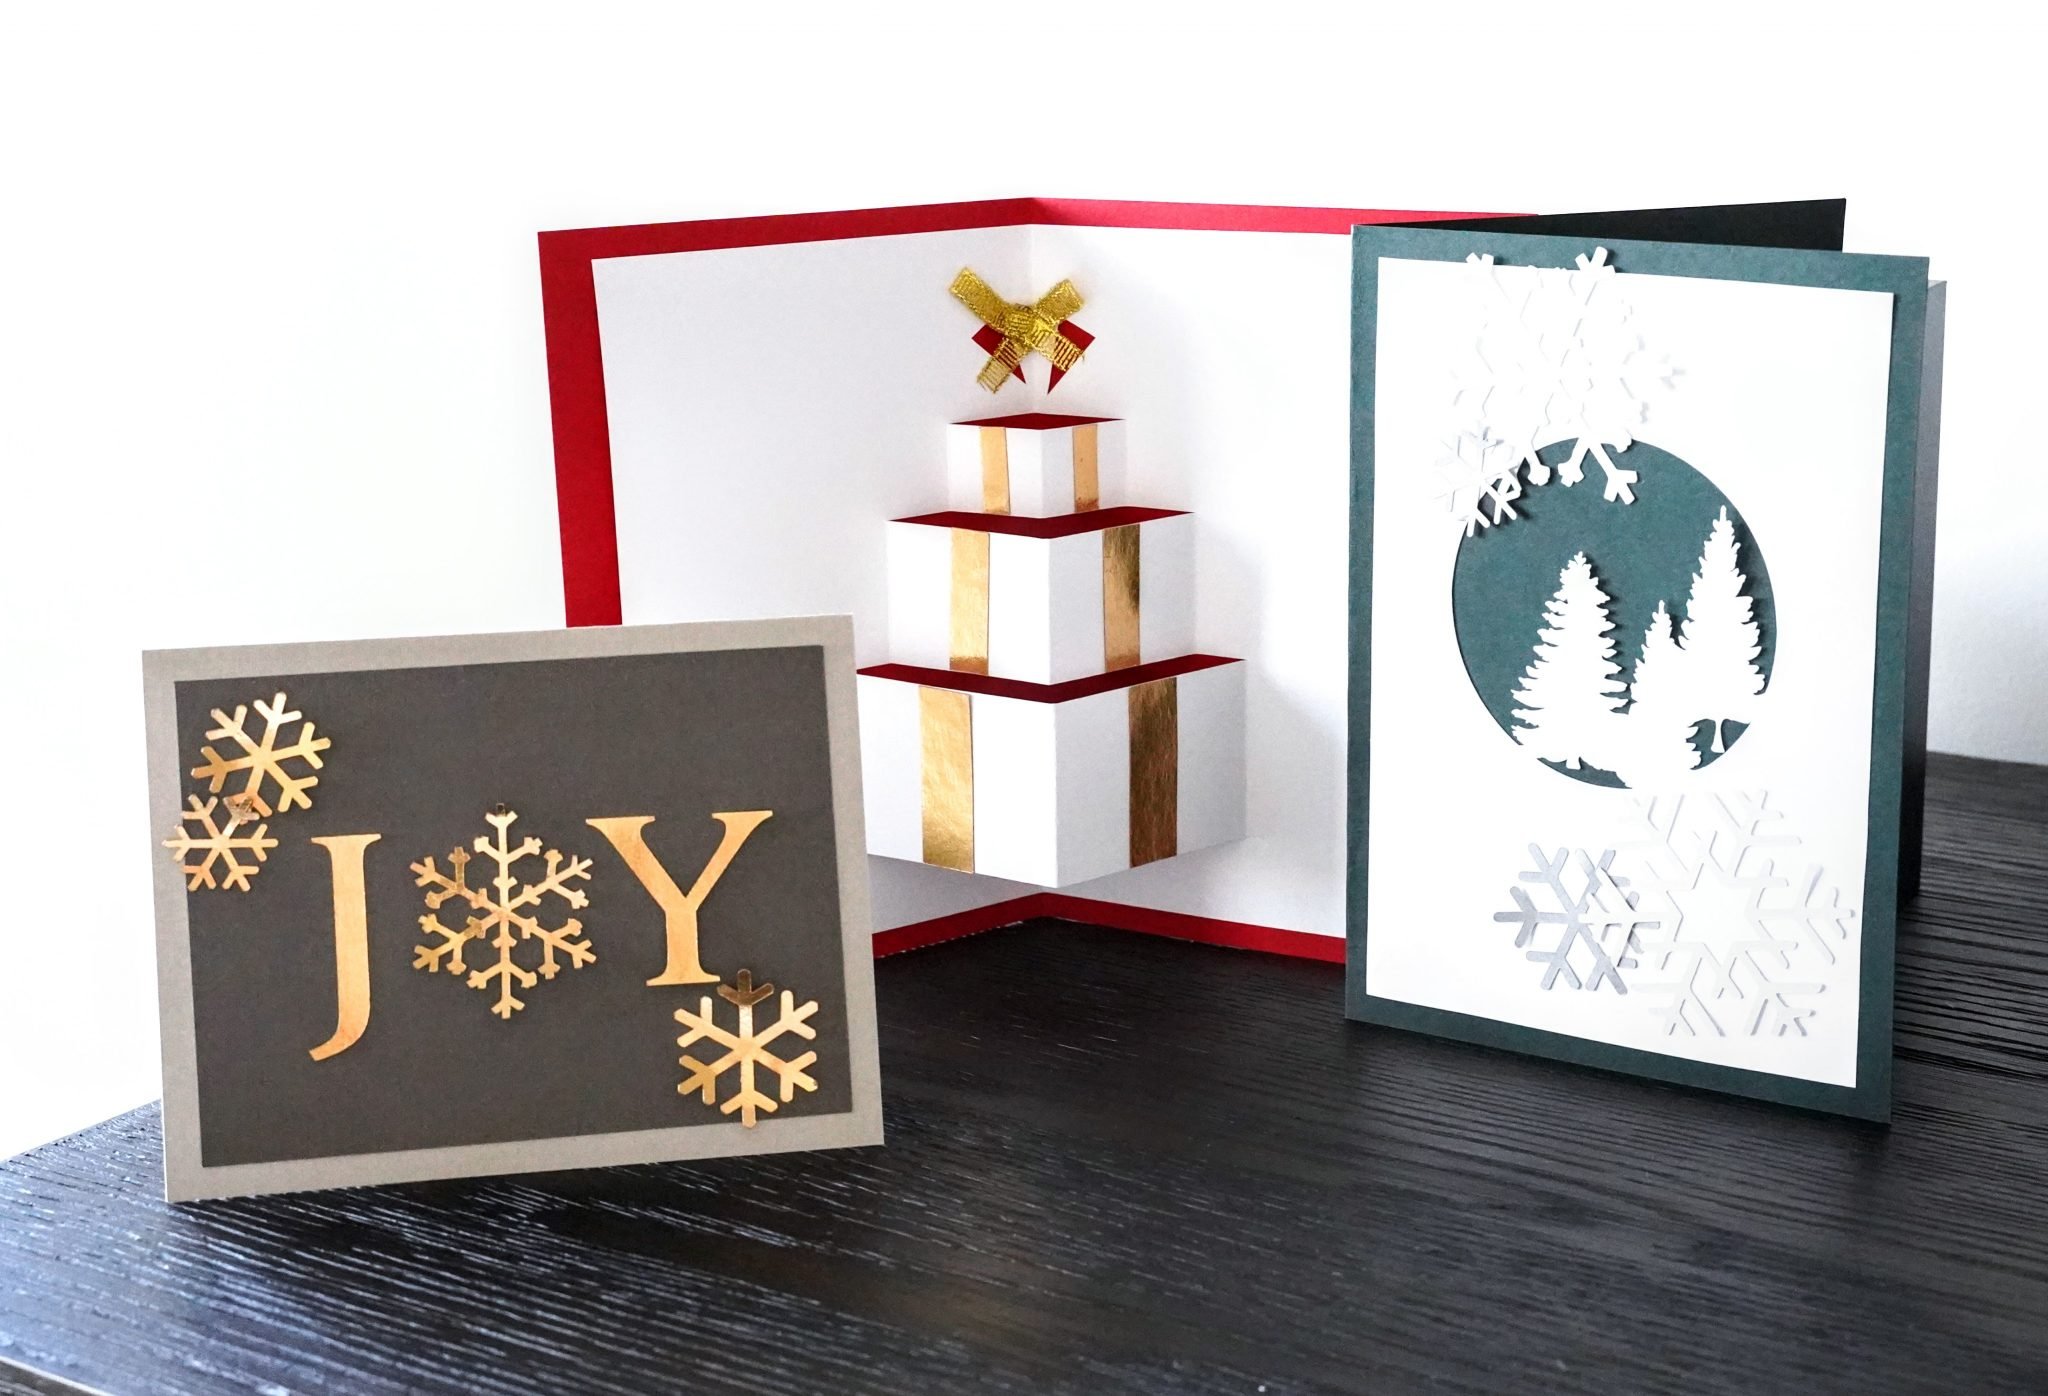
- If desired, add extra layers or elements to your cards using adhesive or glue. This can include items such as foil accents, embossed designs, or even handwritten notes.
- Give your business cards a final once-over to ensure they are free from any imperfections or debris.
Conclusion
With the help of a Cricut machine, designing and producing your own business cards has never been easier. By following the step-by-step guide outlined above, you can create personalized and professional-looking cards that leave a lasting impression on potential clients. Remember to experiment with different designs, materials, and finishing touches to truly showcase your unique brand identity. So go ahead, make business cards on Cricut and take your networking game to the next level.
Olivia Reynolds, a marketing maven, is passionate about the impact of graphic design on brand success. Her love for outdoor adventures and travel fuels her fresh perspective on the importance of visual aesthetics in business cards and branding.