
Are you tired of manually entering contact information into your Outlook address book? Do you attend networking events or receive business cards regularly and wish there was an easier way to import them? Look no further, as this article will guide you on how to effortlessly import business cards into Outlook, streamlining your contact management process and saving you valuable time.
Understanding the Importance of Business Cards for Networking
Before diving into the process of importing business cards into Outlook, it’s essential to recognize the significance of business cards as a networking tool. Even in today’s digital age, business cards remain a fundamental way to exchange contact information in various professional settings. They provide a tangible connection and enable individuals to make a lasting impression. However, manually inputting each contact’s details into your address book can be time-consuming and error-prone.
Step-by-Step Guide on Importing Business Cards into Outlook
Step 1: Gather Your Business Cards
First, gather all the business cards you wish to import into Outlook. Ensure they are in good condition, readable, and free from any smudges or damage. Having a well-organized collection of business cards will make the rest of the process smooth and efficient.
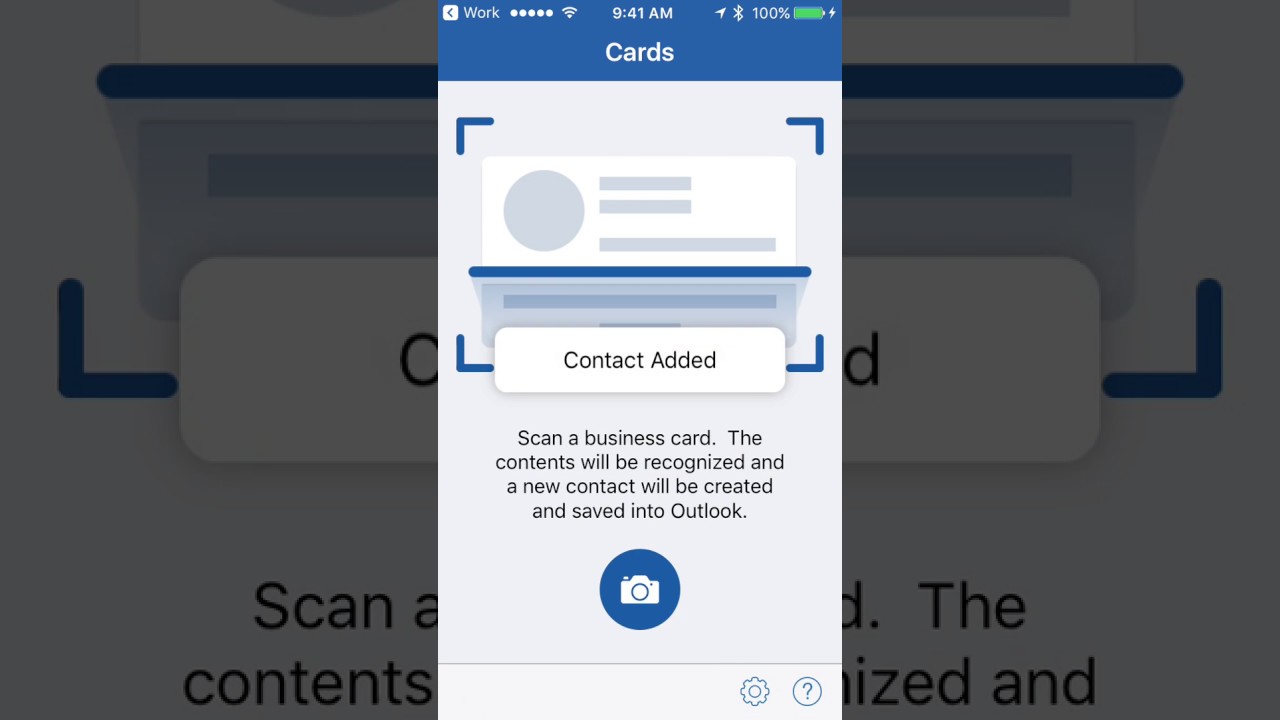
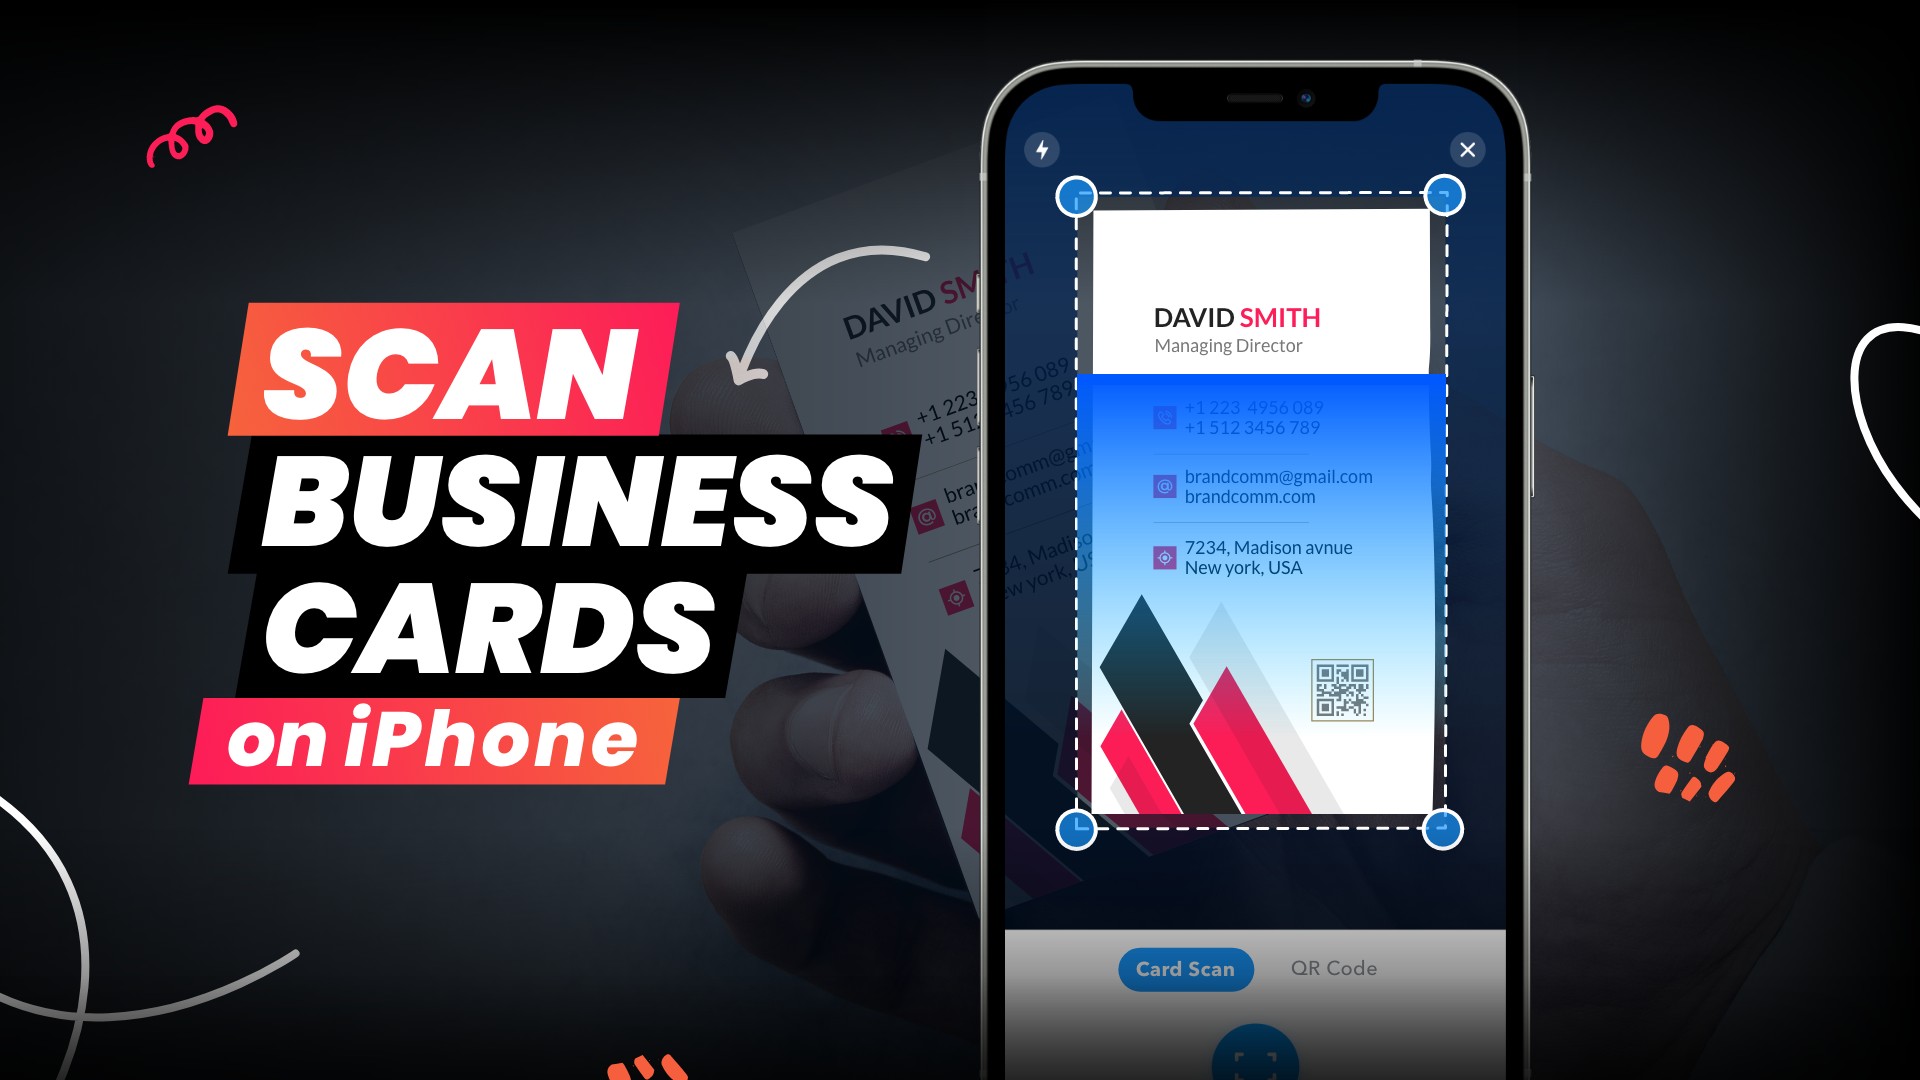
Step 2: Scan the Business Cards
Once you have your business cards ready, the next step is to digitize them. Use a high-quality scanner to create digital copies of each card. Make sure the resultant files are clear and legible. You can save the scanned cards as image files, such as JPEG or PNG, to easily transfer them to your computer.
Step 3: Create a New Contact Folder in Outlook
Open Outlook and create a new folder specifically for these imported contacts. To do this, follow these simple steps:
- In Outlook, navigate to your Contacts section.
- Right-click on the existing folder list and select “New Folder”.
- Name the folder something relevant, like “Imported Business Cards”.
Step 4: Convert the Scanned Cards to vCard Format
To import the business cards into Outlook, you will need to convert the scanned image files into vCard format. vCard is a standard file format used for electronic business cards. Several online tools and software are available that can help you convert the scanned images to vCards, such as Adobe Acrobat or specialized business card scanning software.
Step 5: Import the vCard Files into Outlook
Now, it’s time to import the converted vCards into your Outlook address book. Follow these steps:
- In Outlook, navigate to the “Import and Export” option. (Note: The location of this option may vary depending on the version of Outlook you are using.)
- Select the “Import from another program or file” option and click “Next”.
- Choose the vCard (VCF) file format and click “Next”.
- Browse and locate the folder where you saved the converted vCards.
- Select the vCard files you want to import and click “Next”.
- Choose the destination folder for the imported contacts (e.g., the folder you created in Step 3) and click “Finish”.
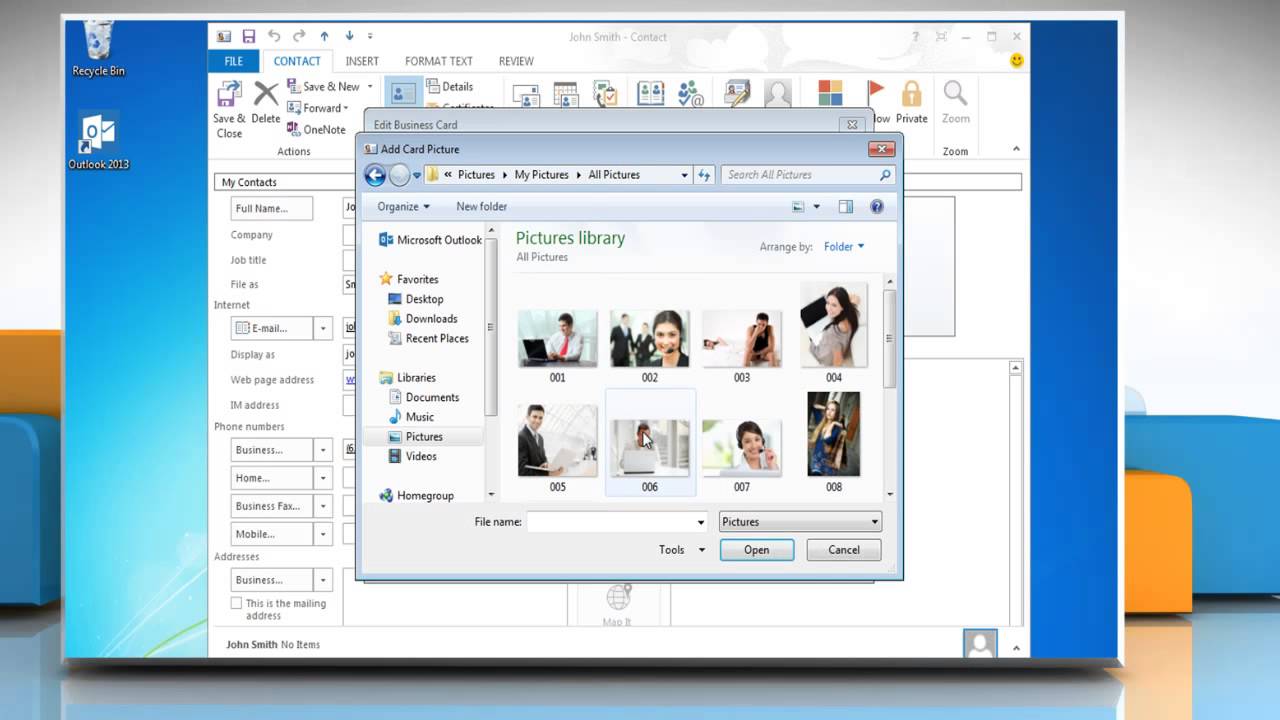
Step 6: Review and Edit Imported Contacts
After importing the vCards into Outlook, take some time to review the imported contacts. It’s possible that some fields may not have been accurately recognized during the conversion process. Ensure that all the contact details are correct and make any necessary edits or additions.
Best Practices for Managing Imported Business Cards in Outlook
To optimize your experience with managing imported business cards in Outlook, consider implementing the following best practices:
1. Regularly Sync Your Outlook with Other Devices
To ensure you always have access to your updated contact list, set up regular syncing between your Outlook account and other devices like your smartphone or tablet. This way, you can easily refer to your contacts while on the go or during important business meetings.
2. Utilize Categorization and Tagging
Take advantage of Outlook’s categorization and tagging features to organize your imported contacts effectively. Create custom categories or tags based on industry, location, or any other relevant criteria that will help you find and filter contacts quickly.
3. Backup Your Outlook Data
Regularly back up your Outlook data, including your imported business cards. This precautionary measure ensures that you don’t lose any vital contact information in the event of a computer crash or accidental deletion.
4. Update Contact Information Promptly
As your contacts progress in their professional lives, their information might change. Make it a habit to update your contacts’ details promptly when you receive notifications of any changes, ensuring the accuracy of your address book.
Conclusion
Importing business cards into Outlook can significantly streamline your contact management process and save you valuable time when networking. Take advantage of the step-by-step guide outlined in this article and effortlessly digitize your business cards to have a well-organized and easily accessible digital address book. By following best practices and staying proactive in maintaining your contacts, you’ll maximize the benefits of this powerful feature within Outlook. So, what are you waiting for? Start importing your business cards into Outlook today and enjoy a more efficient and organized approach to managing your professional connections.
Samuel Anderson, a branding connoisseur, brings his knack for design and a strong marketing background to the forefront. He’s a voracious reader and enjoys delving into psychology, which he incorporates into his marketing strategies for business cards and brand development.