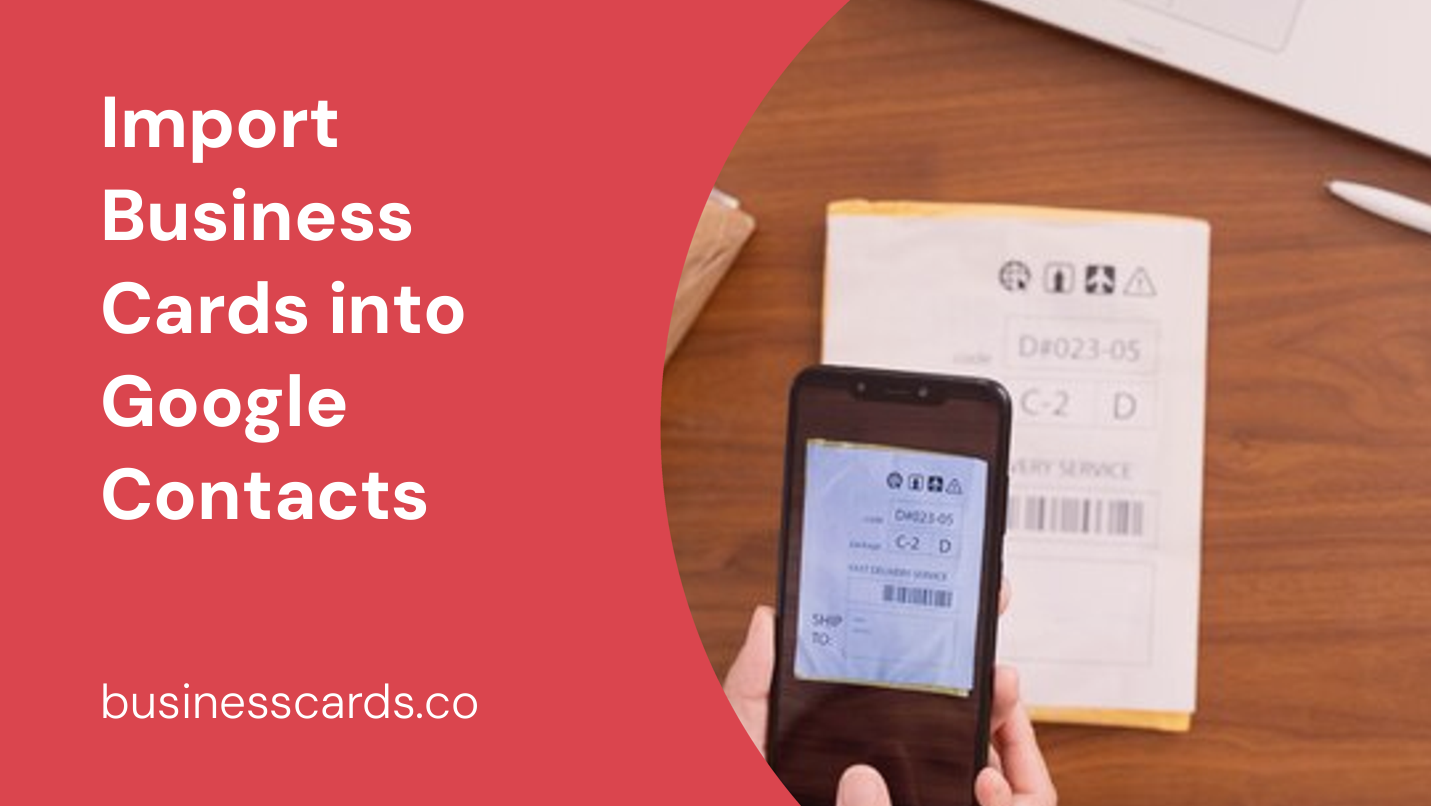
Are you tired of manually typing in contact information from all the business cards you’ve collected? Luckily, there’s a simple solution: importing business cards into Google Contacts. With Google Contacts, you can easily organize and access all your contacts in one place. In this article, we’ll guide you through the process of importing business cards into Google Contacts, saving you time and effort in managing your contacts.
Why Import Business Cards into Google Contacts?
Managing business cards can be a hassle. They can pile up quickly and easily get lost or misplaced. By importing business cards into Google Contacts, you can eliminate the need for physical storage and have all your contacts readily accessible from any device with an internet connection. Plus, Google Contacts offers powerful search and filtering options, making it easy to find the contact information you need at any given moment.
Step 1: Collect Digital Images of Business Cards
Before importing business cards into Google Contacts, you first need to gather digital images of those cards. You have several options to digitize business cards:
- Scan the Cards: Use a scanner or a scanning app on your smartphone to capture high-quality digital images of each business card.
- Take Photos: If you don’t have access to a scanner, you can simply take photos of the business cards using your smartphone’s camera. Make sure the photos are clear and legible for optimal accuracy during the import process.
- Use a Card Scanning App: There are various mobile apps available that specialize in scanning business cards. These apps automatically extract the contact information from the card and save it as a digital contact.
Choose the method that works best for you and ensure you have all the business card images ready to proceed.
Step 2: Convert Images into Text
Once you have the digital images of the business cards, the next step is to convert these images into text. Since Google Contacts requires text-based information, you’ll need to extract the contact details from the images. Here’s how you can do it:
- OCR Software: Optical Character Recognition (OCR) software can help convert the text in the images into editable and searchable data. Several OCR tools are available online; you can upload your business card images to these tools and extract the text.
- Card Scanning App: If you’ve chosen to use a card scanning app, chances are it will automatically perform the OCR and extract the contact information for you. These apps often have built-in OCR technology that recognizes the text on the business card and converts it into digital contact format.
No matter which method you use, the goal is to obtain the text-based contact information from the business card images.
Step 3: Import Business Card Contacts into Google Contacts
Now that you have the contact information extracted from the business card images, it’s time to import them into Google Contacts. Here’s how you can do it:
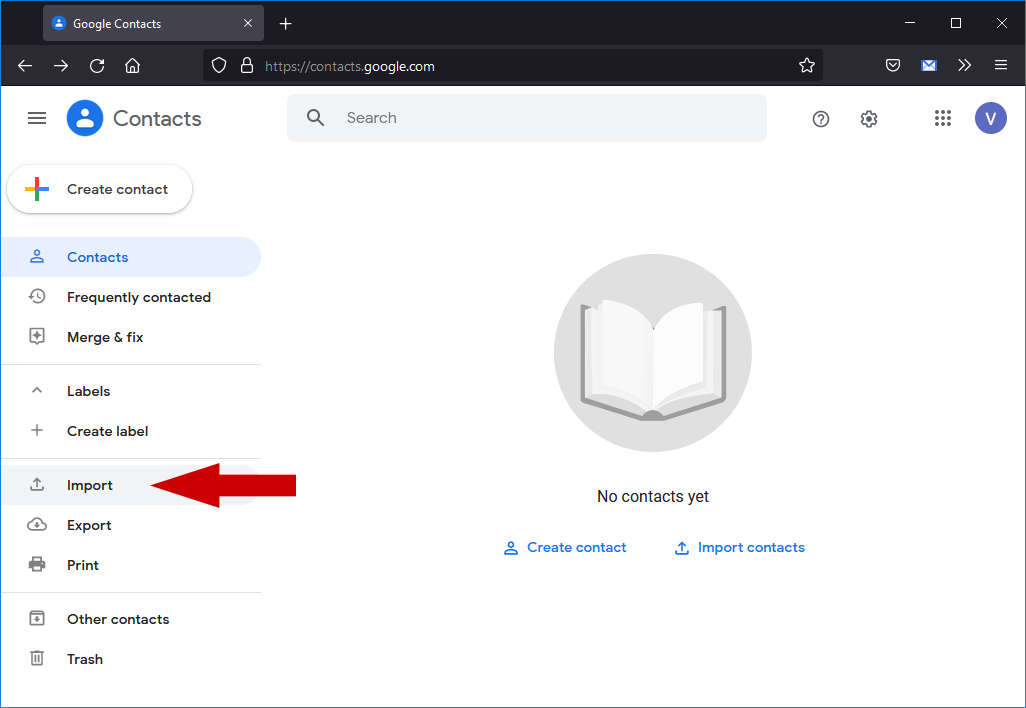
- Access Google Contacts: Open your web browser and navigate to Google Contacts. Sign in to your Google account if you’re not already signed in.
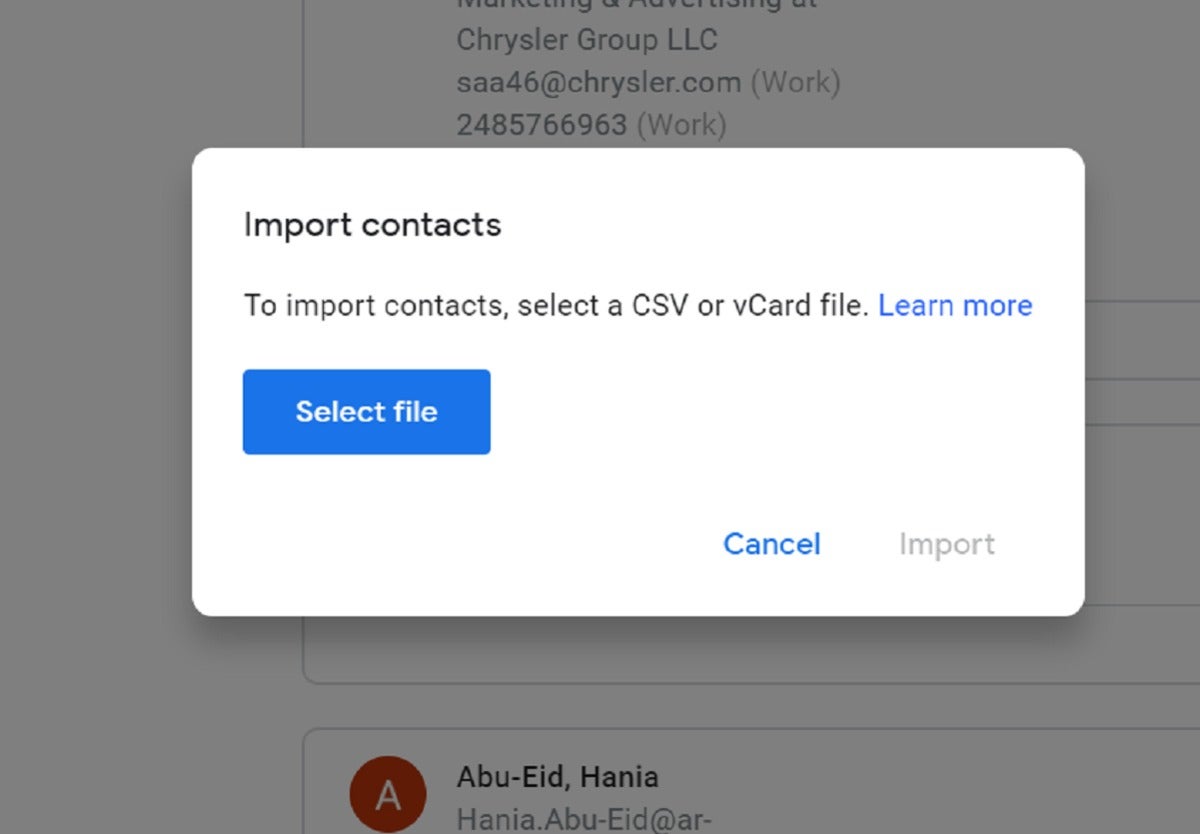
- Import Contacts: In the left sidebar, click on the “Import” button. This will open a new window where you can select the source from which you want to import contacts.
- Choose File: Depending on the method you used to convert the images into text, you may have a file containing the contact information. Click on the “Select file” button and navigate to the file on your computer or smartphone.
- Map Fields: Google Contacts will try to match the data fields from your file with its own fields. Ensure that the fields are correctly mapped, especially the critical ones such as name, email, phone number, and address.
- Import: Once the fields are properly mapped, click on the “Import” button to start the import process. Google Contacts will process the file and import the contact information into your account.
Step 4: Review and Clean Up Imported Contacts
After the import process is complete, it’s essential to review and clean up the imported contacts. Here are some best practices to follow:
- Review for Accuracy: Go through each imported contact and verify that the information is accurate. OCR software or apps are not always perfect, and errors can occur during the extraction process. Correct any mistakes and ensure that all contact details are correctly entered.
- Group Similar Contacts: Merge duplicate contacts and group similar ones together. Google Contacts offers the option to merge duplicates, helping you keep your contact list clean and organized.
- Add Missing Information: Fill in any missing information that was not extracted from the business card images. This might include additional phone numbers, email addresses, or notes.
By taking the time to review and clean up the imported contacts, you ensure that your Google Contacts account remains accurate and up to date.
Conclusion
Importing business cards into Google Contacts is a convenient way to manage and access your contacts digitally. By following the steps outlined in this article, you can easily import business card contacts into Google Contacts, saving you time and effort in manually entering contact information. Remember to collect digital images of the business cards, convert them into text, and then import the contacts into Google Contacts. Take the extra step to review and clean up the imported contacts to ensure accuracy. With Google Contacts, you’ll have all your contacts organized and easily accessible, regardless of the device you’re using.
Olivia Reynolds, a marketing maven, is passionate about the impact of graphic design on brand success. Her love for outdoor adventures and travel fuels her fresh perspective on the importance of visual aesthetics in business cards and branding.