
If you find yourself drowning in a sea of business cards, struggling to keep track of the important contacts and information they hold, fear not! With the advancements in technology, you can now easily scan business cards into Excel, making it a breeze to organize and manage your contacts. In this article, we will guide you through the steps of scanning business cards into Excel, ensuring that you no longer have to spend hours manually entering information. So, let’s get started!
Step 1: Choose a Business Card Scanner App
To begin the process of scanning business cards into Excel, you need to choose a reliable business card scanner app. With numerous options available in both the App Store and Google Play Store, it’s essential to select one that suits your needs. Some popular apps include CamCard, Evernote Scannable, and ScanBizCards. Take a moment to read reviews and compare features before making your decision.
Step 2: Install and Open the App

Once you have chosen the app that best fits your requirements, download and install it on your smartphone or tablet. After installation, open the app to familiarize yourself with its layout and features. Most business card scanner apps have a user-friendly interface, ensuring a smooth and hassle-free experience.
Step 3: Choose the Scanning Option
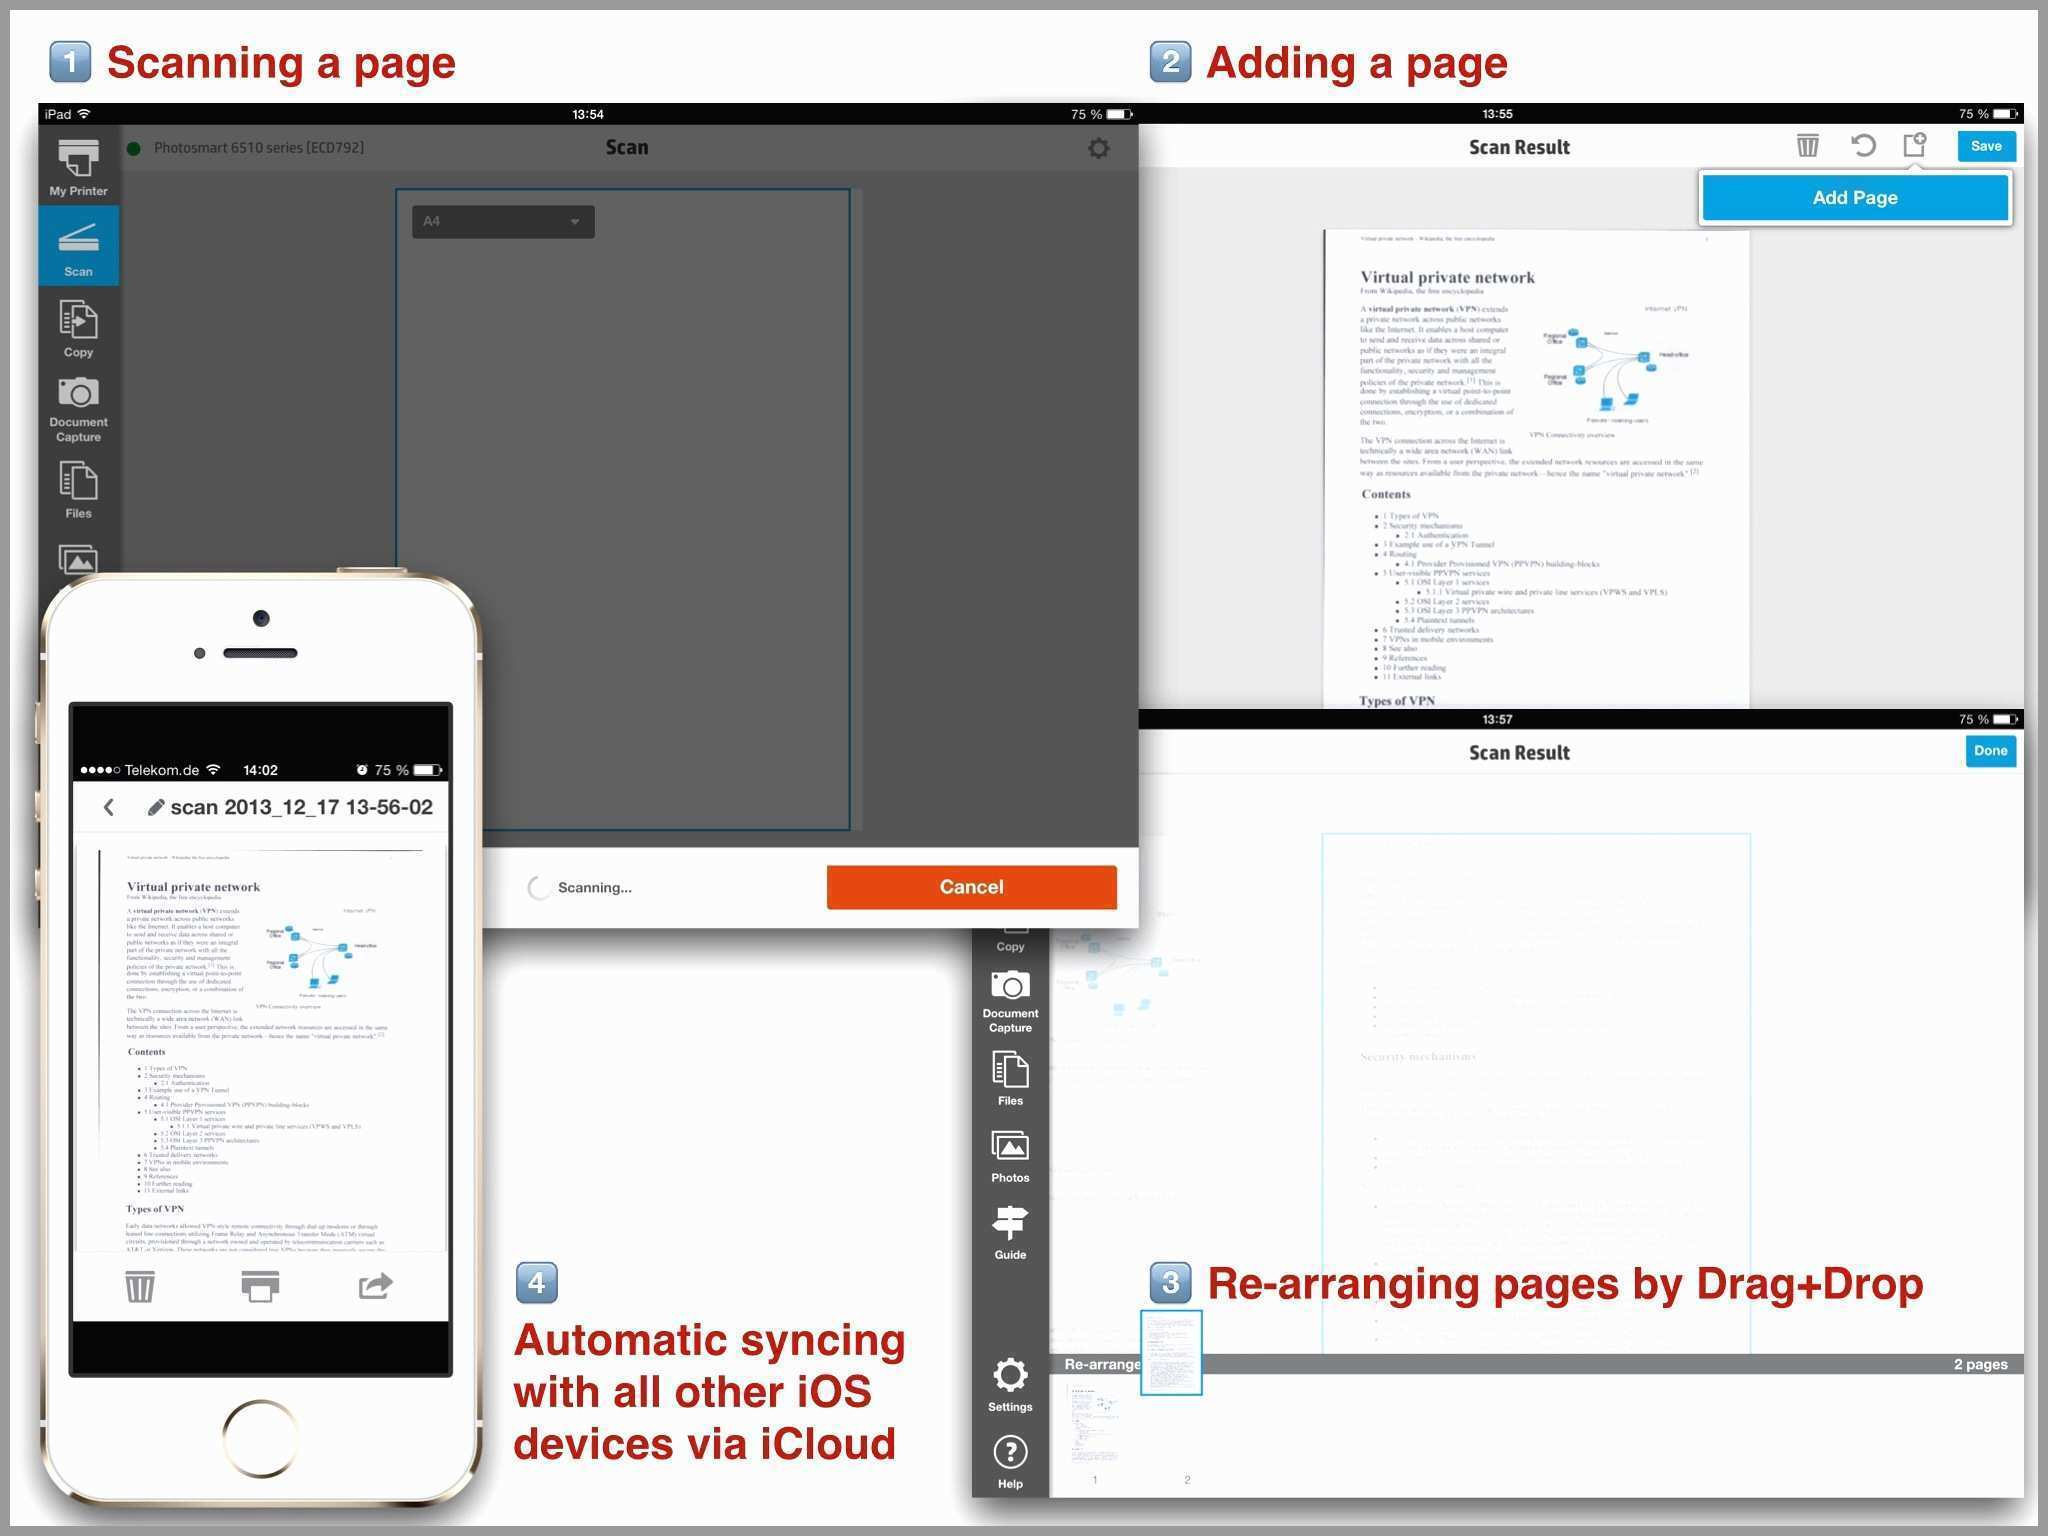
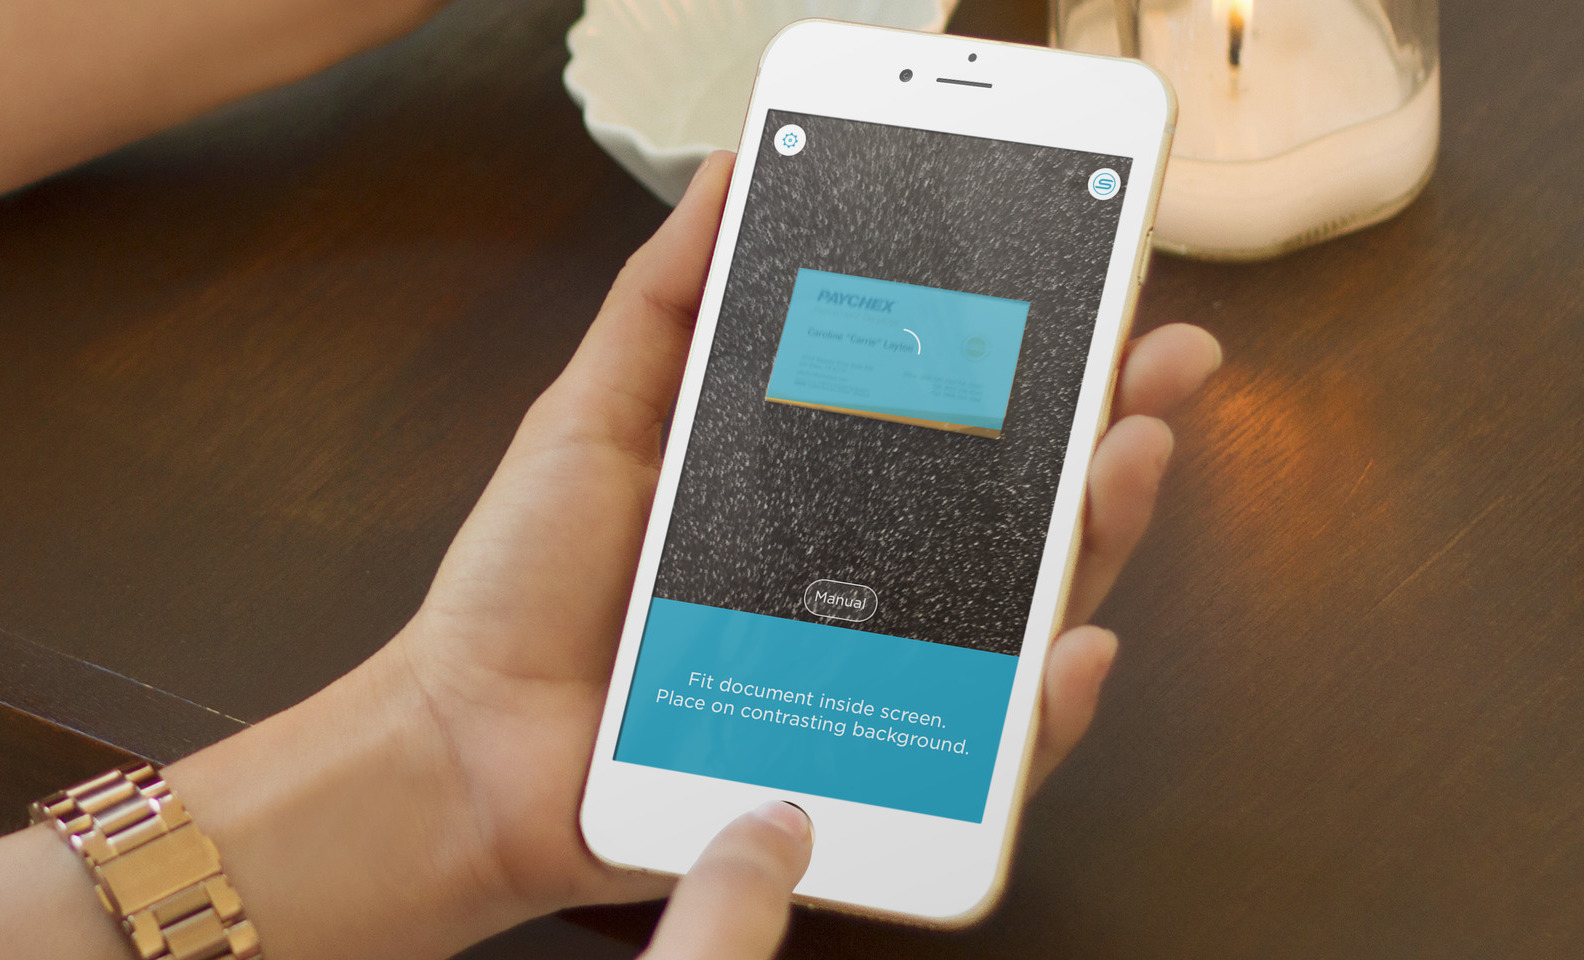
Next, it’s time to select the scanning option within the app. Depending on the app you choose, this option may vary slightly. However, generally, you’ll find a button with a camera icon or a “Scan” button prominently placed on the app’s interface. Tap on it to access the scanning feature.
Step 4: Align and Capture the Business Card

Now that you have reached the scanning feature, align the business card within the designated scanning area on your device’s screen. Ensure that the entire business card is within the frame, and align it as straight as possible for best results. Once you are satisfied with the alignment, tap the capture button to take a photo of the business card.
Step 5: Review and Confirm the Scanned Information
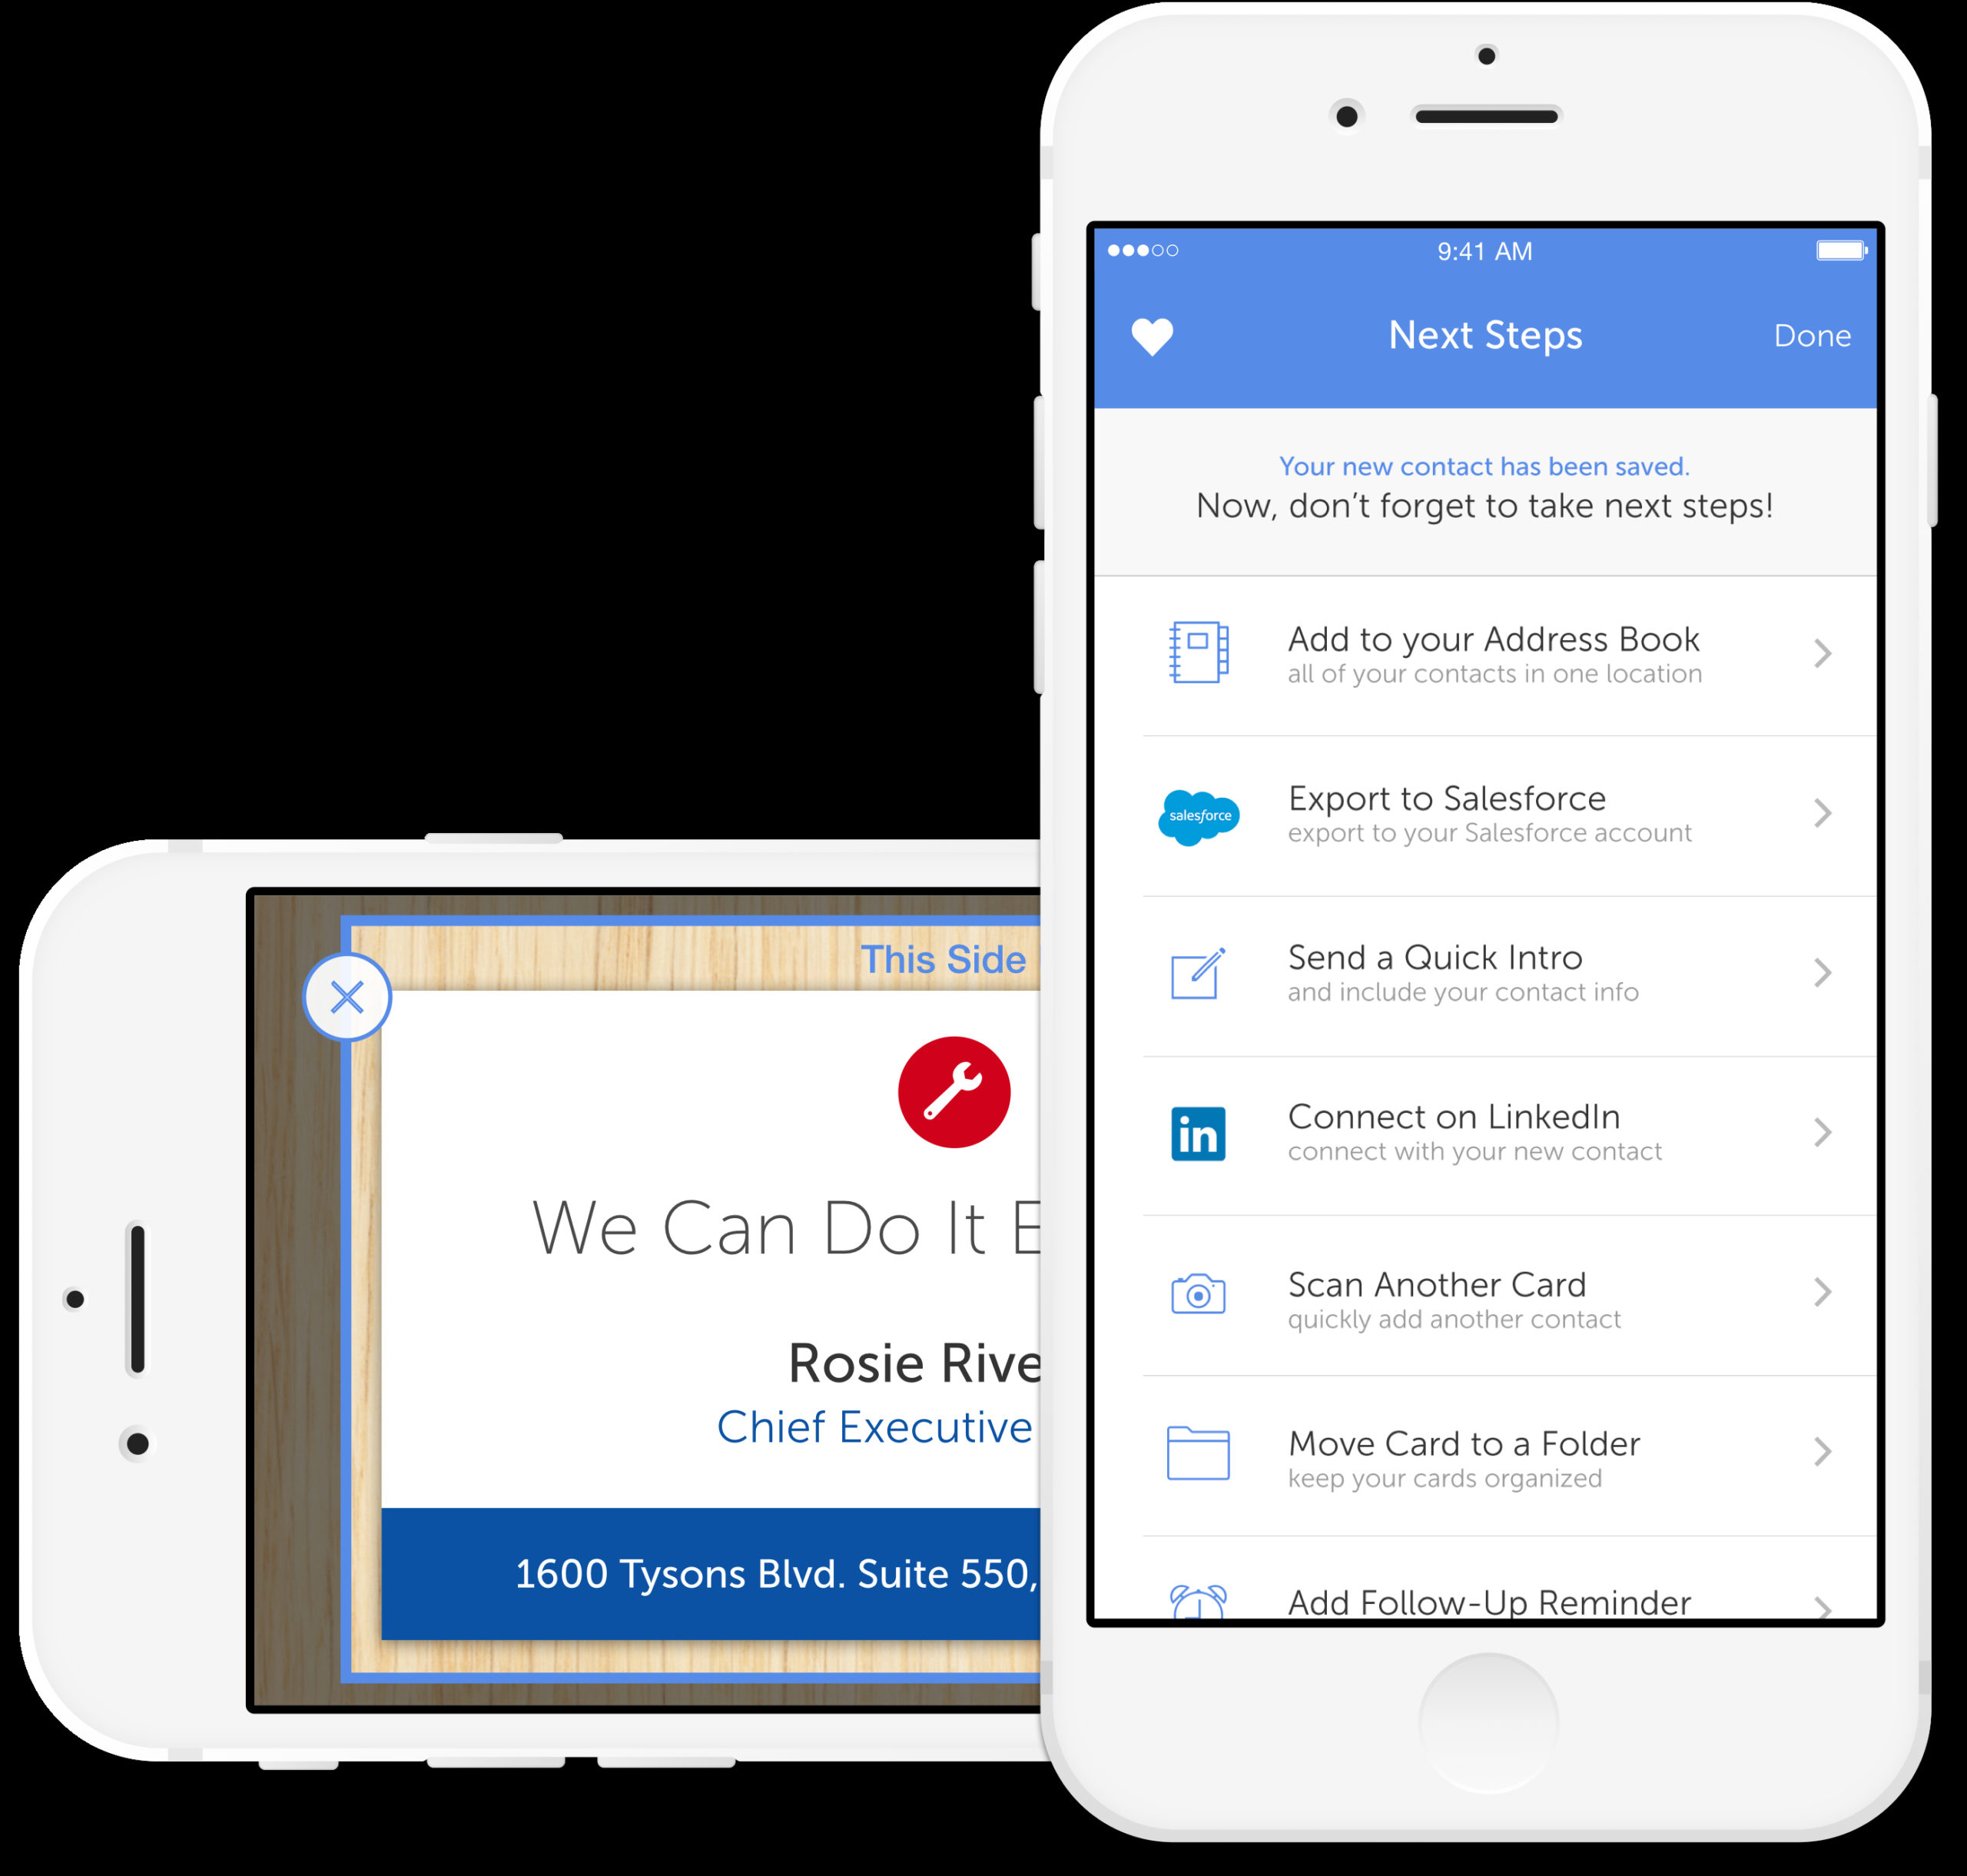
After capturing the business card, the app’s built-in OCR (Optical Character Recognition) technology will kick in. This technology recognizes and extracts the text from the captured image, converting it into editable data. The app will then present you with the extracted information, allowing you to review and confirm its accuracy.
Step 6: Edit and Correct Any Mistakes

While business card scanner apps boast impressive accuracy rates, there may still be instances where mistakes occur during the OCR process. Therefore, it’s crucial that you carefully review the scanned information for any errors. If you notice any mistakes, use the app’s edit feature to correct them manually. It’s essential to ensure that all contact details, such as names, phone numbers, email addresses, and job titles, are accurately captured.
Step 7: Export the Scanned Data to Excel
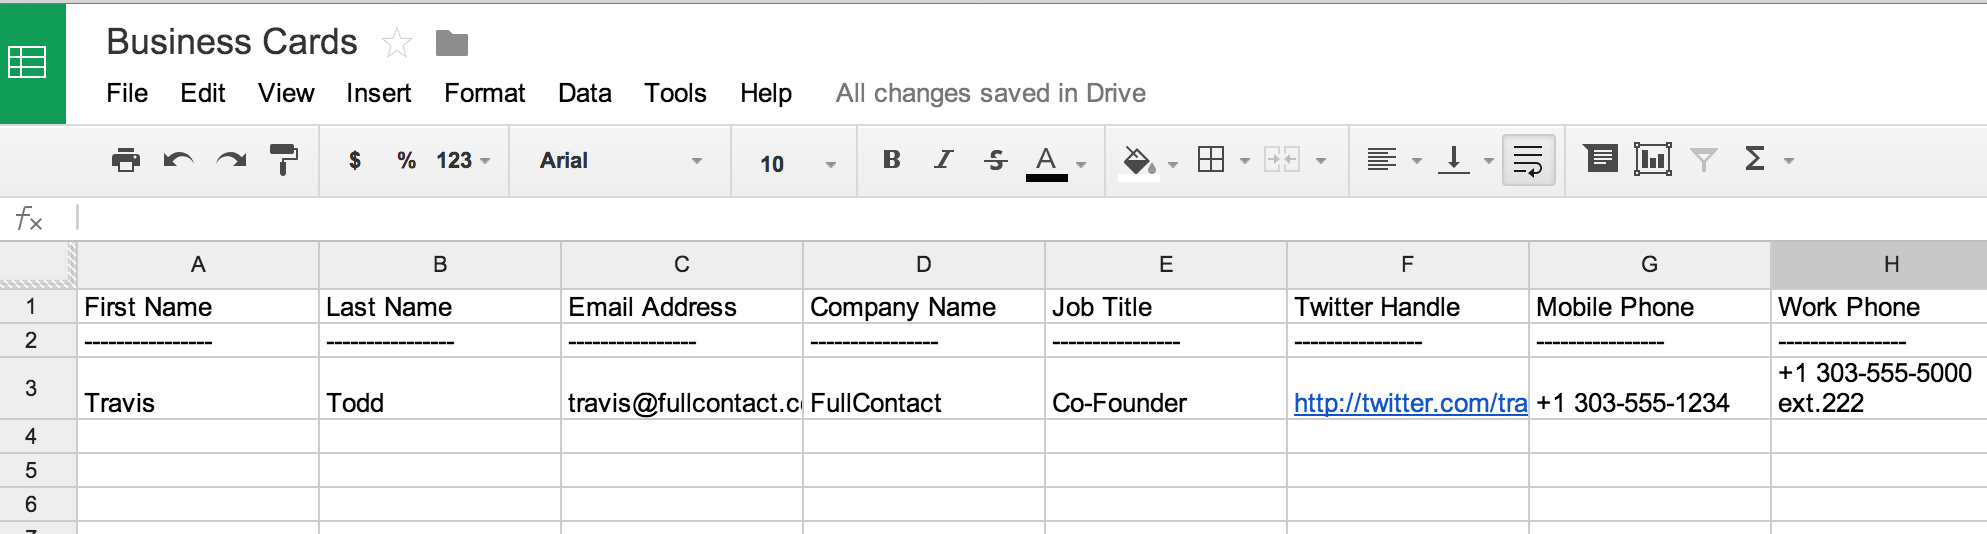
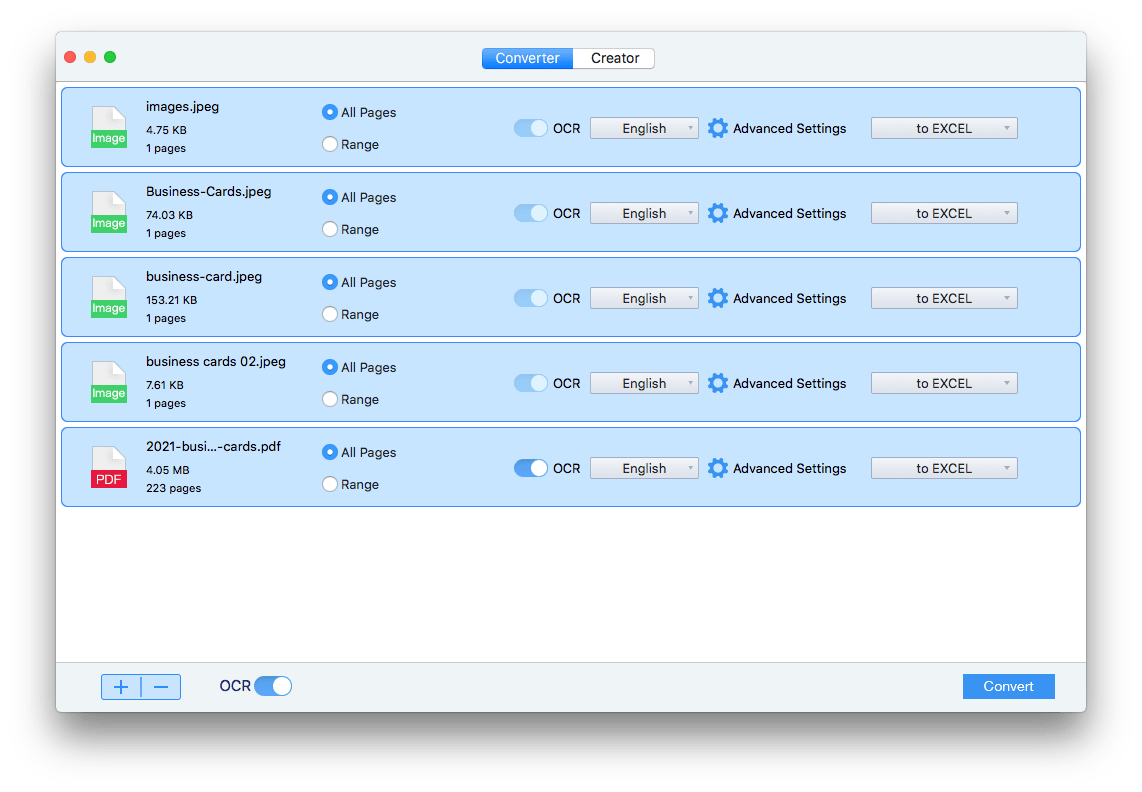
Once you have verified and corrected any errors, it’s time to export the scanned business card data into Excel. Most business card scanner apps allow you to export data to various formats, including Excel, CSV, vCard, or even directly to your smartphone’s contacts. To transfer the data to Excel, select the Excel option and choose the preferred location for saving the exported file.
Step 8: Open and Organize the Exported Excel File
With the scanned business card data exported to Excel, navigate to the location where you saved the file and open it. You will likely find each field from the business card organized into separate columns within the spreadsheet. Take a moment to ensure that the data is correctly aligned and that no important information is missing. You may need to rearrange or add columns as required to suit your desired layout.
Step 9: Save and Name the Excel File

After reviewing and organizing the exported data, it’s important to save the Excel file with a descriptive name for future reference. Consider using a naming convention that will help you easily identify the file among your documents. Saving the file to a specific folder designated for business card contacts is also recommended to keep your records organized.
Conclusion
Scanning business cards into Excel has never been easier, thanks to the advancements in OCR technology and user-friendly apps. By following the simple steps outlined in this article, you can effortlessly scan and organize your business card contacts. Remember to choose a reliable app, carefully review the extracted information, and export the data to Excel for further manipulation and organization. With this newfound efficiency, you can bid farewell to the time-consuming task of manually entering business card details into Excel and focus on what matters most â_x0080__x0093_ nurturing valuable relationships and growing your network.
Olivia Reynolds, a marketing maven, is passionate about the impact of graphic design on brand success. Her love for outdoor adventures and travel fuels her fresh perspective on the importance of visual aesthetics in business cards and branding.