
If you are in need of business cards and want to save money by printing them at home, Microsoft Word can be a convenient and cost-effective solution. Word offers a variety of design and layout features that make it easy to create professional-looking business cards. One of the key features you may want to utilize is the ability to print double sided business cards. In this article, we will guide you through the step-by-step process of printing double sided business cards using Microsoft Word.
Setting up Your Document
Before you start designing your business cards, you need to ensure that your document is set up correctly for double sided printing. Follow these steps:
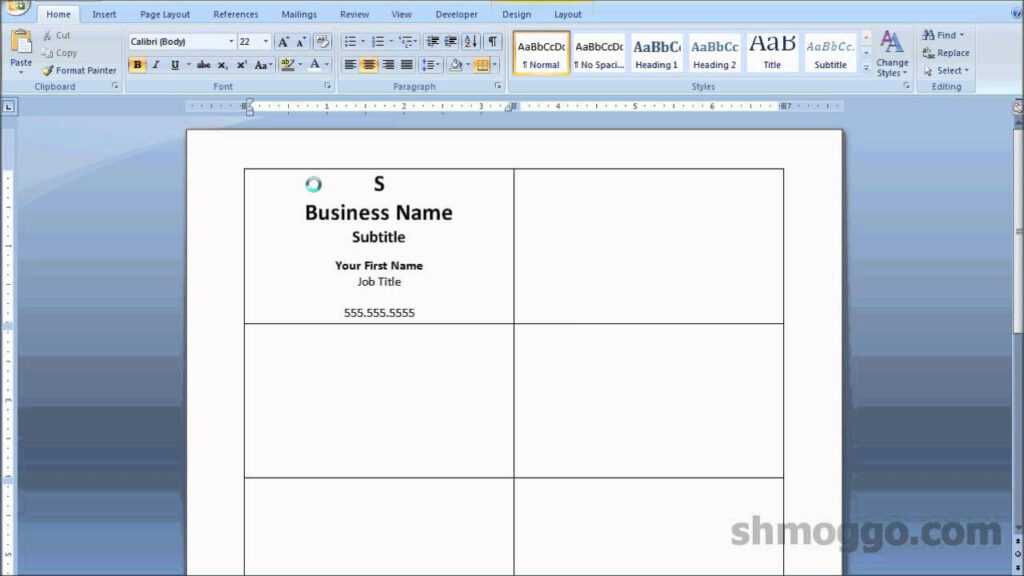
- Open Microsoft Word on your computer and create a new blank document.
- Go to the “Page Layout” tab and click on the “Size” button.
- From the drop-down menu, select the paper size you want to use for your business cards. The standard size for business cards is 3.5 inches by 2 inches.
- Next, go to the “Orientation” button and choose the desired orientation. Most business cards are printed in landscape orientation.
- Once you have set the size and orientation, click on the “Margins” button and set the margins according to your printer’s requirements. It’s important to leave enough space on the edges to ensure accurate printing.
Designing Your Business Card
Now that your document is set up correctly, it’s time to design your business card. Follow these steps:
- Divide your page into two equal sections by going to the “Page Layout” tab and clicking on the “Columns” button. Choose the two-column layout option.
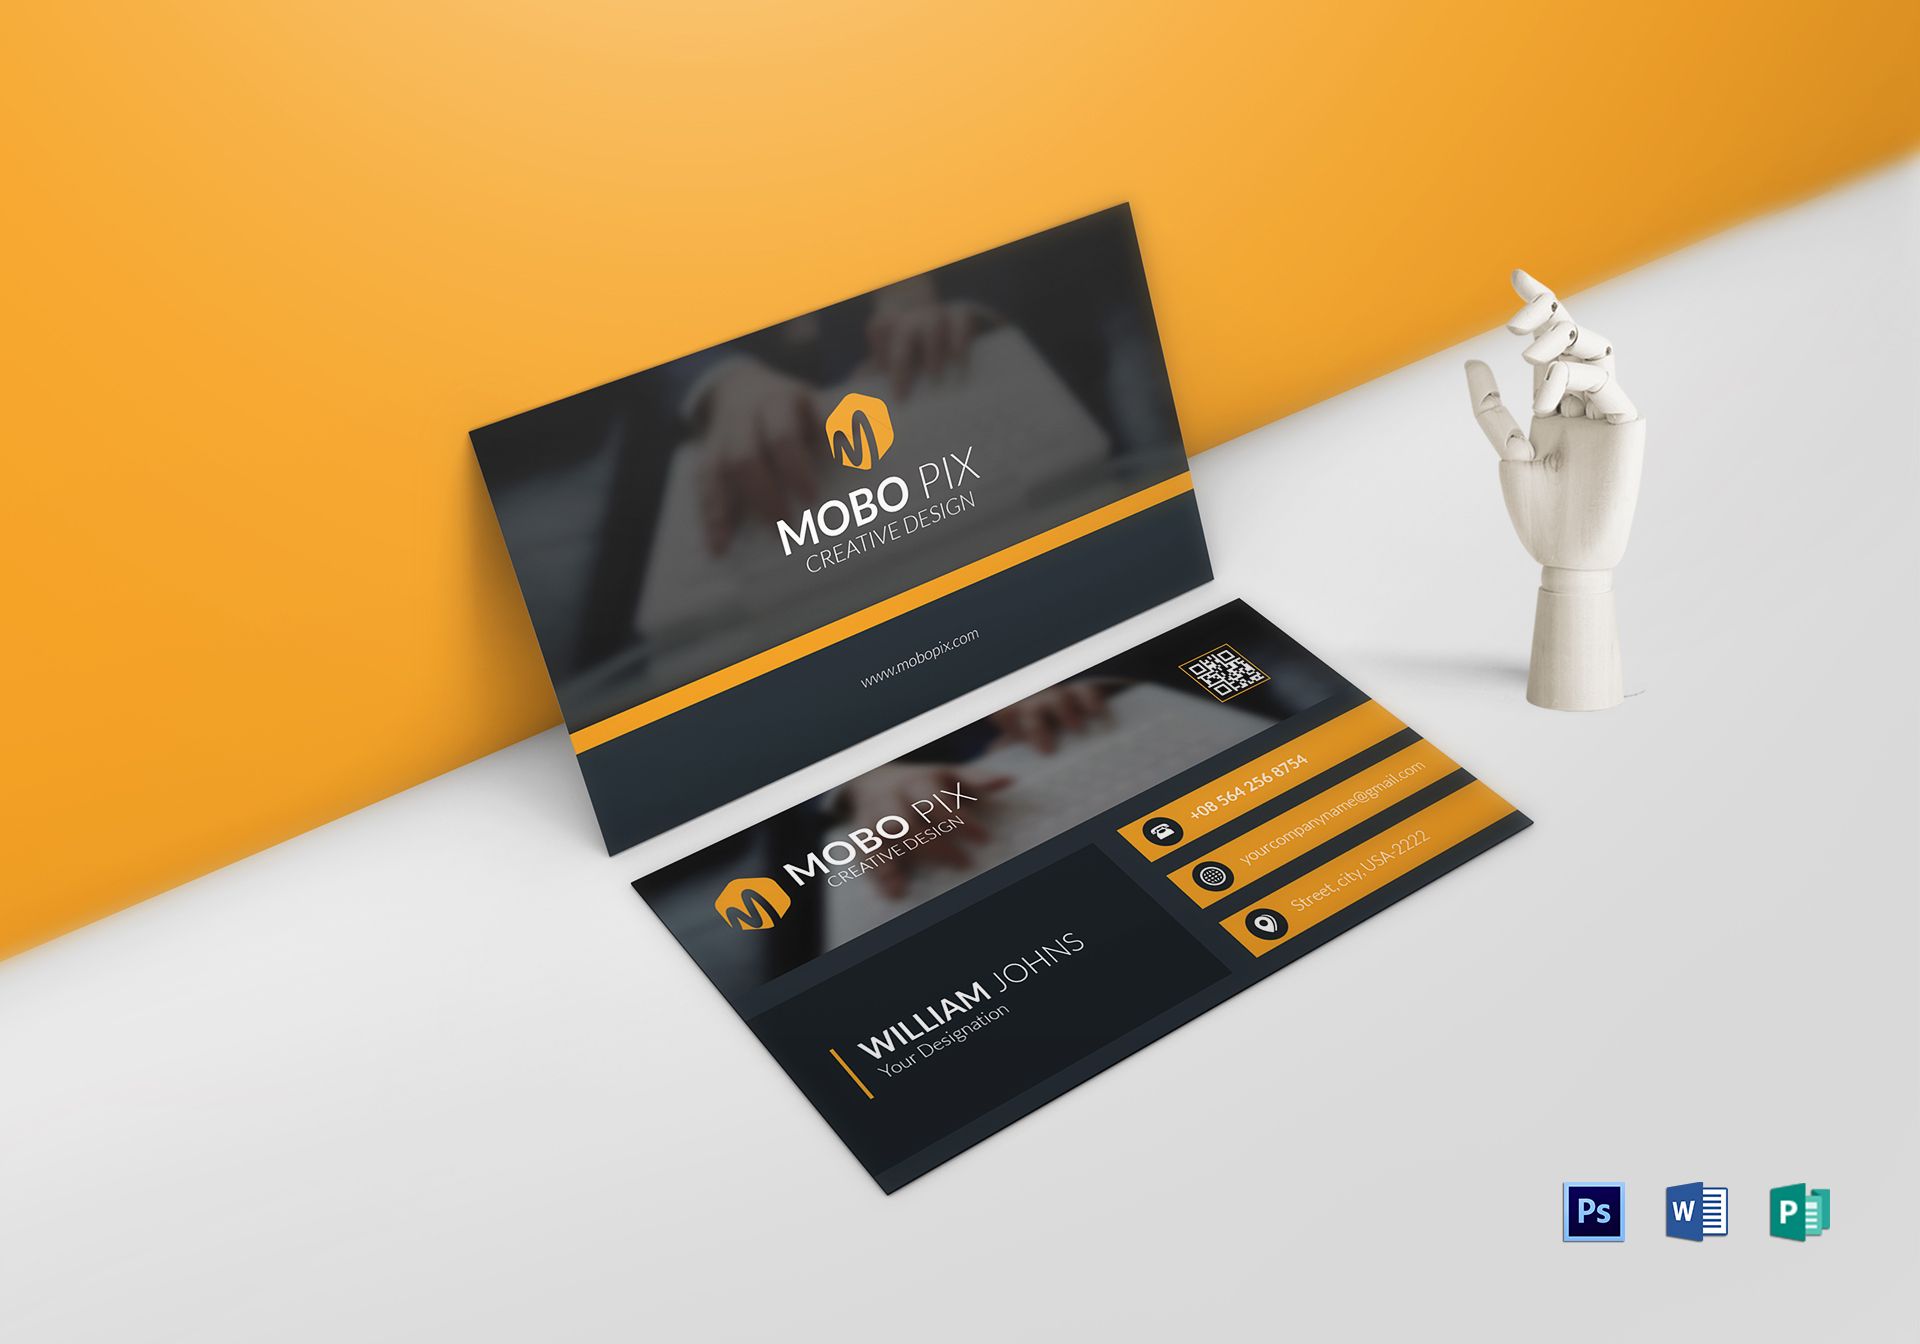
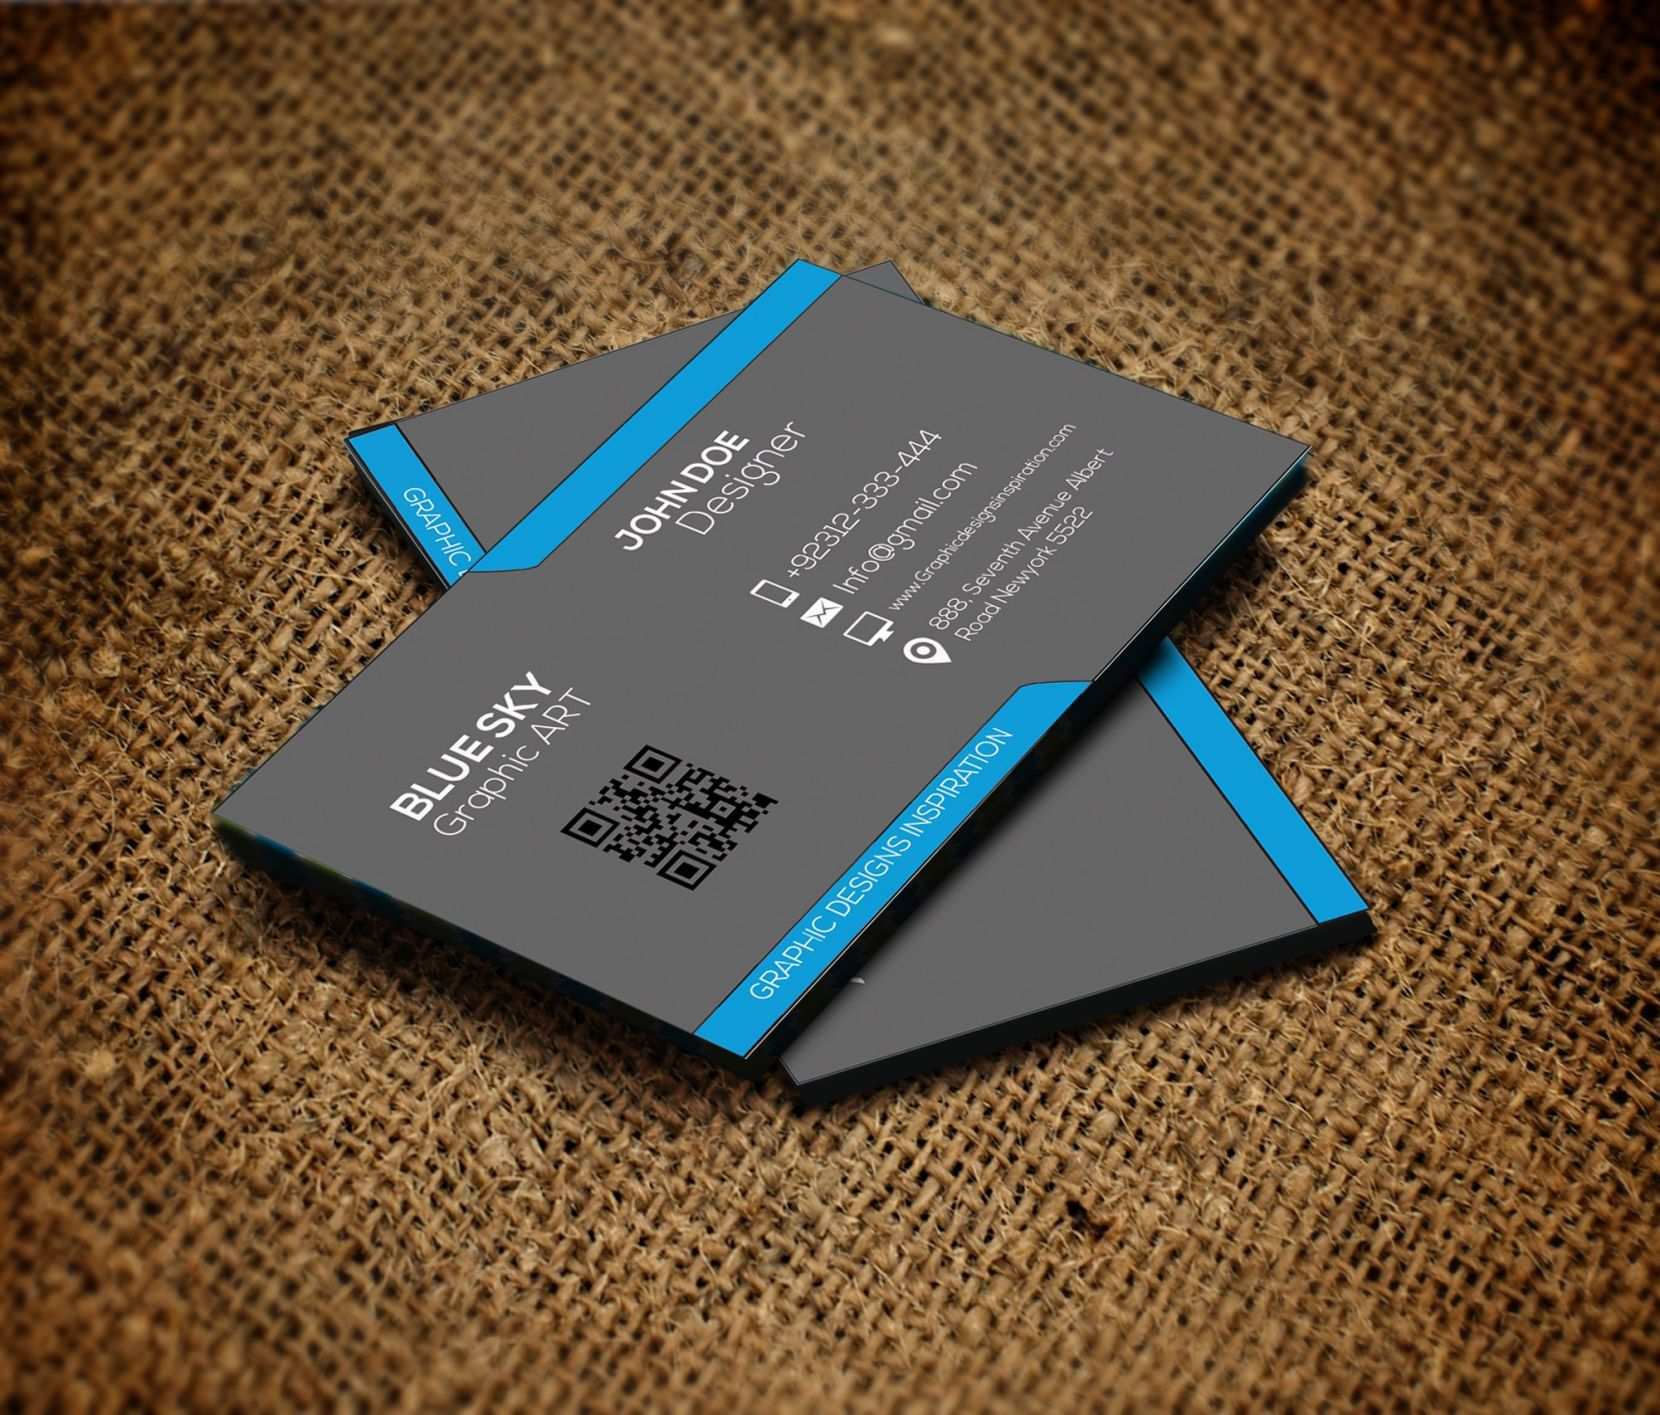
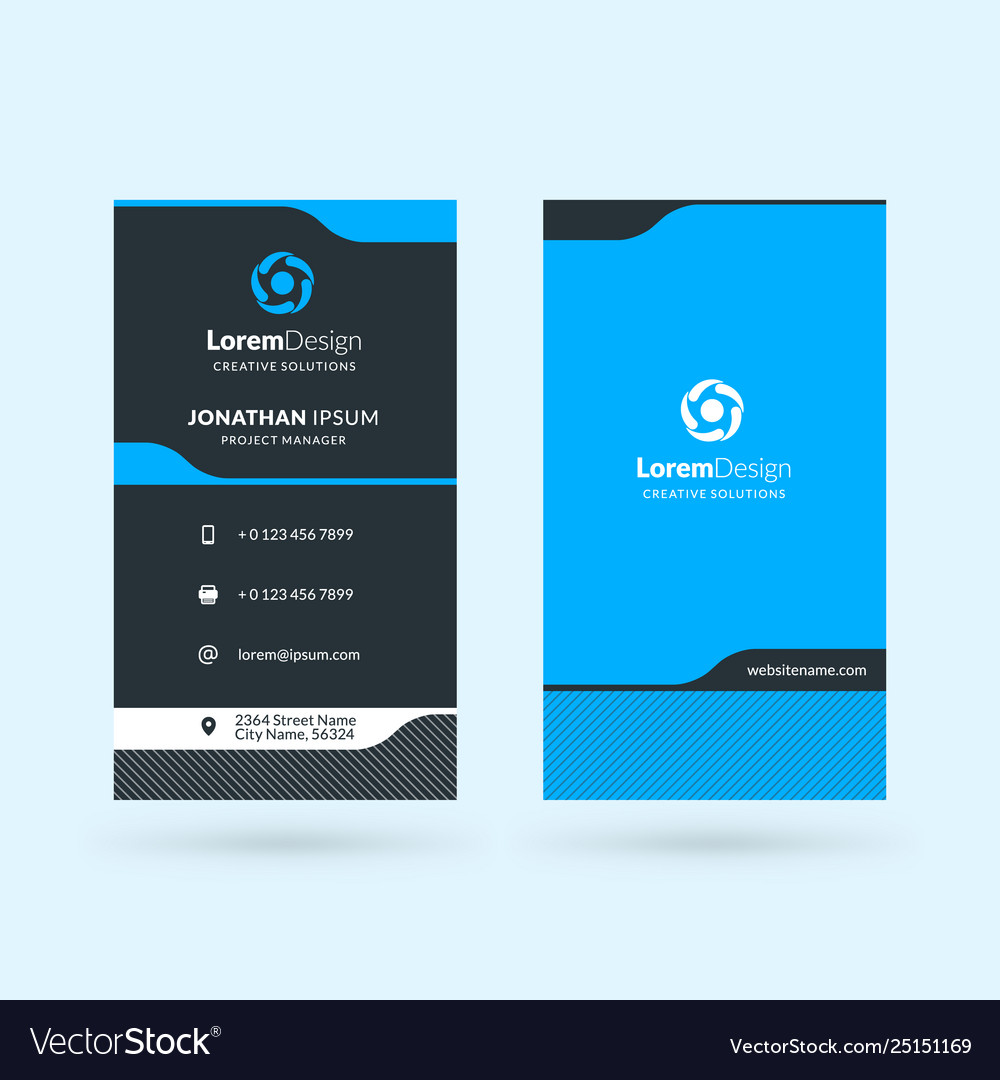
- Decide on the design elements you want to include on your business card such as your logo, contact information, and any additional text or images. You can also choose from the available templates in Word or create your own design from scratch.
- To insert your logo or any other image, click on the “Insert” tab and select “Pictures” from the options. Browse for your image file and click “Insert” to add it to your design.
- To add your text, simply click on the first column and start typing. You can choose from a variety of font styles, sizes, and colors by using the options in the “Home” tab.
- Once you have finished designing the front side of your business card, navigate to the second column and repeat the process for the back side.
Previewing and Adjusting Your Layout
After finalizing your design, it’s important to preview your layout before you proceed to print. Here’s how you can do it:
- Go to the “File” tab and click on “Print” to open the print settings.
- In the print settings window, make sure the correct printer is selected.
- Click on the “Print Preview” button to see how your business cards will look when printed. This preview will show the front and back of each card on separate pages.
- Take note of any adjustments that need to be made, such as aligning the design elements or resizing images. You can go back to your Word document to make any necessary changes.
- Once you are satisfied with the preview, click on “Print” to start printing your double sided business cards.
Printing Your Double Sided Business Cards
Now that you have previewed your layout and made any necessary adjustments, you can proceed to print your double sided business cards.
- Load the appropriate paper into your printer. Make sure to use the type and size of paper that is compatible with your printer.
- Go to the “File” tab and click on “Print” to open the print settings.
- In the print settings window, verify that the correct printer is selected.
- Look for the option that allows you to print double-sided or duplex. This option may vary depending on your printer model. If you can’t find it, refer to your printer’s user manual or consult the printer manufacturer’s website for assistance.
- Configure any additional settings such as the number of copies you want to print or whether you want to print in color or black and white.
- Click on “Print” to begin printing your double sided business cards.
- Once the printing is complete, allow the cards to dry completely before handling or cutting them.
Conclusion
Printing double sided business cards in Microsoft Word is a simple and cost-effective solution for small businesses and individuals. By following the step-by-step process outlined in this article, you can easily design and print professional-looking business cards at home. Remember to set up your document correctly for double sided printing, design your business card with your desired elements, preview and adjust your layout, and then print the final result. With a little creativity and attention to detail, you can impress potential clients and colleagues with your customized double sided business cards.
Olivia Reynolds, a marketing maven, is passionate about the impact of graphic design on brand success. Her love for outdoor adventures and travel fuels her fresh perspective on the importance of visual aesthetics in business cards and branding.