
Are you looking to print professional-looking business cards without the need for expensive design software? Look no further! With Google Docs, you can easily create and print your own business cards with just a few simple steps. In this article, we will guide you through the process of designing and printing business cards using Google Docs. So, let’s get started!
Step 1: Open Google Docs and Set Up the Document
First, open Google Docs and create a new document. Start by setting the page orientation to landscape. To do this, click on “File” in the top left corner, then select “Page setup.” In the “Page setup” dialog box, choose the “Landscape” option, and click “OK.
Step 2: Adjust the Margins
Next, you’ll want to adjust the margins of your document to ensure that the business cards are properly aligned when printed. Again, click on “File” and select “Page setup.” This time, under the “Margins” tab, set all the margins to 0.5 inches. This will give you enough space to include all the necessary information on your business cards.
Step 3: Create a Table
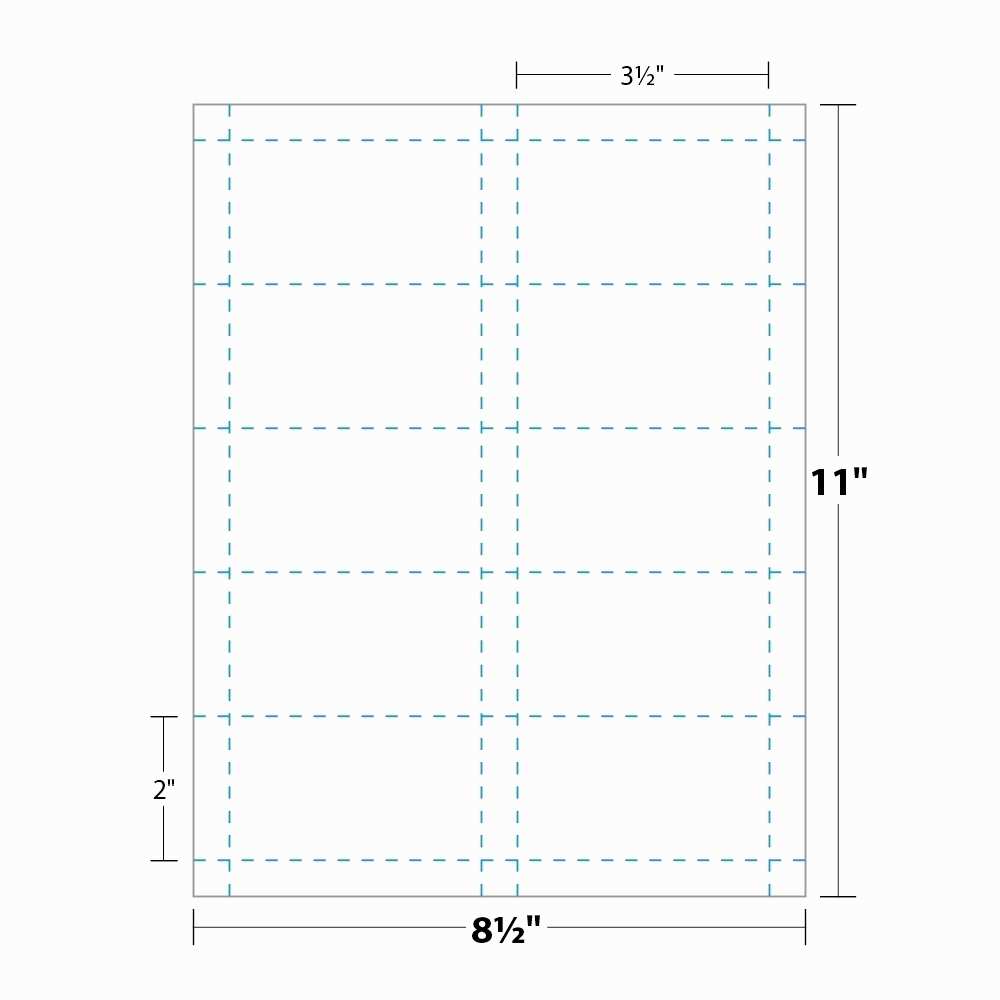
Now it’s time to create a table to act as a placeholder for your business card design. Go to the “Insert” tab in the menu bar and choose “Table.” Select a 2×5 table to create five horizontal rows and two vertical columns. This will provide you with space for two business cards per page.
Step 4: Customize the Table

To make your business cards visually appealing, you can customize the table by adjusting the cell borders and cell dimensions. Click on the table and you will see the “Table” option appear in the menu bar. Here, you can modify the cell borders, including the thickness and color, to suit your design preferences.
Additionally, you can adjust the width and height of the table cells by hovering your cursor over the edge of a cell until it turns into a double-sided arrow. Then, click and drag to resize the cell. This allows you to create different layouts and accommodate various amounts of text or images.
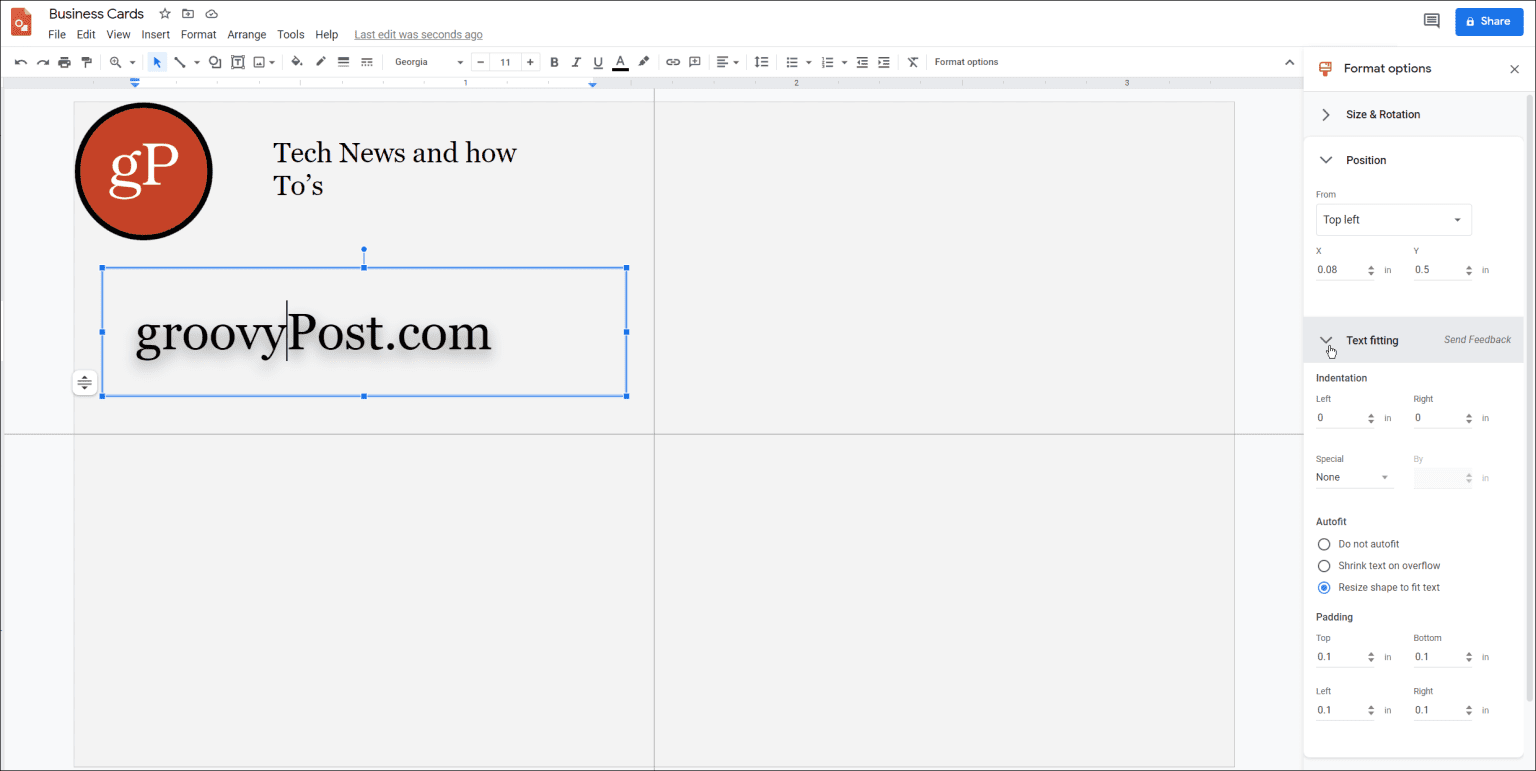
Step 5: Design Your Business Card
Now comes the fun part â_x0080__x0093_ designing your business card! Each cell in the table represents one business card, so you can design each card individually. Use various formatting options to add text, images, and shapes to your business card. Feel free to experiment with font styles, sizes, and colors to create a professional and visually appealing design.
To add text, simply click inside a cell and start typing. You can adjust the font properties, such as font type, size, and alignment, using the toolbar at the top.
To add an image or shape, go to the “Insert” tab in the menu bar and select either “Image” or “Drawing.” Choose an image from your computer or search the web for relevant icons and graphics to enhance your business card design.
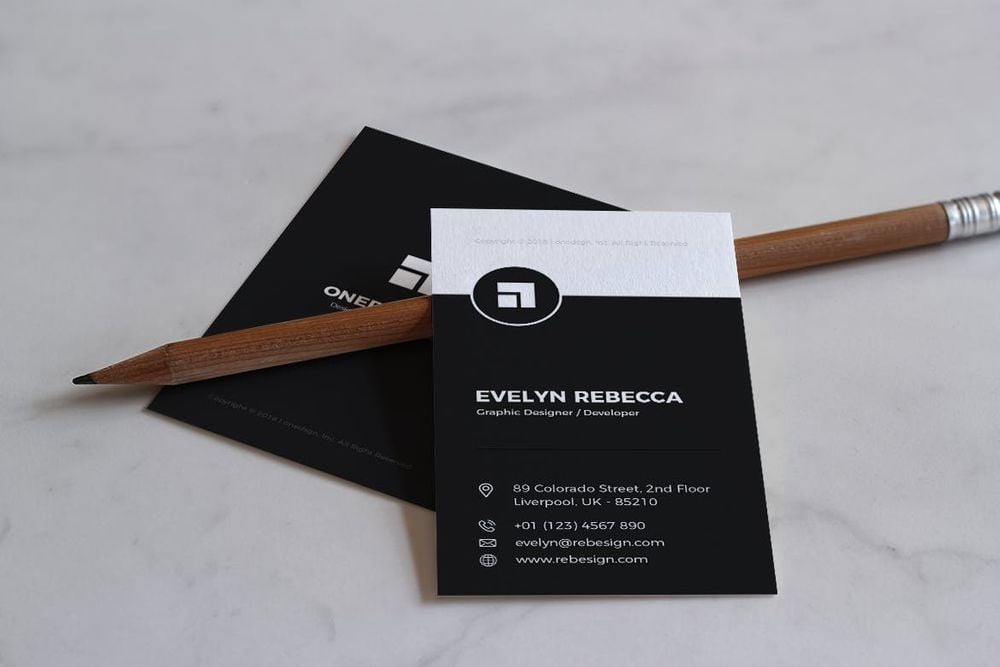
Remember, keep your design clean and simple, ensuring that all essential contact information, such as your name, job title, company name, phone number, and email address, are clearly visible.
Step 6: Duplicate the Design
After designing one business card, you can easily duplicate it to fill the remaining cells on the page. To do this, simply copy the entire table by clicking on it, pressing “Ctrl+C” (or “Cmd+C” on Mac), and then pasting it below by pressing “Ctrl+V” (or “Cmd+V” on Mac). Repeat this step until all the cells on the page are filled with your business card design.
Step 7: Review and Customize Individual Cards

Once you have duplicated the design across all the cells, it’s time to review and customize each business card individually. Double-check all the information and make any necessary changes, such as different contact details or variations in design elements, to cater to different individuals or departments.
Step 8: Preview and Print

Before printing, it’s crucial to preview the document to make sure everything is in order. Click on “File” and select “Print” from the dropdown menu. In the preview window, carefully review each business card to ensure alignment, formatting, and content accuracy.
When you’re satisfied with the preview, click on the “Print” button to start the printing process. Make sure you have the necessary amount of cardstock or business card paper loaded into your printer.
Now you can sit back and watch as your professionally-designed business cards are printed using Google Docs!
Conclusion
Printing business cards in Google Docs is a simple and cost-effective solution for individuals and small businesses looking to create personalized, professional-looking cards. By following the steps outlined in this article, you can design and print your own business cards effortlessly. Remember to double-check your designs, arrange all the necessary contact information, and choose a clean and visually appealing layout. With Google Docs, you have the power to create impressive business cards that leave a lasting impression on your clients and business associates. So, go ahead and unleash your creativity with Google Docs and start printing your business cards today!
Olivia Reynolds, a marketing maven, is passionate about the impact of graphic design on brand success. Her love for outdoor adventures and travel fuels her fresh perspective on the importance of visual aesthetics in business cards and branding.