
Are you looking for an easy and cost-effective way to create double sided business cards? Look no further! Microsoft Word can be a powerful tool for designing and printing your own professional-looking business cards. In this article, we will guide you through the step-by-step process of creating double sided business cards in Word.
Getting Started
Before diving into the design process, make sure you have Microsoft Word installed on your computer. If you don’t have it already, you can download it from the official Microsoft website. Once you have Word up and running, follow these simple steps to create your double sided business cards.
Step 1: Choose a Template
Word offers a variety of pre-designed templates for business cards that you can customize to suit your needs. To access these templates, click on the “File” tab in the top left corner of the Word window, and then select “New” from the drop-down menu. In the search bar, type “business cards” and hit enter. Word will display a selection of business card templates for you to choose from.
Step 2: Select a Double Sided Template
From the list of templates, look for one that is specifically designed for double sided printing. These templates typically have two pages, with one page representing the front side of the business card and the other page representing the back side. Take your time to browse through the options and choose a template that aligns with your vision for your business cards.
Step 3: Customize Your Design
Once you have selected a template, it’s time to customize its design. Double click on the template to open it in a new Word document. From here, you can modify the text, fonts, colors, and any other elements to reflect your branding and personal style. Consider adding your logo, contact details, and any other relevant information that you want to include on your business cards.
Step 4: Duplicate the Design
To create the double sided effect, you will need to duplicate your design onto the second page of the template. Go to the first page of your template, select and copy all the elements of your design, and then navigate to the second page. Paste the copied elements onto the second page, making sure they are aligned and positioned correctly.
Step 5: Test Print
Before finalizing your design and printing a large batch of business cards, it’s always a good idea to do a test print. This will ensure that everything looks as expected and make any necessary adjustments before committing to the final version. Print a single sheet using your home printer and check if the alignment and layout of both sides of the business card are correct.
Printing Double Sided Business Cards
Now that you have finalized your design and confirmed that everything is in order, it’s time to print your double sided business cards. Here are some important considerations to keep in mind during the printing process.
Use High-Quality Cardstock
To achieve a professional look and feel, it is recommended to use high-quality cardstock paper for your business cards. This type of paper is sturdier and more durable than regular printer paper, which will make your cards stand out and leave a lasting impression on potential clients and contacts.
Printing Options
When it comes to printing your double sided business cards, you generally have two options: printing at home or using a professional printing service. Printing at home can be a more cost-effective solution, especially if you only need a small quantity of cards. However, keep in mind that the quality may not be as crisp and professional as using a dedicated printing service. Consider your budget, timeline, and desired outcome when deciding which option is best for you.
Print Settings
To ensure proper alignment and avoid any issues during the printing process, it is crucial to adjust your print settings correctly. Before printing, go to the “File” tab in Word, select “Print,” and then click on “Print Options” or “Printer Properties.” Here, you can choose the paper size, set the orientation to “Landscape,” and enable the double-sided printing feature. Make sure you select the correct options based on your printer model and specifications.
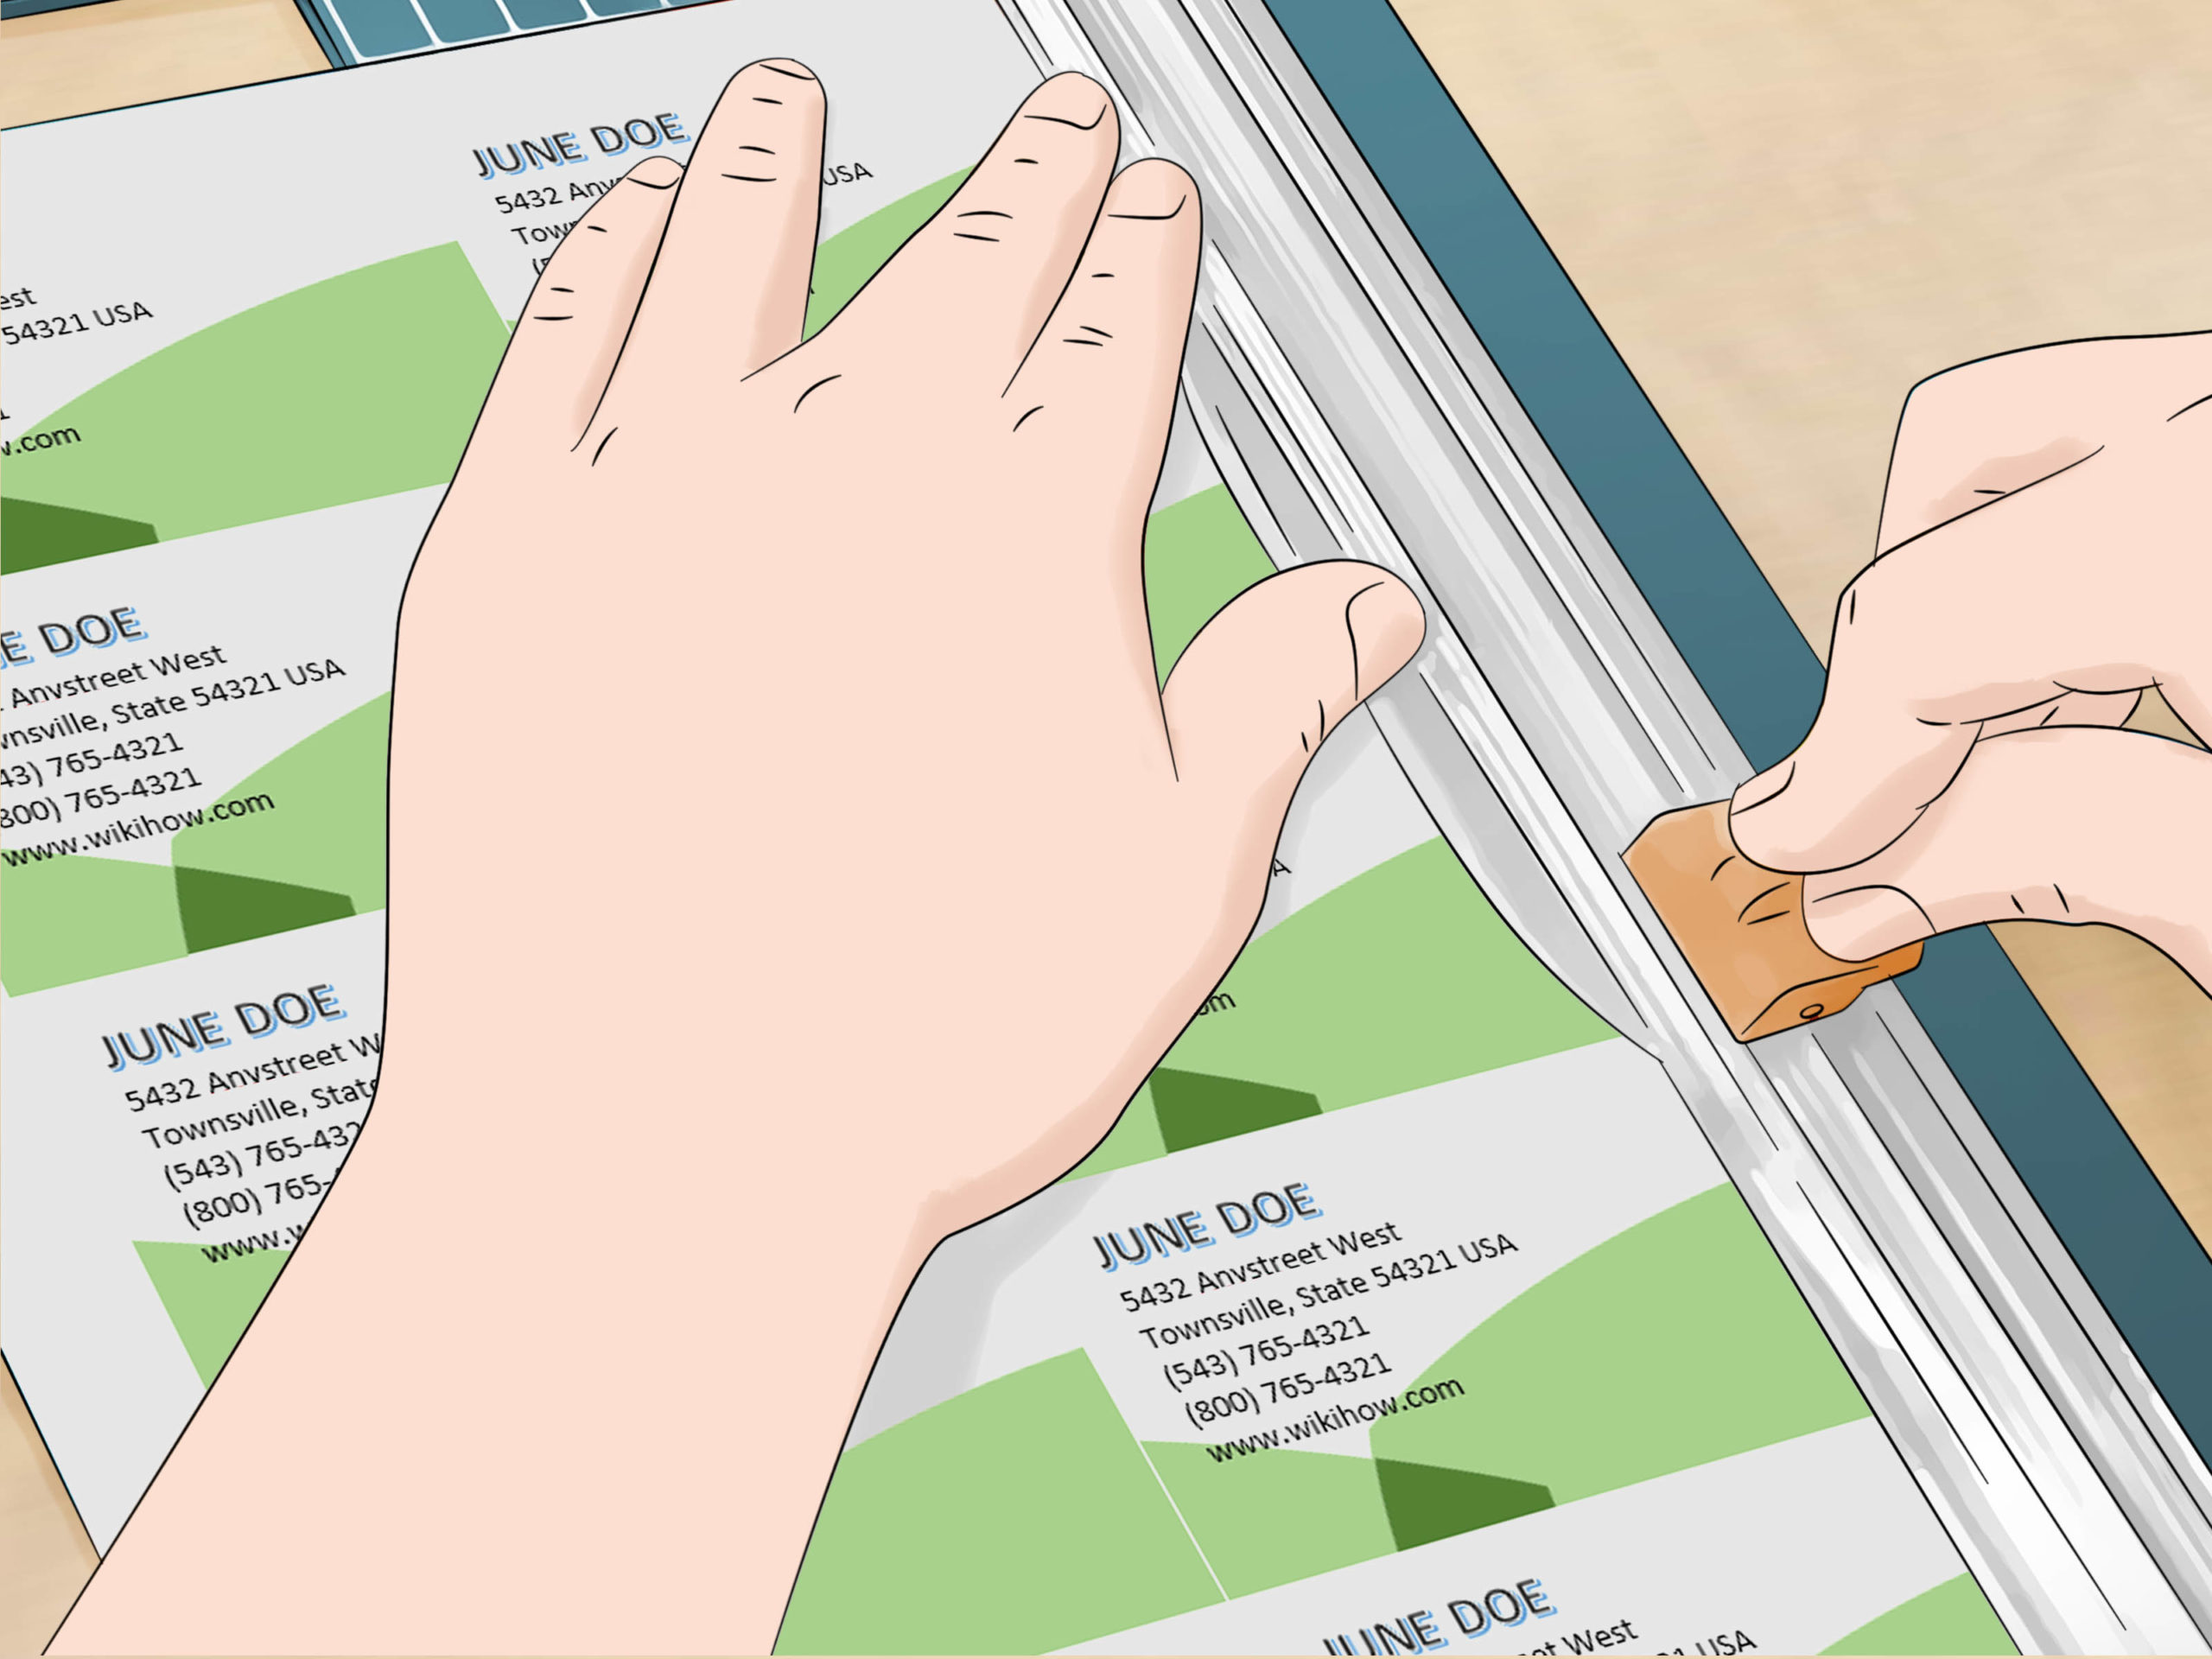
Cut and Trim
Once your double sided business cards are printed, you will need to cut and trim them to their final size. Use a paper cutter or a sharp pair of scissors to carefully cut along the designated edges. It might be helpful to use a ruler or a straight edge to ensure clean and precise cuts. Take your time while trimming to maintain the professional appearance of your business cards.
Conclusion
Creating double sided business cards in Word can be a simple and cost-effective solution for professionals and entrepreneurs. By following the step-by-step process outlined in this article, you will be able to design and print your own professional-looking business cards in no time. Remember to choose a double sided template, customize the design to reflect your branding, and carefully adjust your print settings to ensure proper alignment. With a bit of creativity and attention to detail, you can make a positive impression with your double sided business cards designed in Microsoft Word.
Samuel Anderson, a branding connoisseur, brings his knack for design and a strong marketing background to the forefront. He’s a voracious reader and enjoys delving into psychology, which he incorporates into his marketing strategies for business cards and brand development.