
Creating professional business cards is essential for networking and promoting your brand. While there are various software options available, Google Docs is a versatile and accessible tool that allows you to design and customize business cards easily. In this guide, we’ll walk you through the process of making business cards on Google Docs, step by step.
Step 1: Accessing Google Docs
To get started, make sure you have a Google account and access to Google Docs. If you don’t have an account, you can sign up for a free one. Once you’re logged in, open Google Docs by navigating to the Google Docs homepage or launching the Google Docs app on your device.
Step 2: Creating a New Document
After accessing Google Docs, click on the “Blank” template to create a new document. Google Docs provides a variety of templates, but for business cards, it’s best to start with a blank slate to have complete control over the design.
Step 3: Adjusting Page Setup
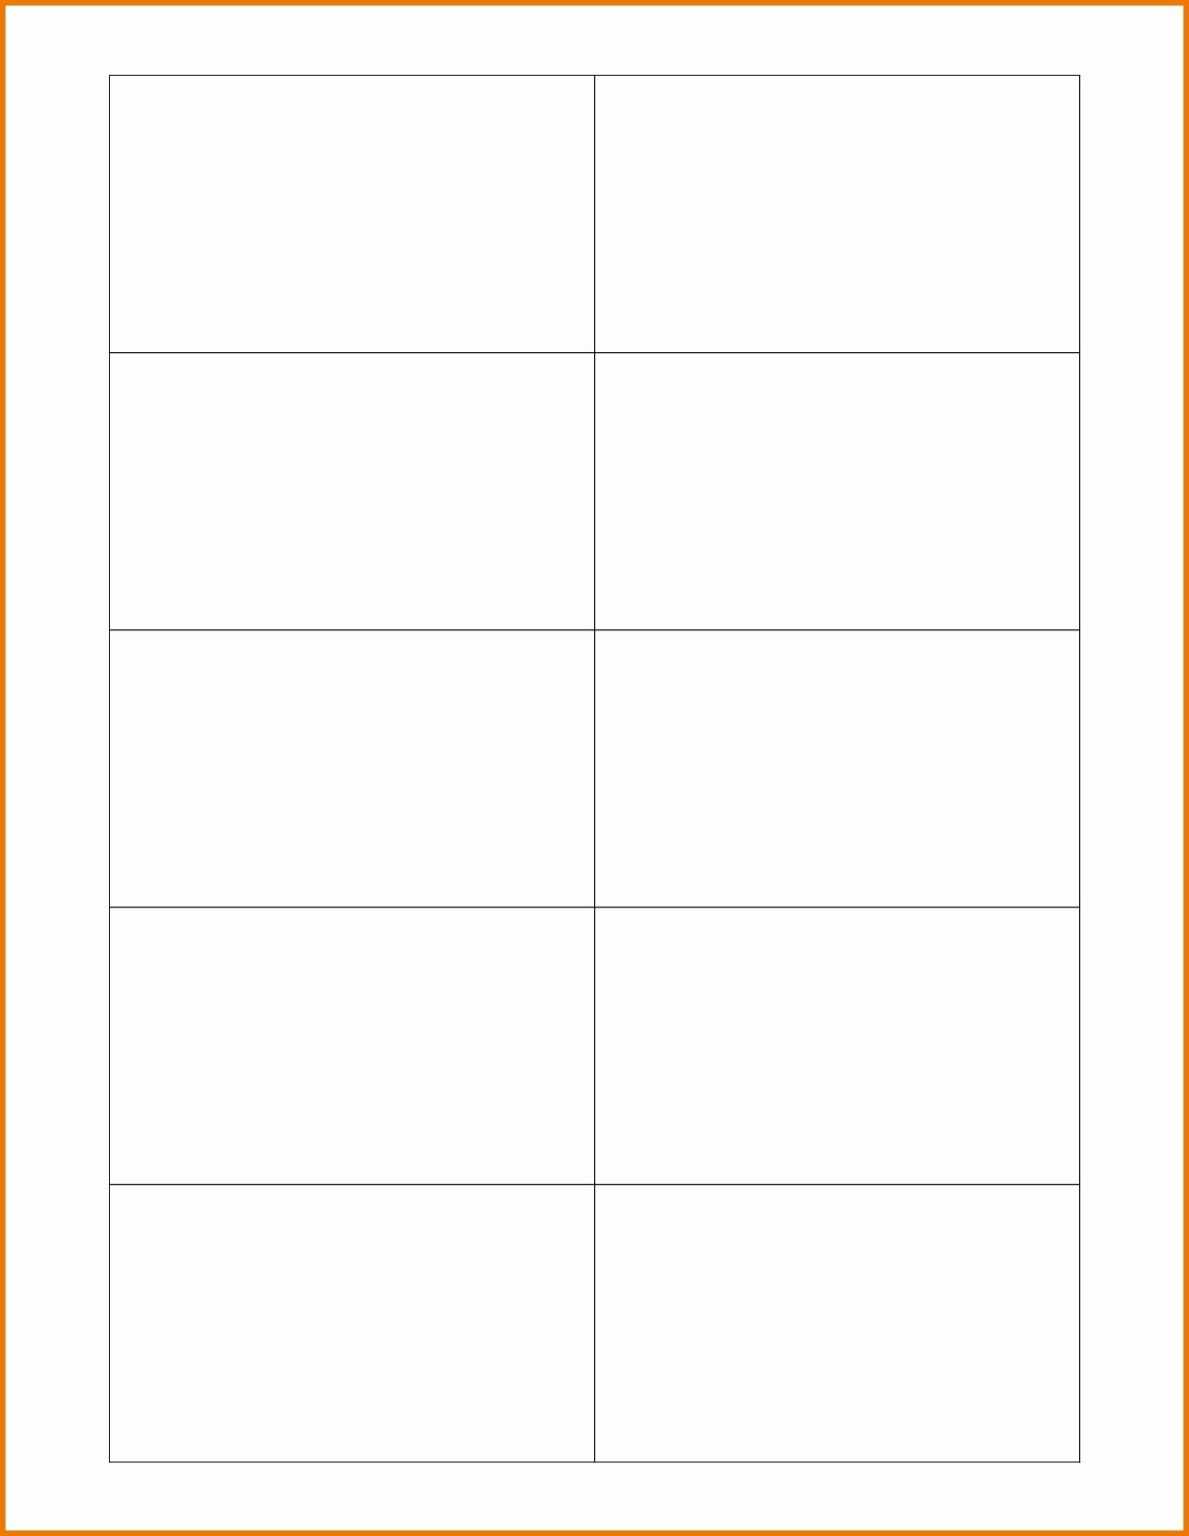
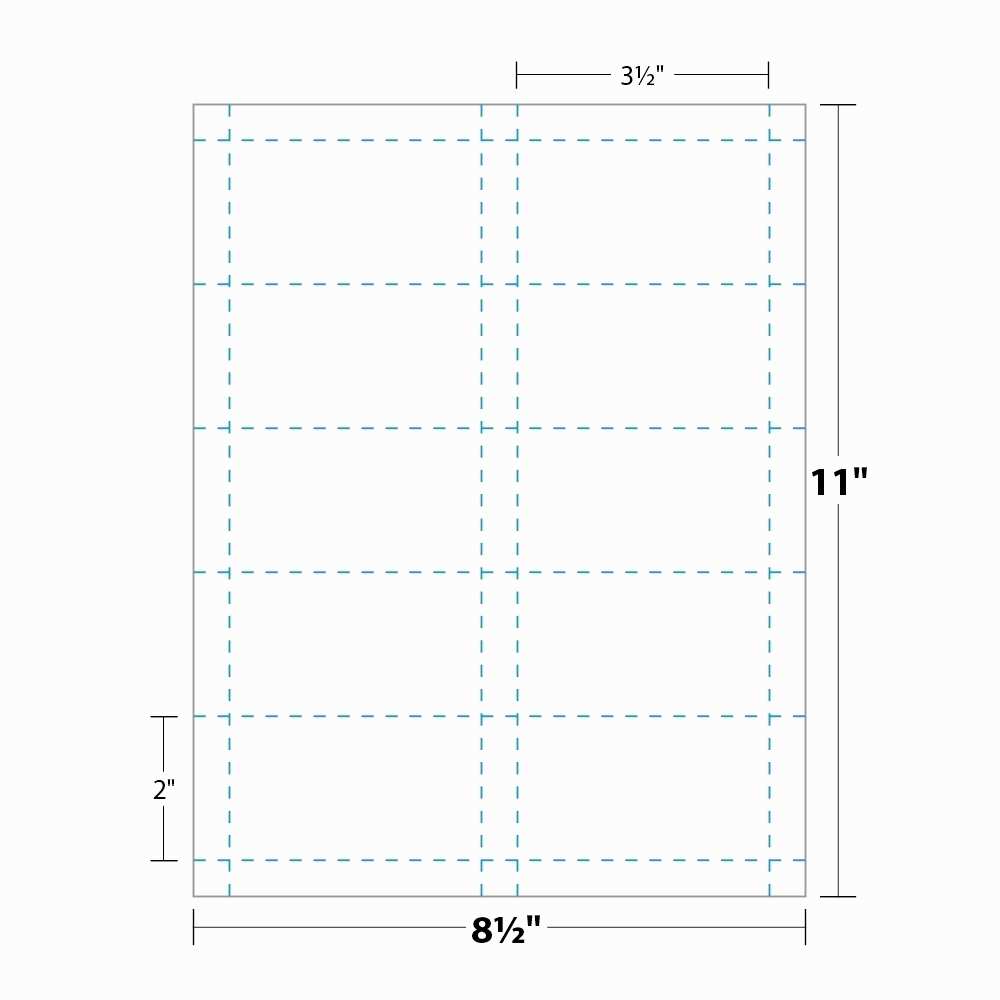
By default, Google Docs sets the page size to letter, which may not be suitable for business cards. To adjust the page setup, go to the “File” menu at the top of the document, then click on “Page setup.” In the dialog box that appears, choose the “Custom” option and enter the dimensions for your business cards. Standard business cards are typically 3.5 by 2 inches, but you can adjust the size to your preference.
Step 4: Designing Your Business Card
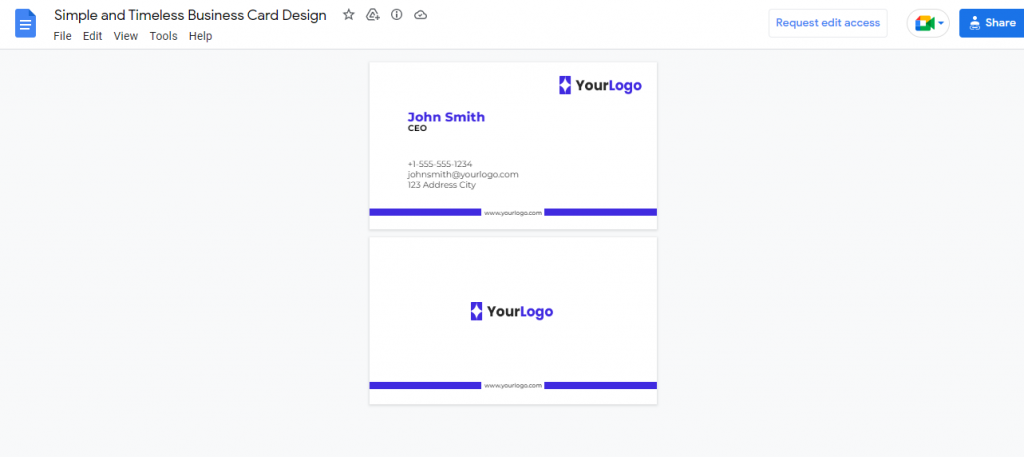
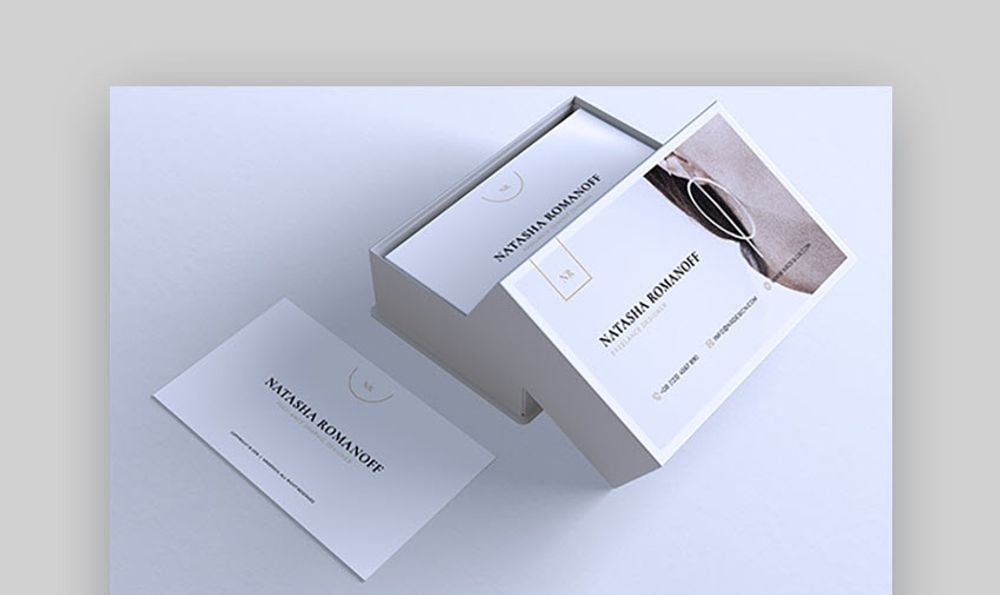
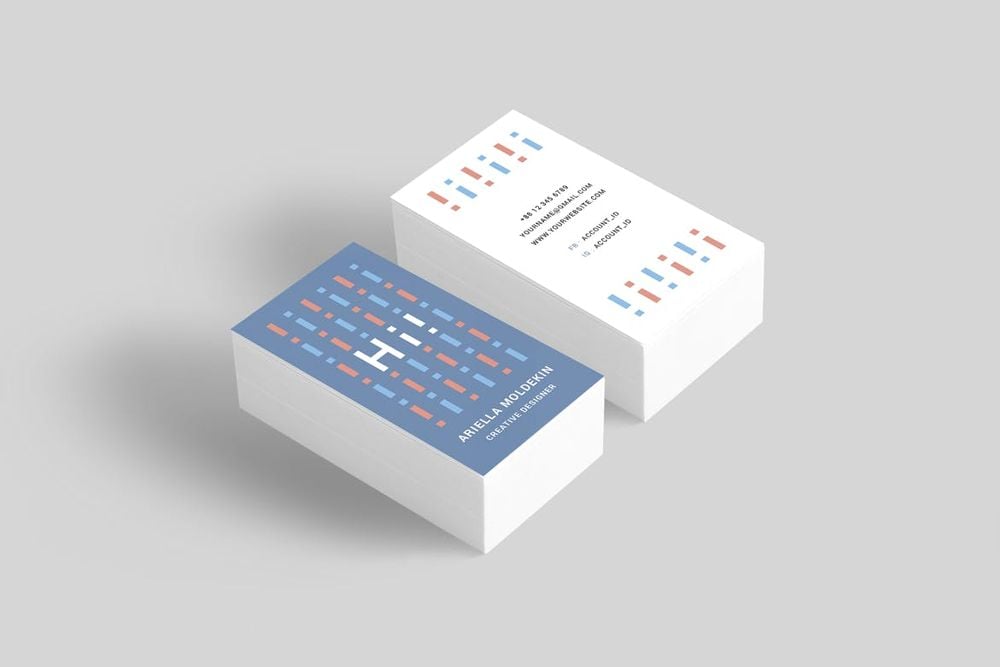
Now that you have set up the document, it’s time to design your business card. Start by considering the layout and the elements you want to include. It’s a good idea to keep the design clean and professional. Remember to include your name, job title, company logo, contact information, and any other details relevant to your brand.
Step 5: Adding Text and Images
To add text to your business card, click on the “Insert” menu, then select “Text box.” A text box will appear on the page, and you can enter your desired text. Customize the font, size, color, and alignment to match your brand’s style.
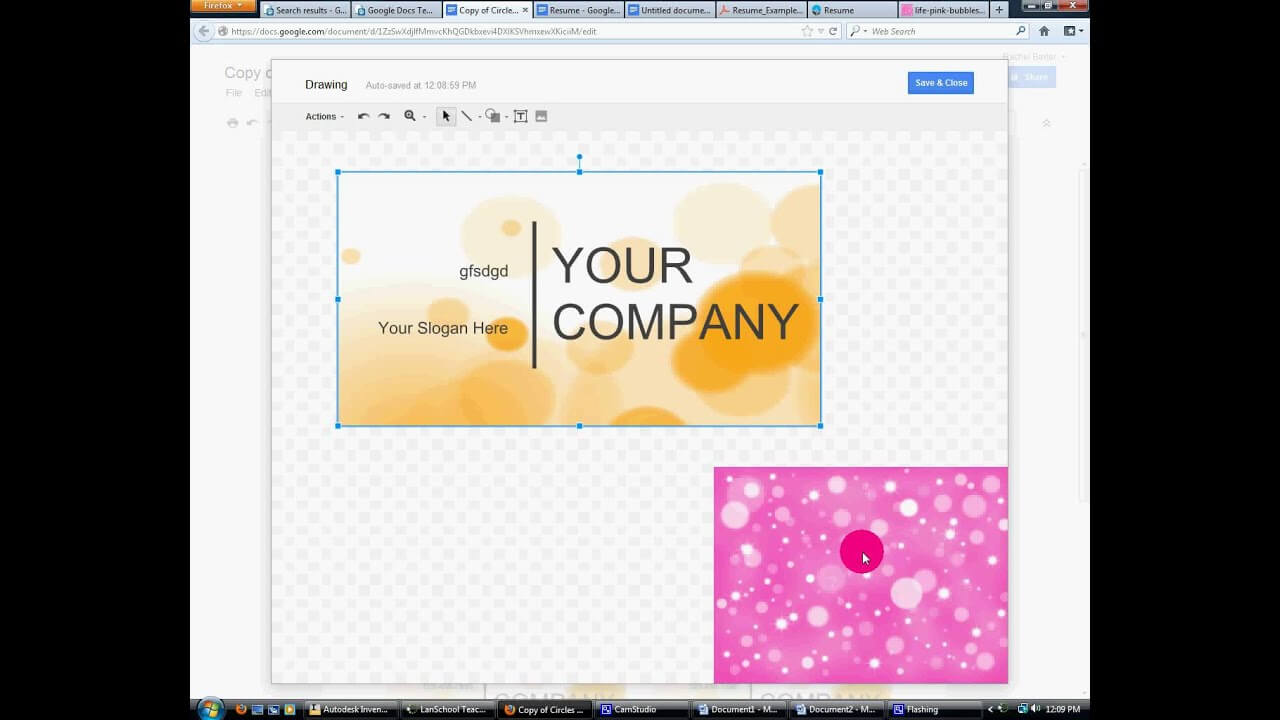
To add images or a logo, click on the “Insert” menu again, then select either “Image” or “Drawing.” If you have a logo saved on your device, choose “Image” to upload it. Alternatively, if you want to create a logo within Google Docs, select “Drawing” to access the drawing editor.
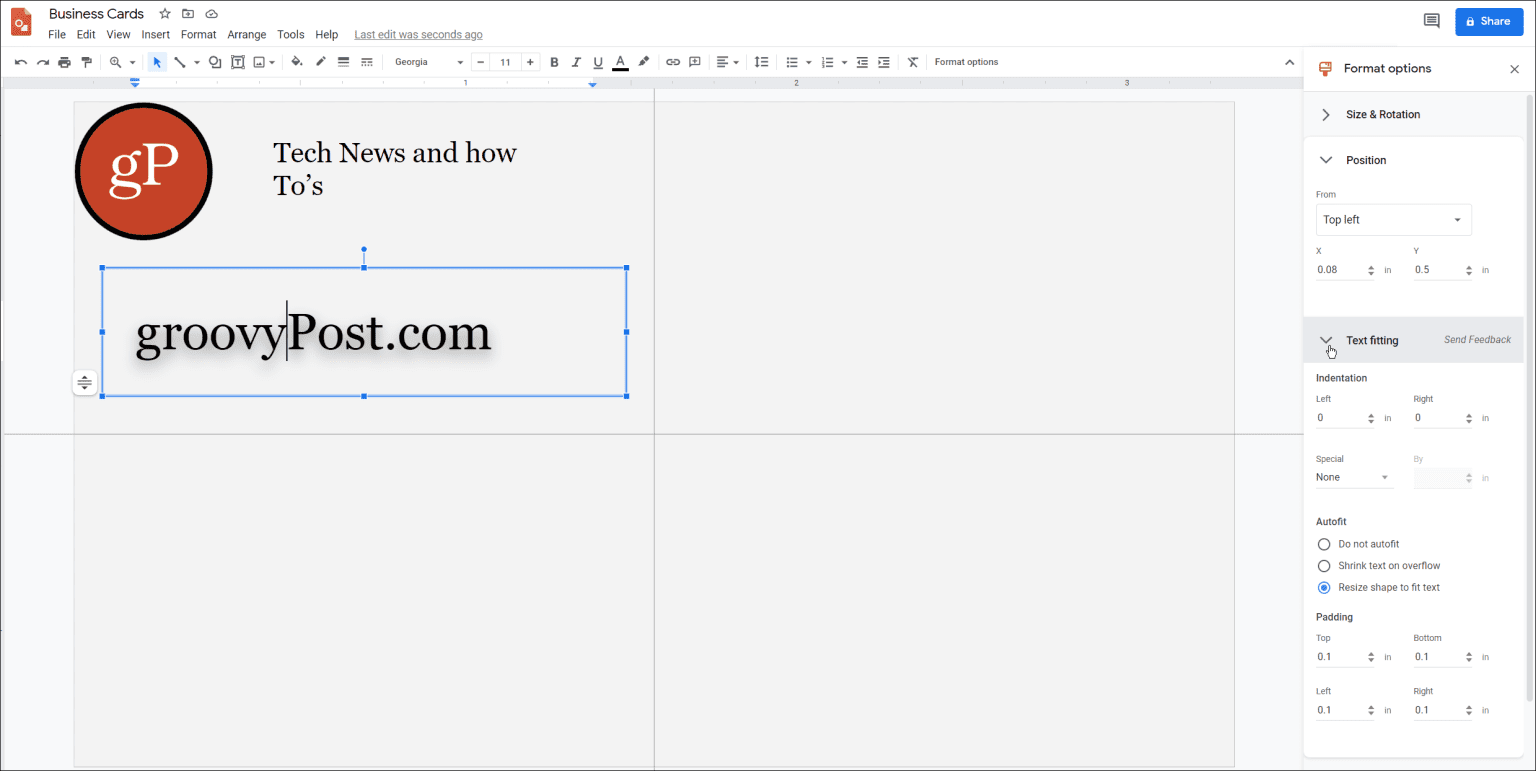
Step 6: Arranging and Aligning Elements
To ensure your business card looks polished and professional, it’s crucial to arrange and align all the elements correctly. Use the guides and rulers provided by Google Docs to line up text boxes, images, and other elements. You can also adjust the size, position, and rotation of each element by clicking and dragging.
Step 7: Customizing Colors and Fonts
To make your business card visually appealing, consider customizing the colors and fonts. Click on the elements you want to modify, then use the respective formatting menus to change the font, font size, font color, background color, and any other styles.
Step 8: Duplicating and Filling the Page

Once you have designed your first business card, you can duplicate and fill the page with multiple cards. Select the entire design, including all text boxes, images, and other elements. Right-click on the selection, choose “Copy,” and then right-click again and select “Paste.” Repeat this process until the entire page is filled.
Step 9: Reviewing and Finalizing
Before printing your business cards, it’s crucial to review your design for any errors or inconsistencies. Proofread the text for typos, check the alignment of elements, and ensure that all the information is accurate and up to date. Make any necessary adjustments to fine-tune the layout.
Step 10: Printing Your Business Cards
Once you are satisfied with your design, it’s time to print your business cards. Go to the “File” menu, select “Print,” and set the desired number of copies. Consider using high-quality cardstock or paper specifically designed for printing business cards for the best results. Ensure that your printer is properly configured, and print a test page if necessary.
Conclusion
Designing and printing business cards on Google Docs is a straightforward process that allows you to create professional-looking cards without the need for specialized software. By following the steps outlined in this guide, you can easily design personalized business cards that reflect your brand and make a lasting impression on potential clients and contacts. So, leverage the power of Google Docs and start crafting your business cards today!
William’s writing reflects a deep passion for graphic design and marketing. With a background in the visual arts, he adds a unique perspective to his content. In his spare time, William enjoys visiting art galleries and seeking out the latest design trends.