
Business cards play a crucial role in making a lasting impression on potential clients or customers. They provide a tangible and professional representation of your brand. However, these cards can easily become worn or damaged over time. To protect your business cards and ensure their longevity, laminating them is a smart solution. In this comprehensive guide, we will walk you through the step-by-step process of laminating your business cards. By following these instructions, you can preserve the quality and appearance of your cards for years to come.
Materials Needed
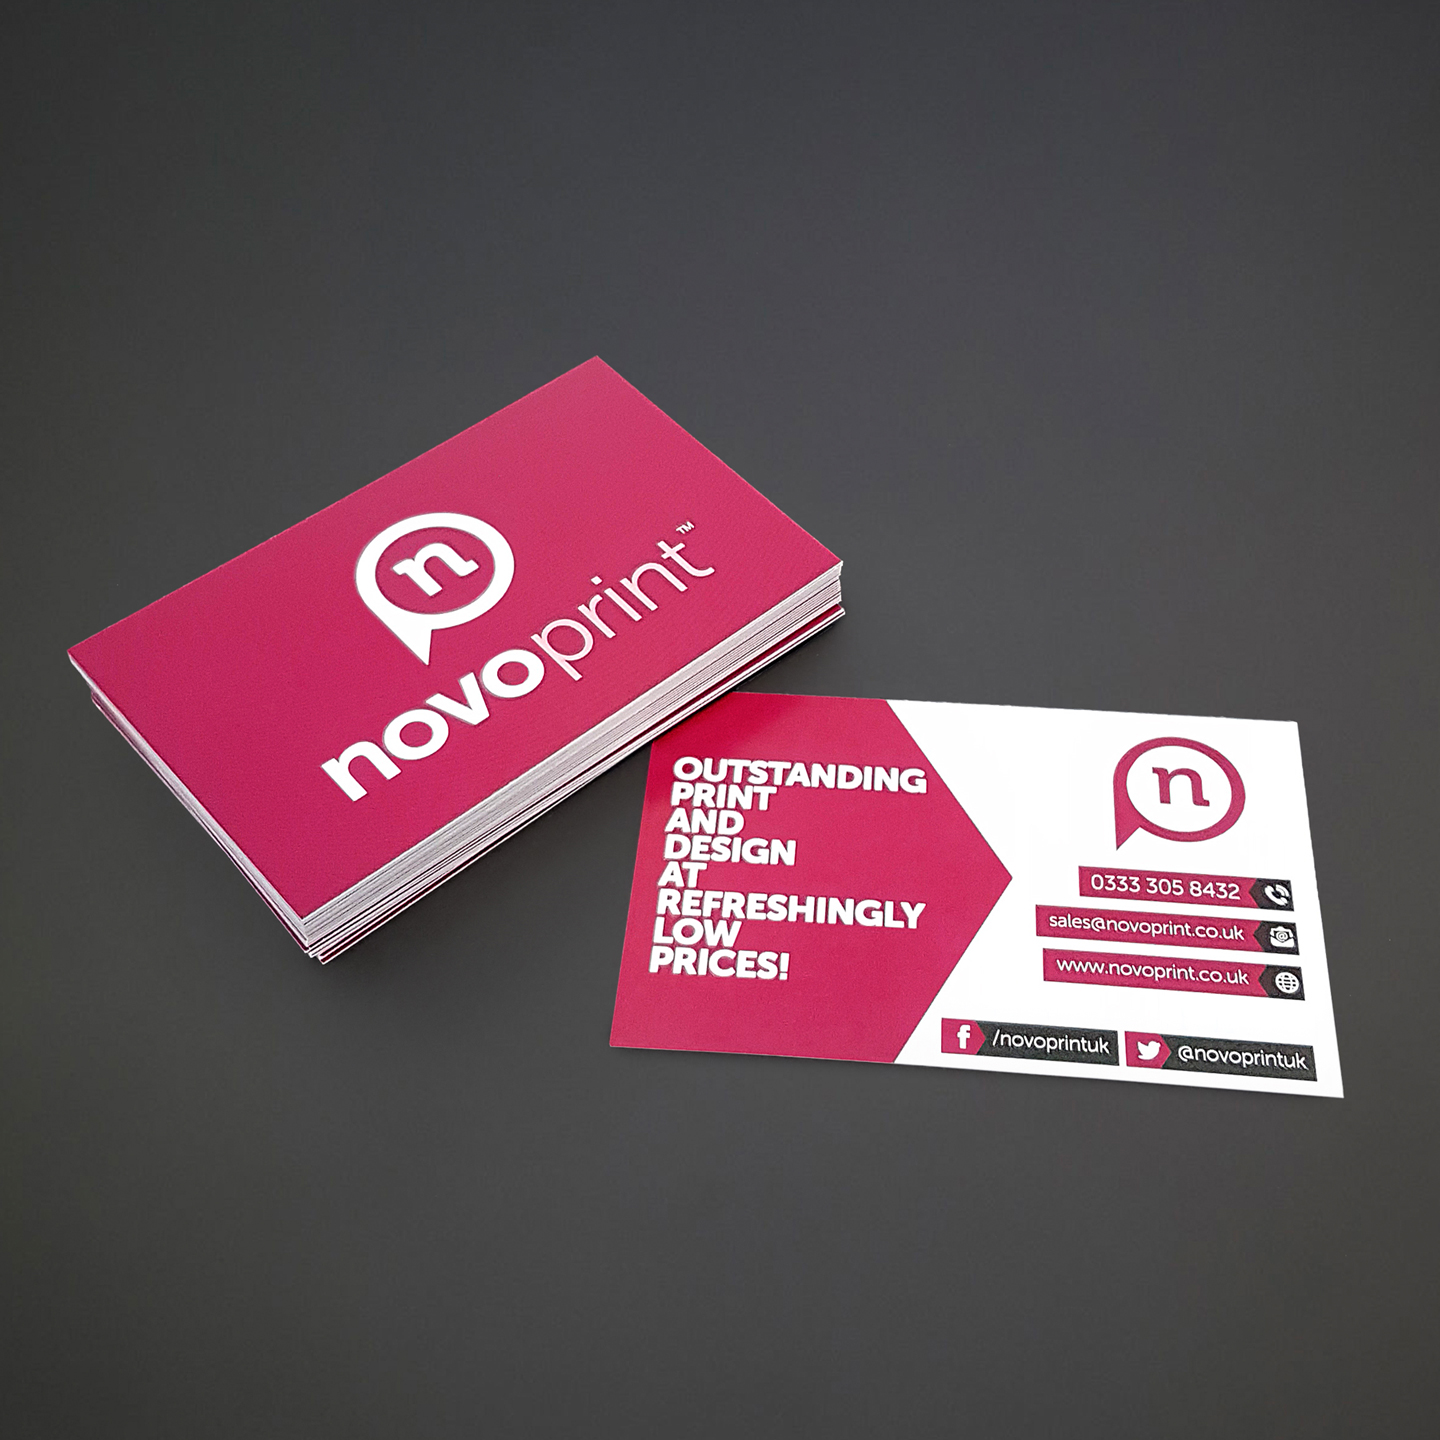
Before you start the laminating process, gather the necessary materials:
- Laminator: A hot or cold laminating machine, depending on your preference and budget.
- Laminating pouches: Available in various sizes to accommodate your business cards.
- Scissors or paper cutter: To trim excess laminate after the cards have been laminated.
- Business cards: Ensure they are clean, dry, and printed on durable cardstock.
- Clean, lint-free cloth: To wipe any dust or smudges off the business cards before laminating.
- Corner rounder (optional): To add a professional, polished look to your laminated business cards.
Step 1: Prepare Your Business Cards
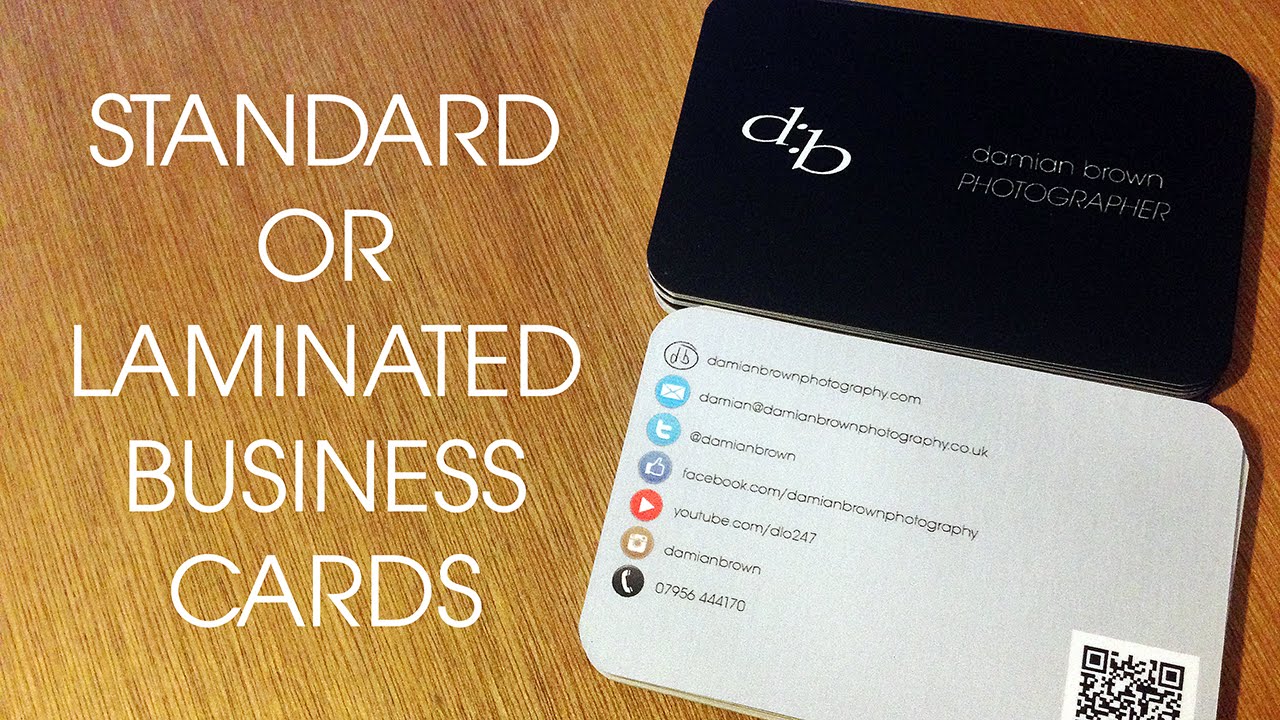
Start by inspecting your business cards for any imperfections or dirt. Wipe them gently with a clean, lint-free cloth to remove any dust, fingerprints, or smudges. This step is crucial as any particles or blemishes on the business cards can become trapped under the laminate and compromise the appearance of your final product.
Step 2: Set Up Your Laminator
Connect your laminator to a power source and switch it on. Give it sufficient time to warm up, ensuring it reaches the appropriate temperature for the lamination process. Refer to the manufacturer’s instructions for the recommended warm-up time.
Step 3: Determine the Size of Laminating Pouch
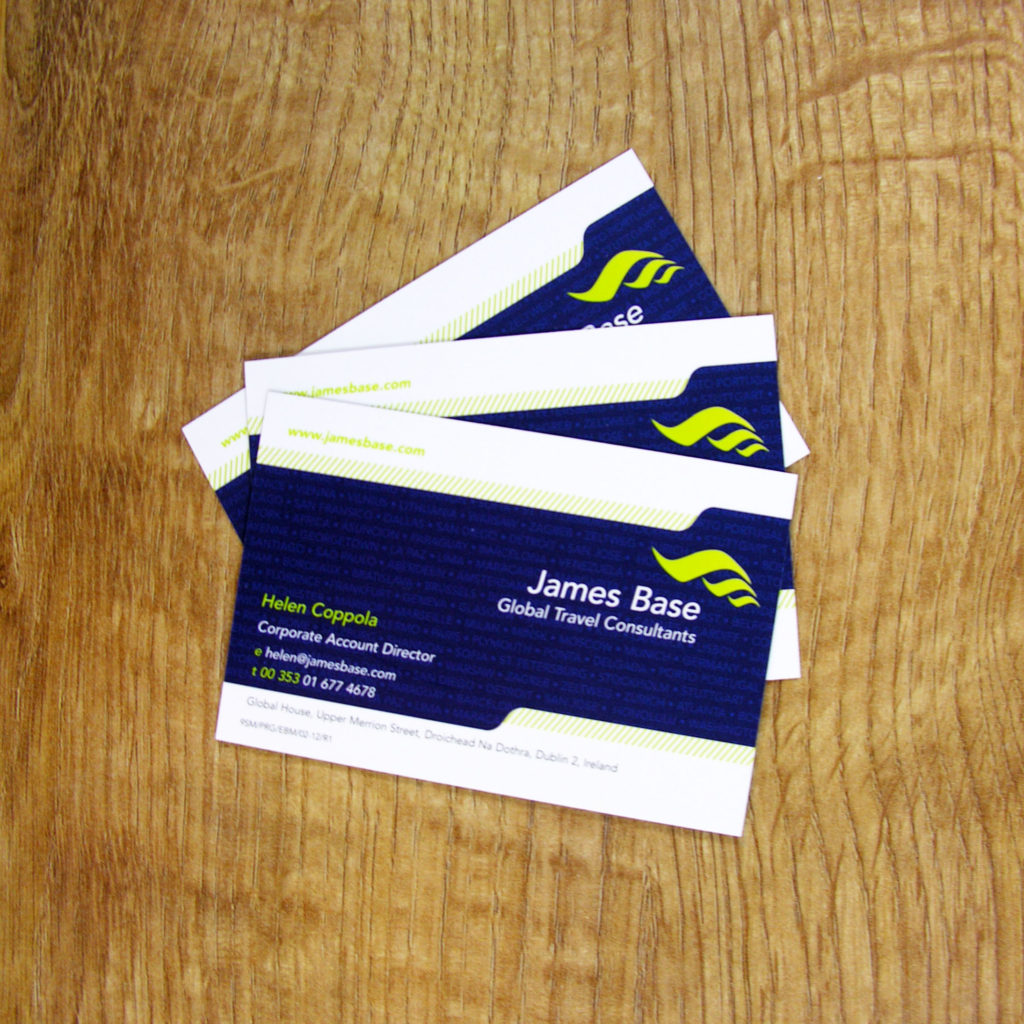
Measure the dimensions of your business cards to determine the appropriate size of the laminating pouches. It is preferable to choose pouches that are slightly larger than your cards to allow a small border around the edges. This border will ensure that the cards are completely sealed and protected.
Step 4: Insert the Business Card into the Laminating Pouch

Carefully place your business card into the laminating pouch, aligning it with the edges. Ensure it is positioned correctly and centered within the pouch to avoid any uneven lamination.
Step 5: Align and Feed the Laminating Pouch into the Machine
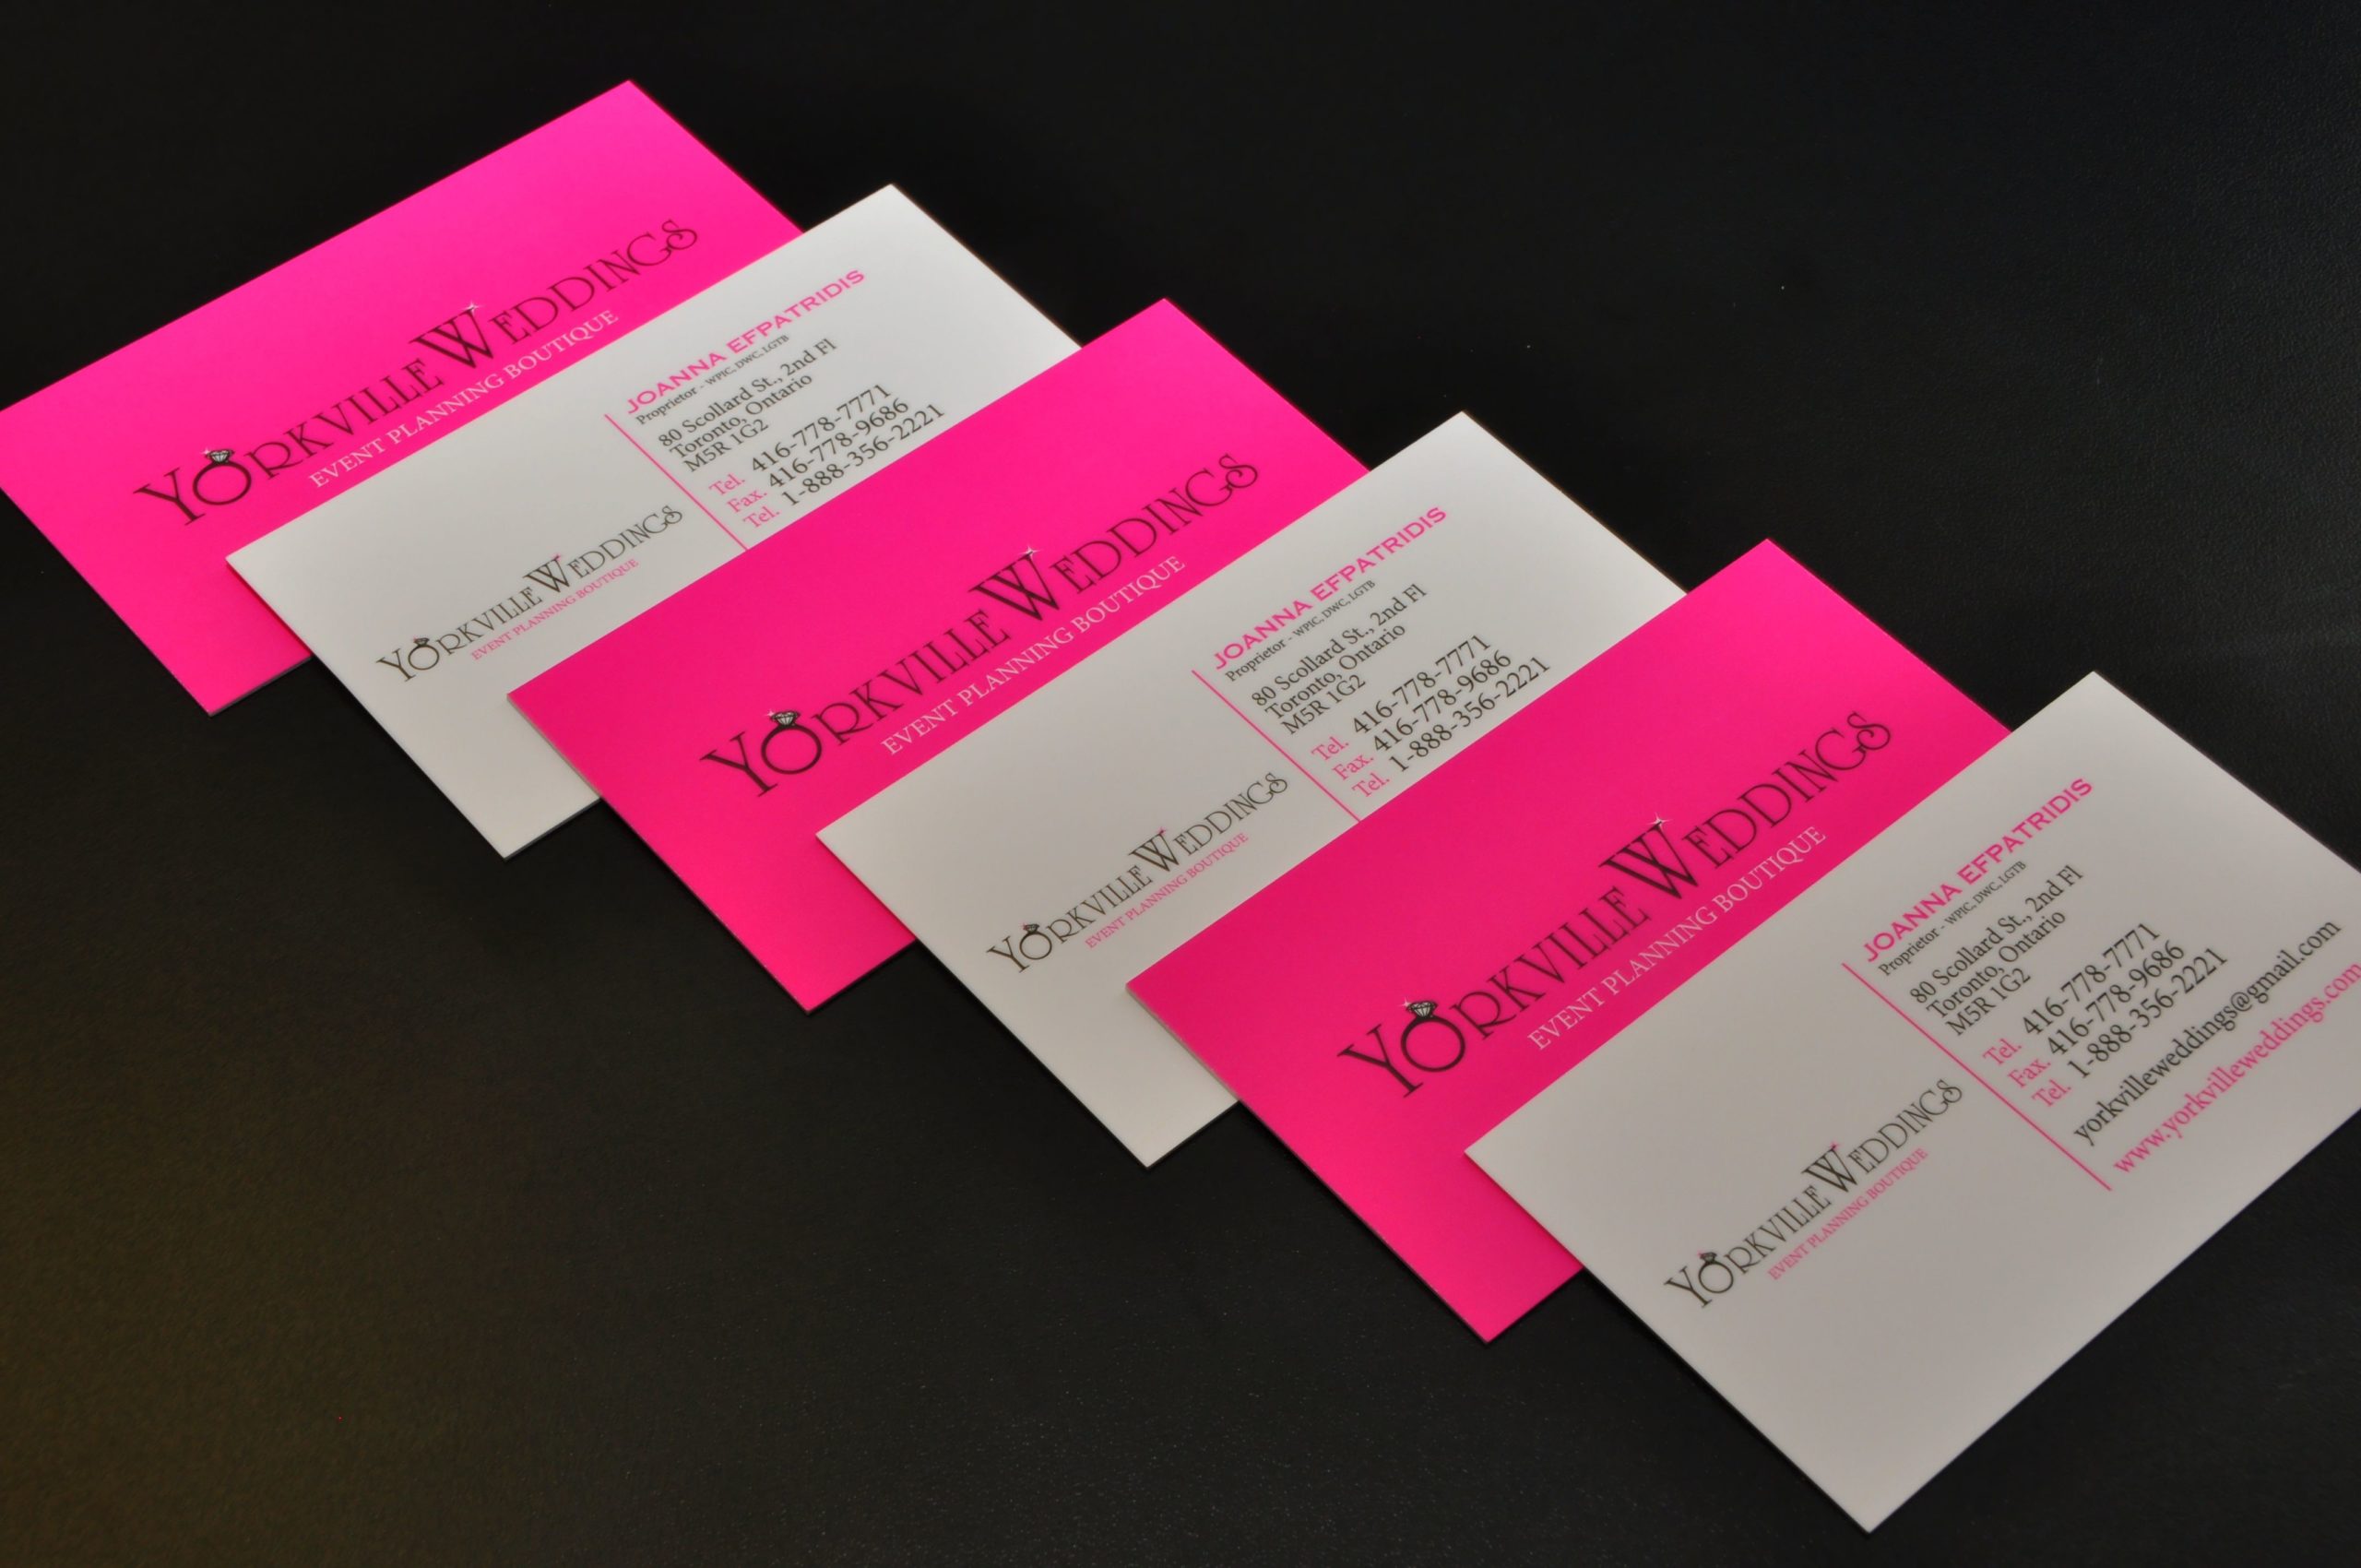
Hold the laminating pouch with the business card and align it with the edge of the laminator feed tray. Gently feed the pouch into the laminator, making sure it is straight and doesn’t jam the machine. Guiding the pouch evenly will result in a smooth and professional lamination.
Step 6: Adjust the Laminator Settings (if applicable)
If your laminator has adjustable settings for temperature and speed, refer to the manufacturer’s recommendations or follow the guidelines provided with the laminating pouches. It is crucial to set the appropriate temperature and speed to ensure optimal lamination results without damaging the business cards.
Step 7: Wait for the Lamination Process to Complete

Allow the laminator to fully process the laminating pouch, ensuring that the adhesive within the pouch has bonded completely with the business card. This typically takes a few seconds, but the exact duration may vary depending on the laminator and pouch specifications. Avoid removing the laminated business card prematurely, as this can cause damage.
Step 8: Trim Excess Laminate (if necessary)

Once the lamination is complete, remove the laminated business card from the laminator and inspect it for any excess laminate. If there is any excess laminate beyond the edges of your business card, carefully trim it using scissors or a paper cutter. This step will give your laminated business cards a clean and polished appearance.
Step 9: Optional â_x0080__x0093_ Round the Corners (if desired)

To add a professional touch to your laminated business cards, consider rounding the corners. This step is optional but can enhance the overall look and feel of your cards. Use a corner rounder to trim the corners of your laminated business card evenly. Be cautious not to cut too much, as you want to maintain the integrity of the laminated seal.
Conclusion

In conclusion, laminating your business cards is a simple yet effective way to protect and enhance their durability. By following this step-by-step guide, you can ensure that your business cards withstand everyday wear and tear, maintaining their professional appearance for a longer period. Remember to gather all the necessary materials, prepare your business cards, set up your laminator, and carefully follow each step to achieve the best results. By implementing this laminating process, you will leave a lasting impression on your clients and customers with high-quality, well-protected business cards.
So, why wait? Take action today and start laminating your business cards to elevate your brand image and leave a lasting impact on those you meet.
Samuel Anderson, a branding connoisseur, brings his knack for design and a strong marketing background to the forefront. He’s a voracious reader and enjoys delving into psychology, which he incorporates into his marketing strategies for business cards and brand development.