If you’re a business owner or professional looking to create personalized business cards that perfectly represent your brand, using a Cricut cutting machine can be a fantastic option. Cricut machines are known for their precision and versatility, allowing you to create intricate designs and cut various materials with ease. In this article, we will guide you through the process of cutting business cards on a Cricut machine, step by step.
Getting Started with Cricut

Before you can start cutting business cards on your Cricut machine, you’ll need to gather a few essential items and familiarize yourself with the basics of using the machine.
What You’ll Need
- Cricut cutting machine (such as Cricut Maker or Cricut Explore Air 2)
- Cricut Design Space software (available for free online)
- StandardGrip or LightGrip Cricut cutting mat
- Cardstock or paper for business cards
- Design or template for your business cards
- Basic craft supplies (scissors, ruler, etc.)
Step 1: Set Up Your Cricut Machine and Software
Start by setting up your Cricut machine according to the manufacturer’s instructions. Ensure that it is properly connected to your computer or device and that you have the necessary software, Cricut Design Space, installed and updated.
Once your Cricut machine is set up, open Cricut Design Space and create a new project. If you have a specific design or template in mind for your business cards, you can import it into the software or choose from the available design options.
Step 2: Import or Design Your Business Card Template
In Cricut Design Space, you can import your own design or browse through the vast library of pre-designed templates. To import your own design, click on the “Upload” button in the left-hand panel and follow the instructions to upload your file.
If you prefer to design your business cards from scratch, explore the various tools and features in the design software. You can add text, shapes, images, and other elements to create a unique and personalized business card design.
Step 3: Customize and Arrange Your Business Card Design
Once you have your design or template imported, take some time to customize and arrange it to your liking. Adjust the size, color, and other design elements as necessary. Make sure that your business card’s dimensions are compatible with the cutting mat size you’ll be using.
To help ensure accurate cutting, it’s a good idea to leave some space around the edges of your design. This will prevent any important information or design elements from being unintentionally cut off during the cutting process.
Step 4: Prepare Your Cutting Mat and Material
Before you can cut your business cards, you’ll need to prepare your Cricut cutting mat and the cardstock or paper you’ll be using.
Choose a Cricut cutting mat suitable for your material, such as a StandardGrip mat for regular cardstock or a LightGrip mat for thinner paper. Ensure that your mat is clean and free from any debris or residue.
Next, trim your cardstock or paper to a size that fits your cutting mat. Use a ruler and scissors to achieve precise measurements if necessary.
Step 5: Load Your Cutting Mat and Start Cutting
Once your design is ready and your materials are prepared, it’s time to load your cutting mat into the Cricut machine and start cutting your business cards.
Follow the instructions specific to your Cricut machine model to correctly load the cutting mat. Ensure that the mat is aligned properly and securely in place.
In Cricut Design Space, click on the “Make It” button to proceed to the cutting process. Make sure that your machine is connected and turned on. Review the cutting settings and adjust them if needed, such as selecting the appropriate material type and setting the desired cutting pressure.
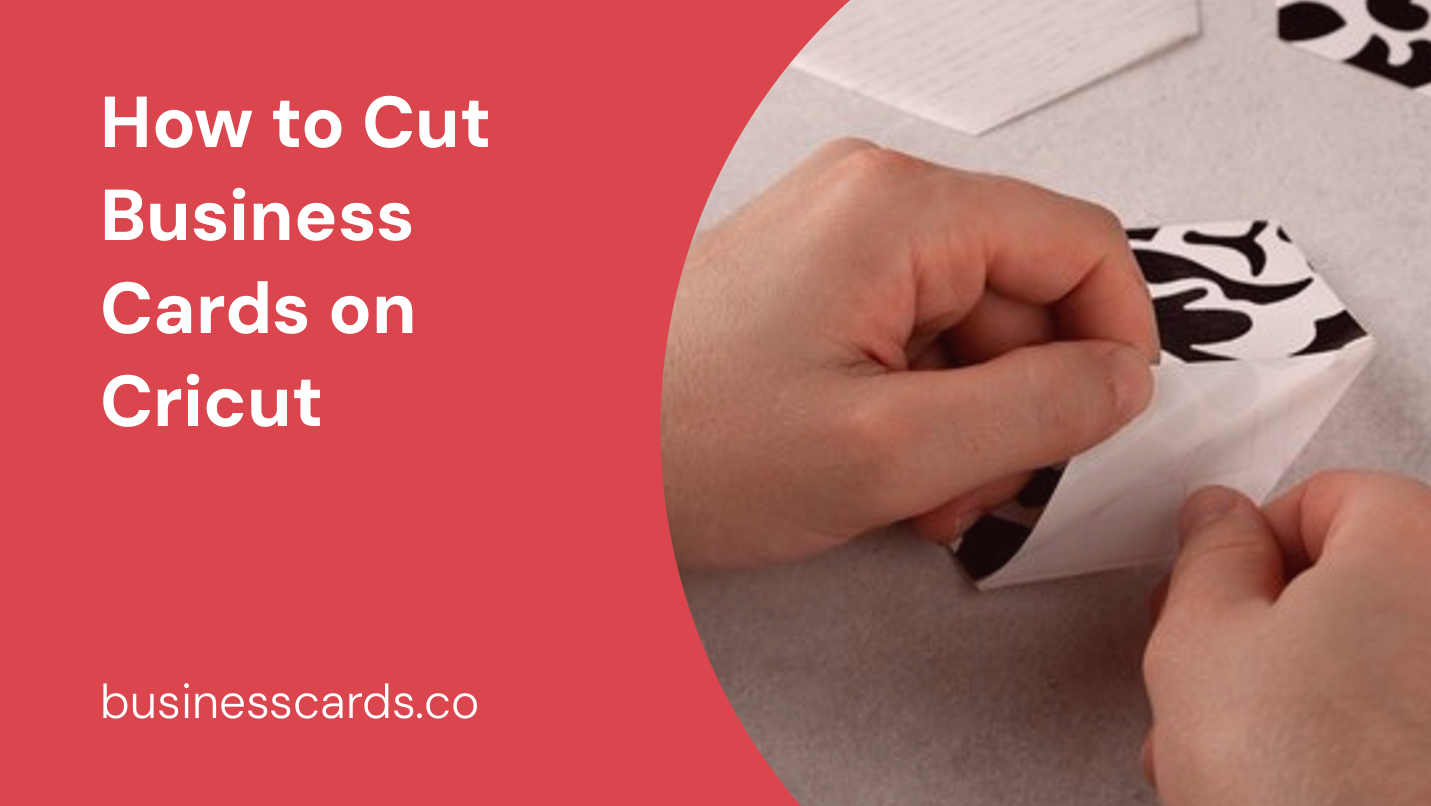
Step 6: Unload and Remove Your Business Cards
Once the cutting process is complete, carefully remove the cutting mat from the Cricut machine. Gently peel off the cardstock or paper from the mat, being cautious not to damage the delicate cut edges of your business cards.
Separate the individual business cards by cutting along the designated cut lines if necessary. Use scissors or a paper trimmer for clean and precise cuts.
Voila! You have successfully cut your business cards using your Cricut machine.
Conclusion

Cutting business cards on a Cricut machine opens up a world of possibilities for creating unique and professional-looking designs. By following the step-by-step process outlined in this article, you’ll be able to create personalized business cards that leave a lasting impression.
Remember to gather all the necessary materials, set up your Cricut machine and software, design or import your business card template, customize and arrange your design, prepare your cutting mat and material, load your mat into the Cricut machine, and finally, unload and remove your business cards. With a bit of practice, you’ll soon become a pro at creating beautifully cut business cards on your Cricut machine.
Isabella, a branding guru, merges her love for storytelling with her marketing expertise. Her fascination with cultural diversity and travel lends a global perspective to her writing about business cards and graphic design. In her free time, she explores new cuisines and documents her culinary adventures.