Do you want to create your own unique business cards with a personal touch? Look no further than the Cricut machine, a versatile tool that can help you bring your DIY dreams to life. In this comprehensive guide, we’ll walk you through the process of designing and crafting professional-looking business cards using the Cricut machine. Whether you’re a small business owner, a freelancer, or simply want to stand out from the crowd, this tutorial will help you create eye-catching business cards that leave a lasting impression. Let’s get started!
Materials You’ll Need
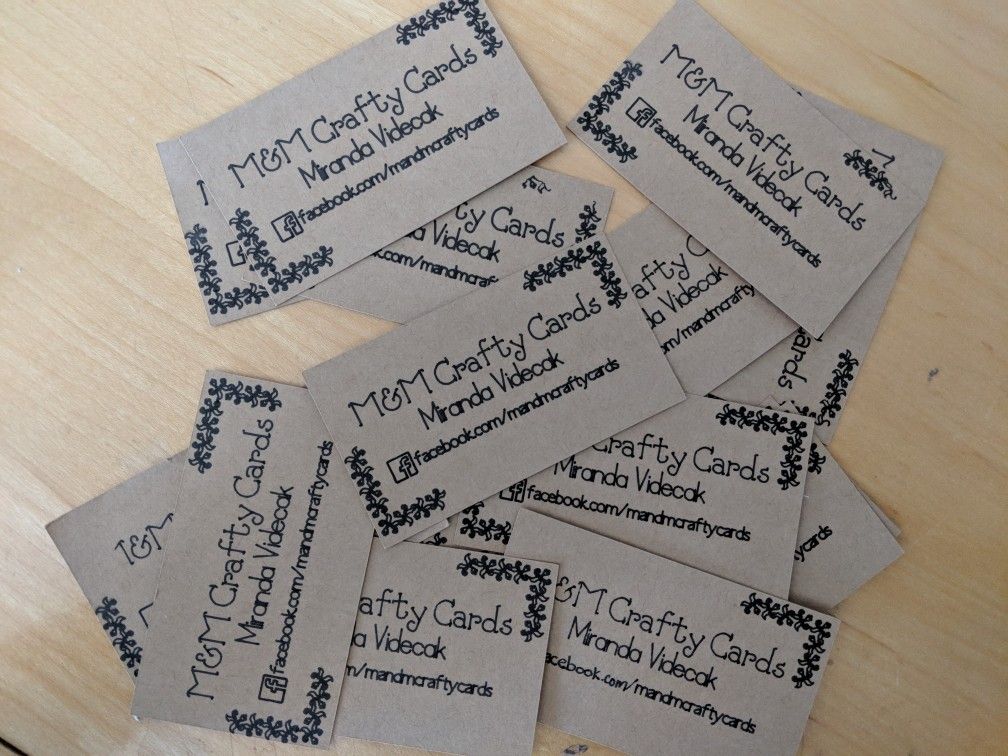
Before diving into the creative process, it’s important to gather all the necessary materials. Here’s a list of items you’ll need for making your DIY business cards with Cricut:
- Cricut machine (Explore Air 2 or Maker)
- Cricut Design Space software
- Cardstock or specialty paper of your choice
- Cricut cutting mat
- Cricut tools (weeder, spatula, scraper)
- Printer (optional, only if you want to print any designs on your cards)
- Scissors (for any additional trimming)
Step 1: Designing Your Business Card
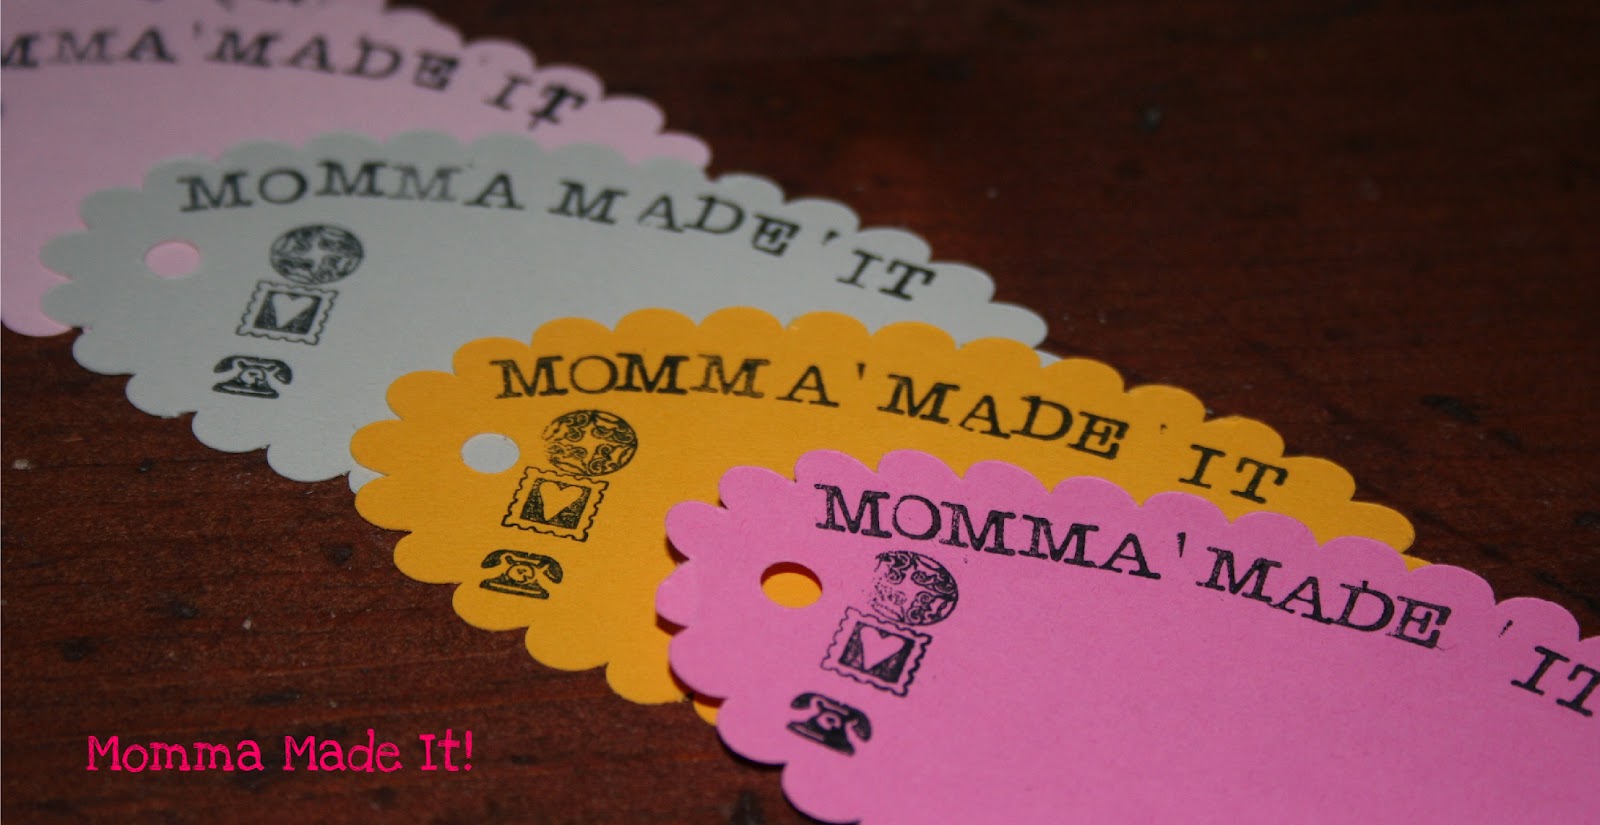
The first step in creating your own business cards is designing them in Cricut Design Space. Here’s how you can do it:
- Open Cricut Design Space on your computer and start a new project.
- Choose the shape and size of your business card by selecting the appropriate canvas option.
- Experiment with different fonts, images, and colors to create a unique design that represents your brand or personality.
- Don’t forget to include important details such as your name, contact information, and logo (if applicable).
Remember, simplicity is key when it comes to business cards. Make sure the design is clean, easy to read, and visually appealing.
Step 2: Preparing the Design for Cutting
Once you’re satisfied with your business card design, it’s time to prepare it for cutting with the Cricut machine. Follow these steps:
- Click on “Make It” in Design Space to proceed to the cutting stage.
- If you have a printer, you can print your design directly onto the cardstock. Otherwise, proceed to the next step.
- Place your cardstock on the Cricut cutting mat and load it into the machine.
- Follow the prompts on the screen to ensure the correct settings for your material (e.g., cardstock or specialty paper) are selected.
- Insert the appropriate Cricut blade (fine-point blade for cardstock) and press the “Go” button to start cutting.
Be patient as the Cricut machine works its magic. Once the cutting is complete, unload the cutting mat and remove the cardstock from it.
Step 3: Assembling Your Business Cards
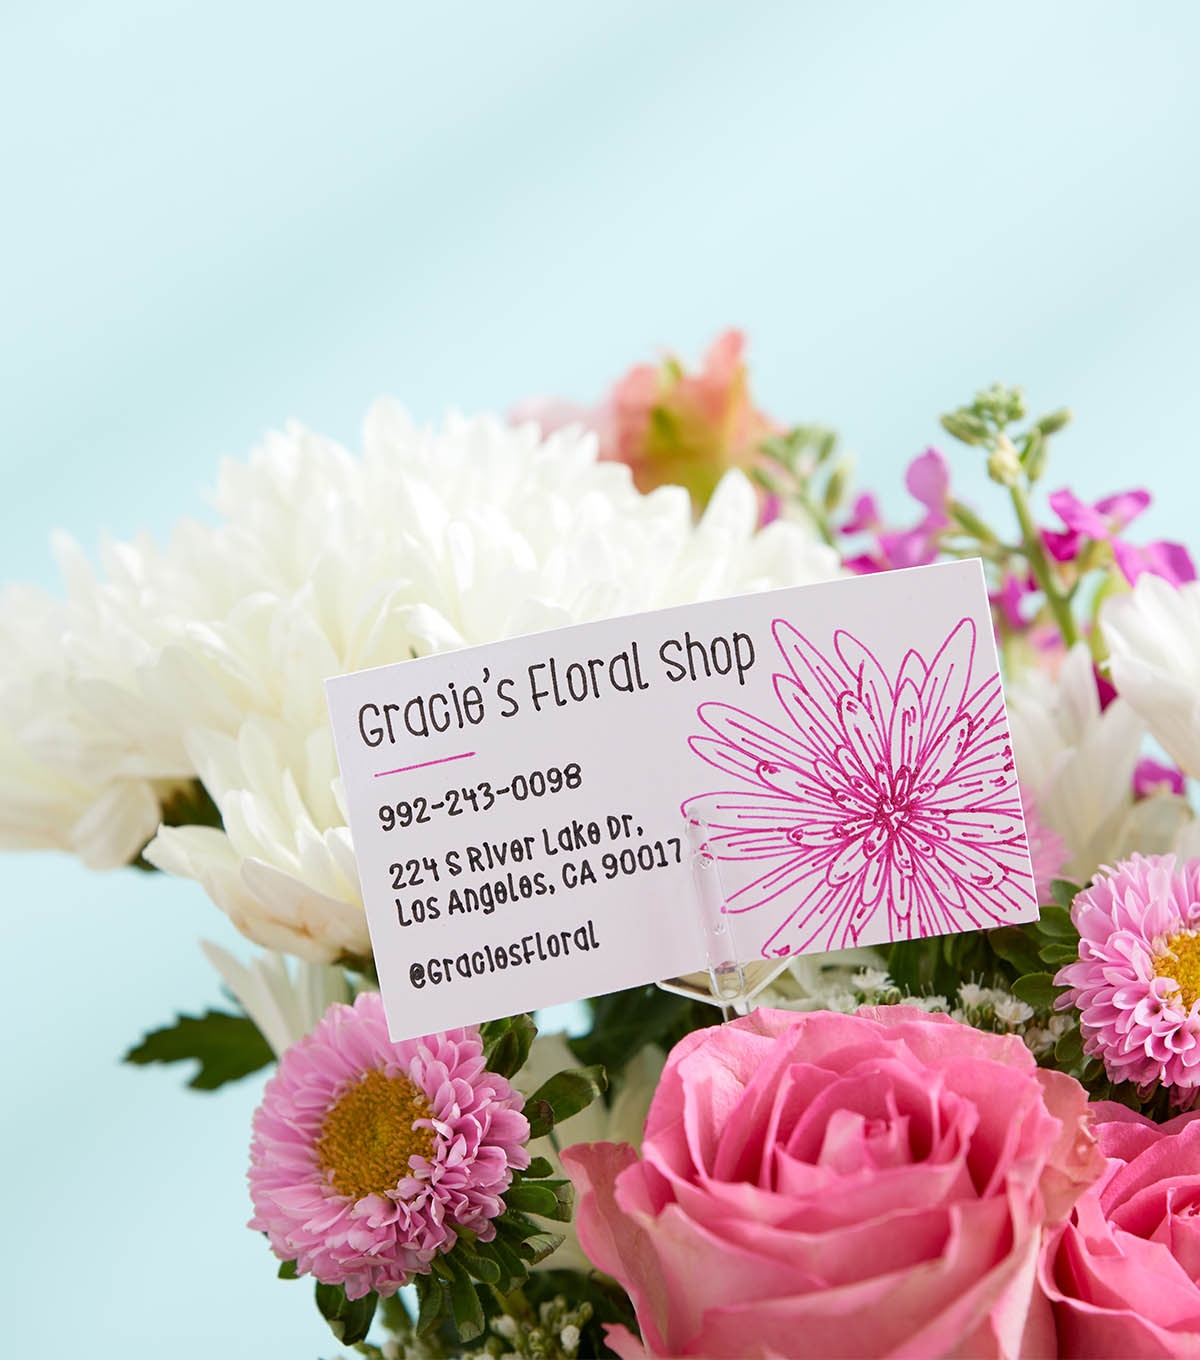
Now that your business card designs are cut out, it’s time to assemble them. Here’s what you need to do:
- Gently remove each card from the cutting mat, being careful not to tear or damage them.
- If you printed your designs, trim the excess white borders using scissors.
- Use a weeder tool to remove any small, intricate pieces from your designs (e.g., the centers of letters or delicate details).
- If desired, use the spatula and scraper tools to help lift and apply adhesive or double-sided tape to the back of your business cards.
- Carefully align and press the front and back of each card together, ensuring they match perfectly.
Step 4: Finishing Touches
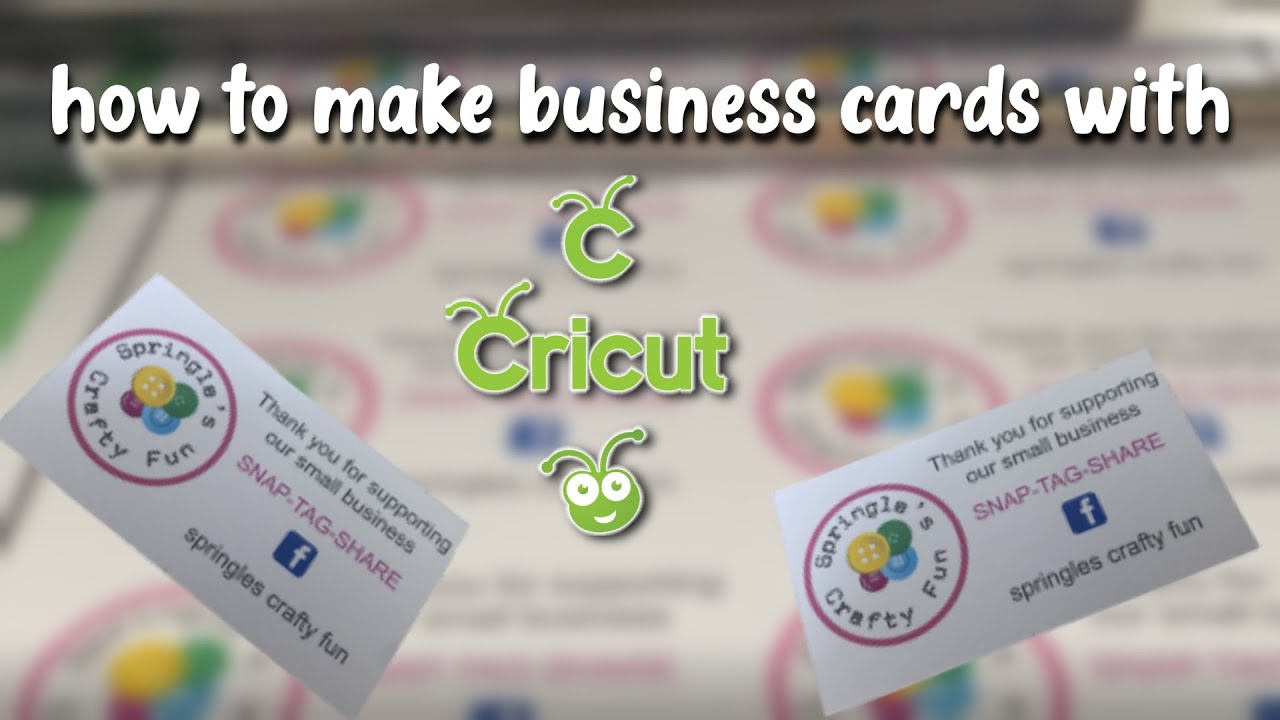
Once your business cards are assembled, it’s time to add any finishing touches that will make them look even more professional and polished. Here are a few ideas:
- Round the corners of your business cards using a corner punch for a softer, more eye-catching look.
- Apply a coat of clear protective spray or laminate your cards to enhance durability.
- Consider embossing or foiling specific elements of your design to add a touch of elegance.
- If desired, use a hole punch to create a small notch on one corner of your cards for a unique, memorable shape.
Conclusion
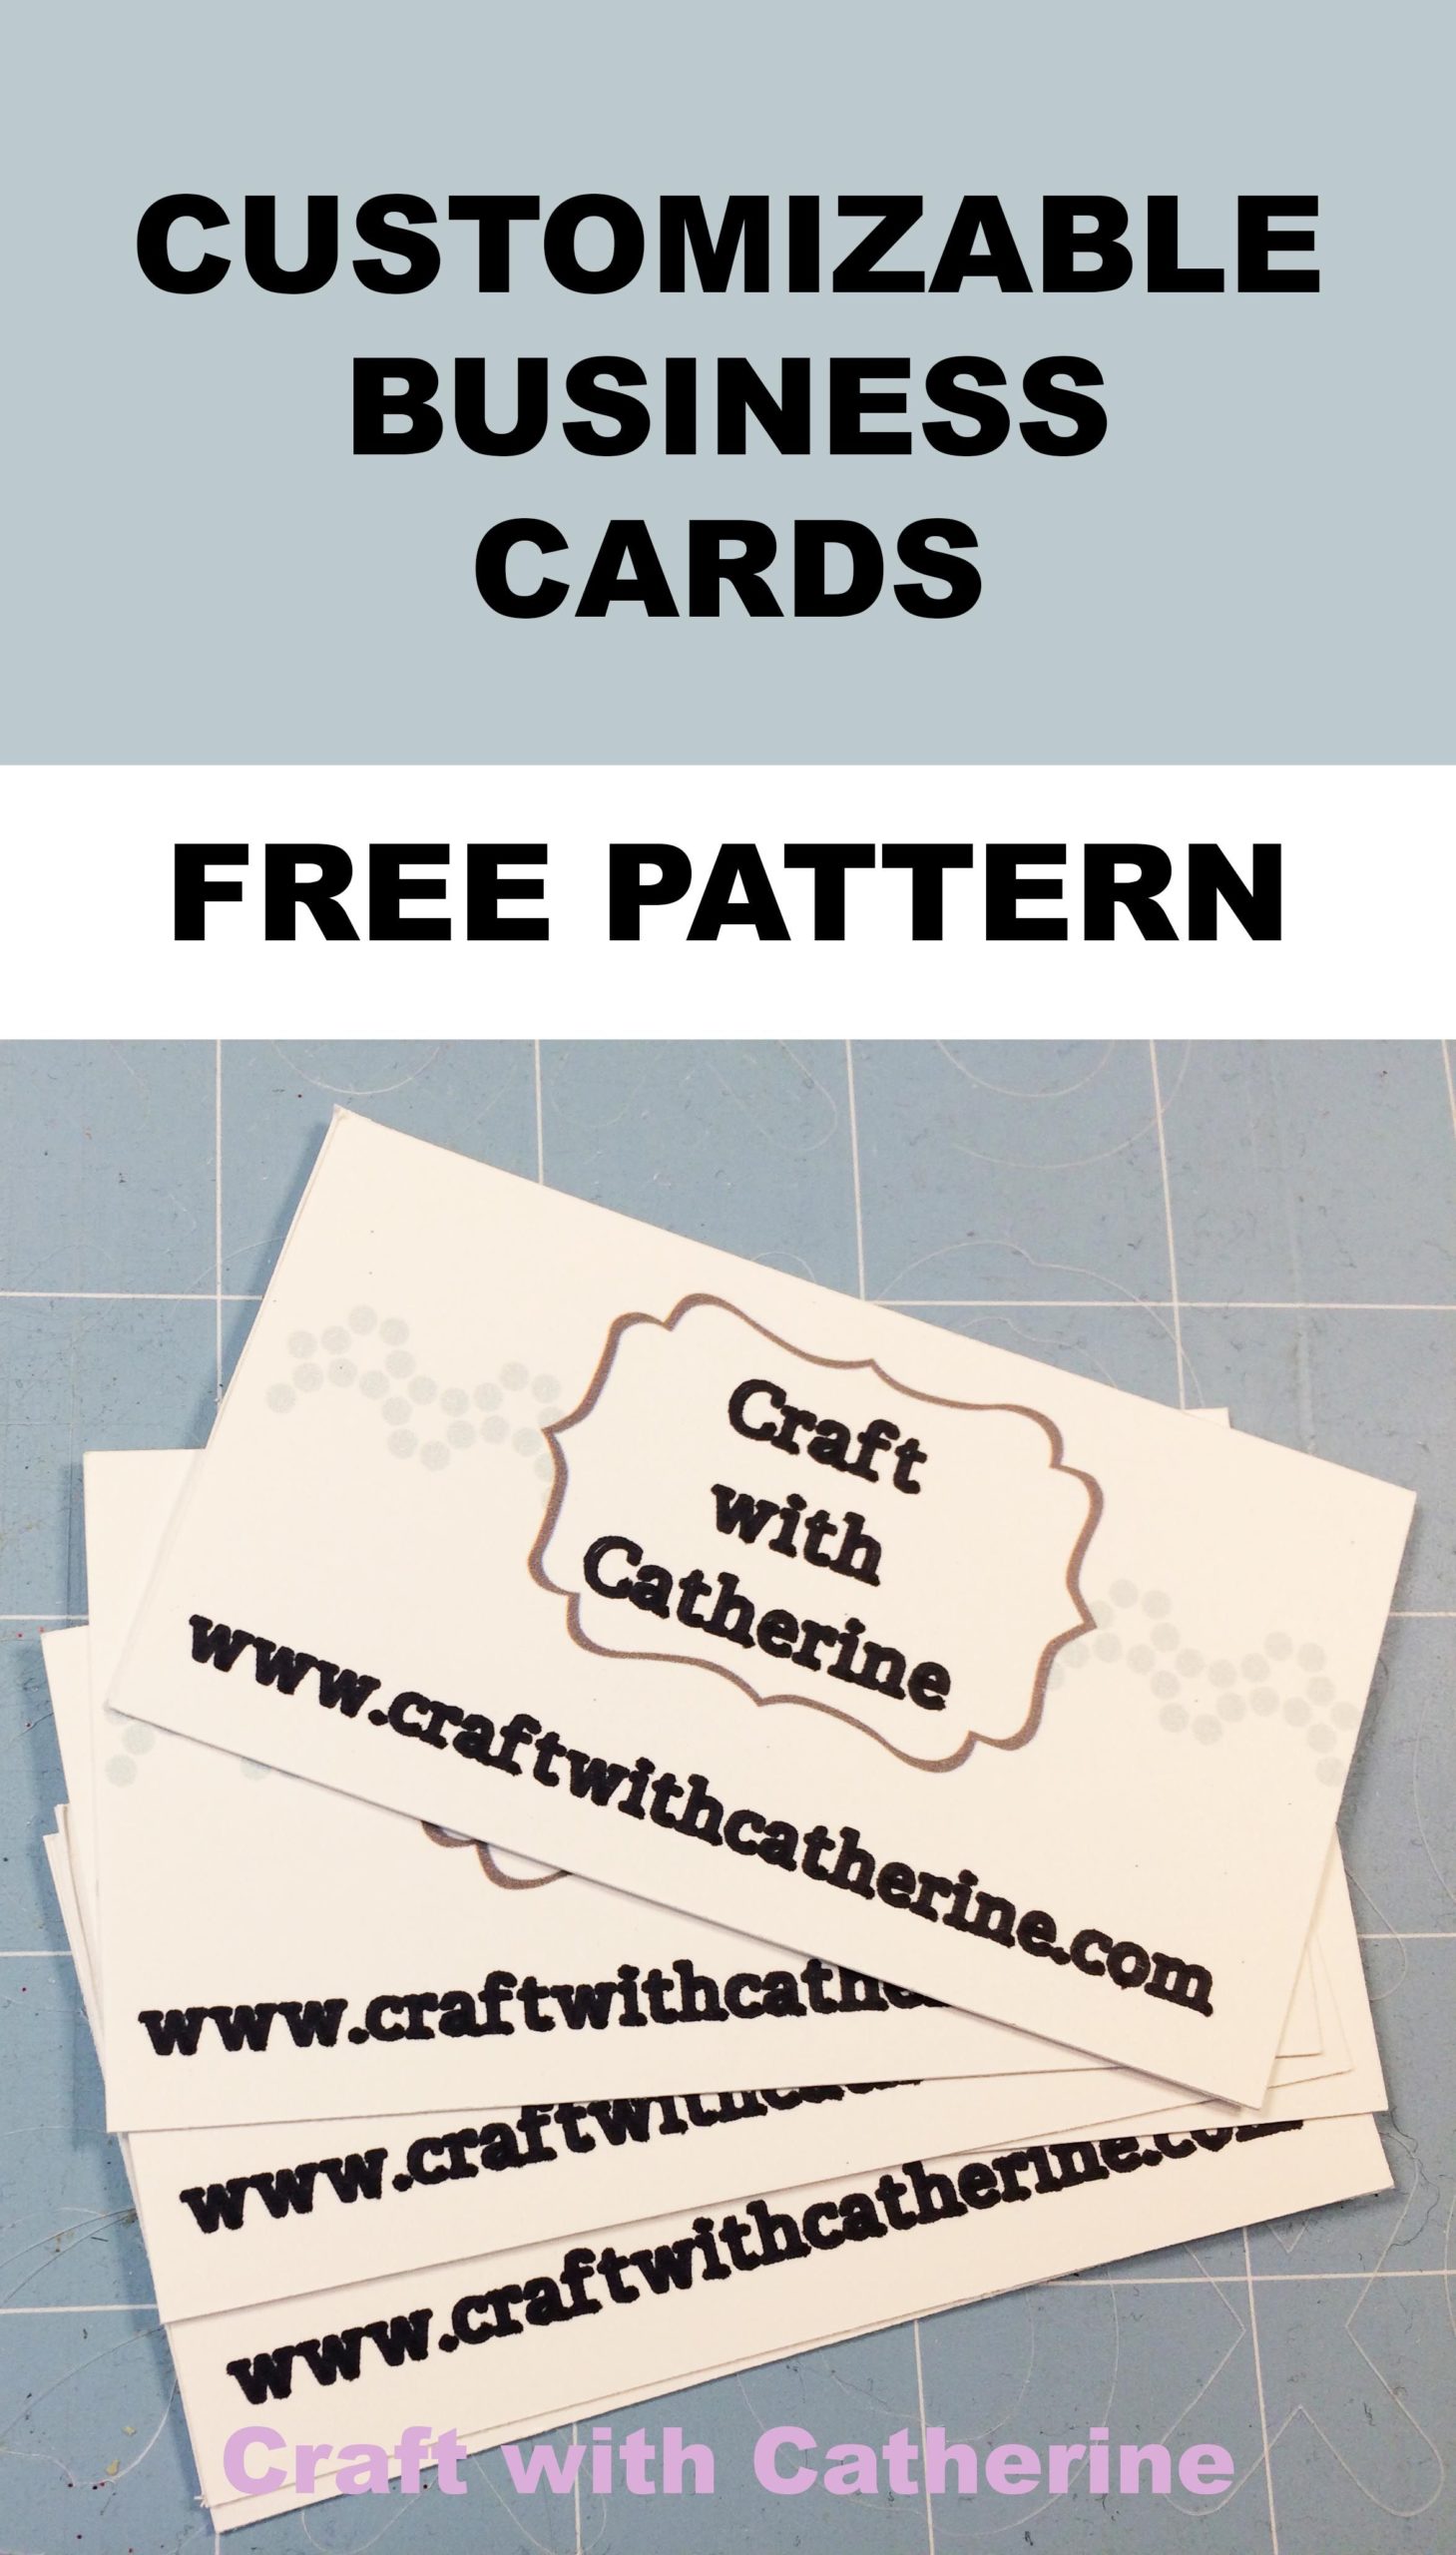
Creating your own business cards has never been easier with the help of the Cricut machine. In this guide, we’ve walked you through the step-by-step process of designing, cutting, and assembling your DIY business cards. From selecting the right materials to adding the finishing touches, you now have all the information you need to create professional-looking business cards that reflect your personal style or brand.
Remember, with a little creativity and the right tools, you can craft business cards that leave a lasting impression on potential clients or customers. So, why wait? Let your creativity soar and start creating your own unique business cards with the Cricut machine today!
Olivia Reynolds, a marketing maven, is passionate about the impact of graphic design on brand success. Her love for outdoor adventures and travel fuels her fresh perspective on the importance of visual aesthetics in business cards and branding.