
Are you tired of expensive and unoriginal business cards? Do you want to create professional and unique business cards on your own? Look no further – Microsoft Word 2013 provides all the tools you need to design and print your own business cards. In this comprehensive guide, we will walk you through the process of creating business cards in Word 2013, step by step.
Step 1: Opening a New Document
To begin, open Microsoft Word 2013 on your computer. Click on the “File” tab and select “New” to open a new blank document. Alternatively, you can use the keyboard shortcut “Ctrl+N” to achieve the same result.
Step 2: Setting Document Margins and Orientation

Once you have opened a new document, navigate to the “Page Layout” tab on the top menu bar. Click on the “Margins” button and select “Custom Margins. Here, you can set the margins for your business cards.
For standard business card dimensions in the United States, set the top and bottom margins to 0.5 inches, and the left and right margins to 0.75 inches. You can adjust these measurements based on your preferences or regional standards.
Next, click on the “Orientation” button, also located in the “Page Layout” tab. Choose “Portrait” or “Landscape” orientation, depending on how you want your business cards to be displayed.
Step 3: Creating a Table
To design business cards in Word 2013, tables are the perfect tool. Begin by going to the “Insert” tab and selecting “Table. Choose a 2×5 table to create ten business cards on a single sheet of paper.
Once you click on the 2×5 table, Word will automatically insert a table with ten cells arranged in two rows and five columns.
Step 4: Adjusting Table Properties
To customize the table properties and make it suitable for business cards, you need to tweak a few settings. Right-click on the table and select “Table Properties” from the dropdown menu.
In the “Table” tab, set the “Preferred width” to the desired size of your business card. Typically, a width of 3.5 inches and a height of 2 inches work well. Make sure to uncheck the “Automatically resize to fit contents” option below to prevent any unwanted resizing.
Step 5: Designing Your Business Card
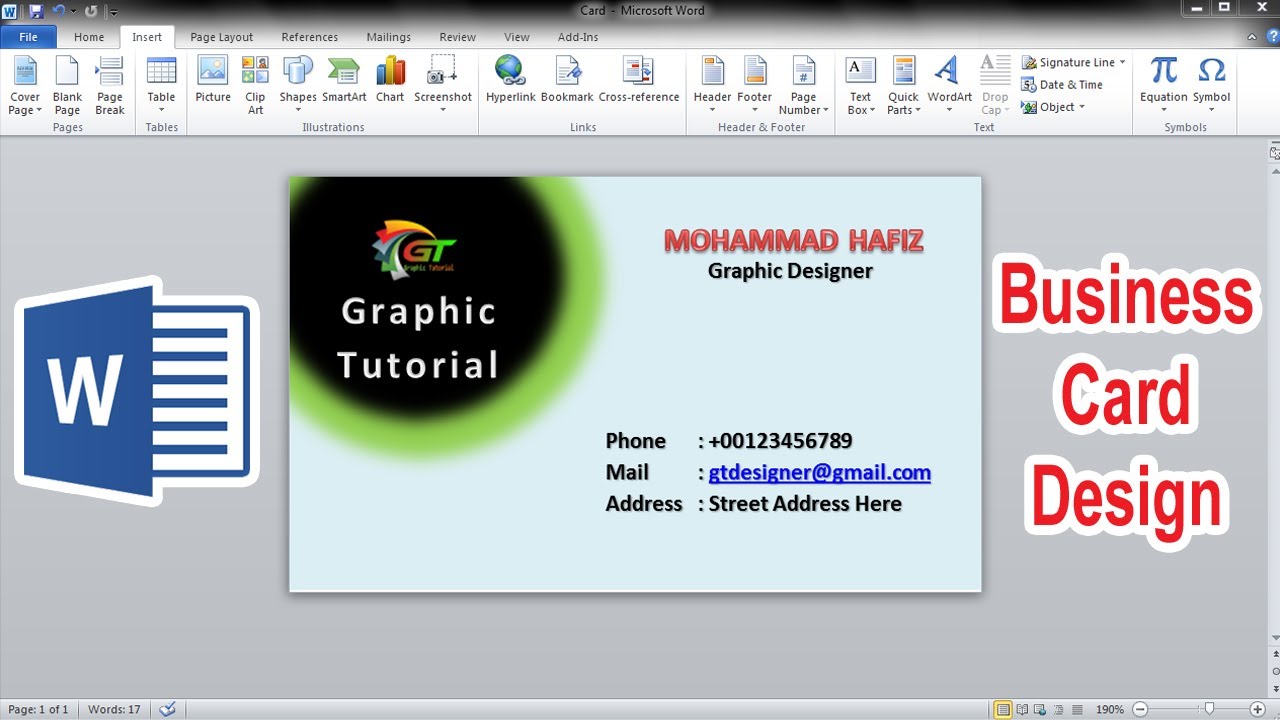
Now comes the fun part – designing your business card. Click inside each cell of the table to add your contact information, logo, and any other design elements you’d like to include. You can format the text, change fonts, and add colors using the various options available in Word.
To add a logo or image to your business card, simply click on the desired cell, navigate to the “Insert” tab, and choose “Picture. Select the image file from your computer and insert it into the cell.
Step 6: Adding Additional Design Elements
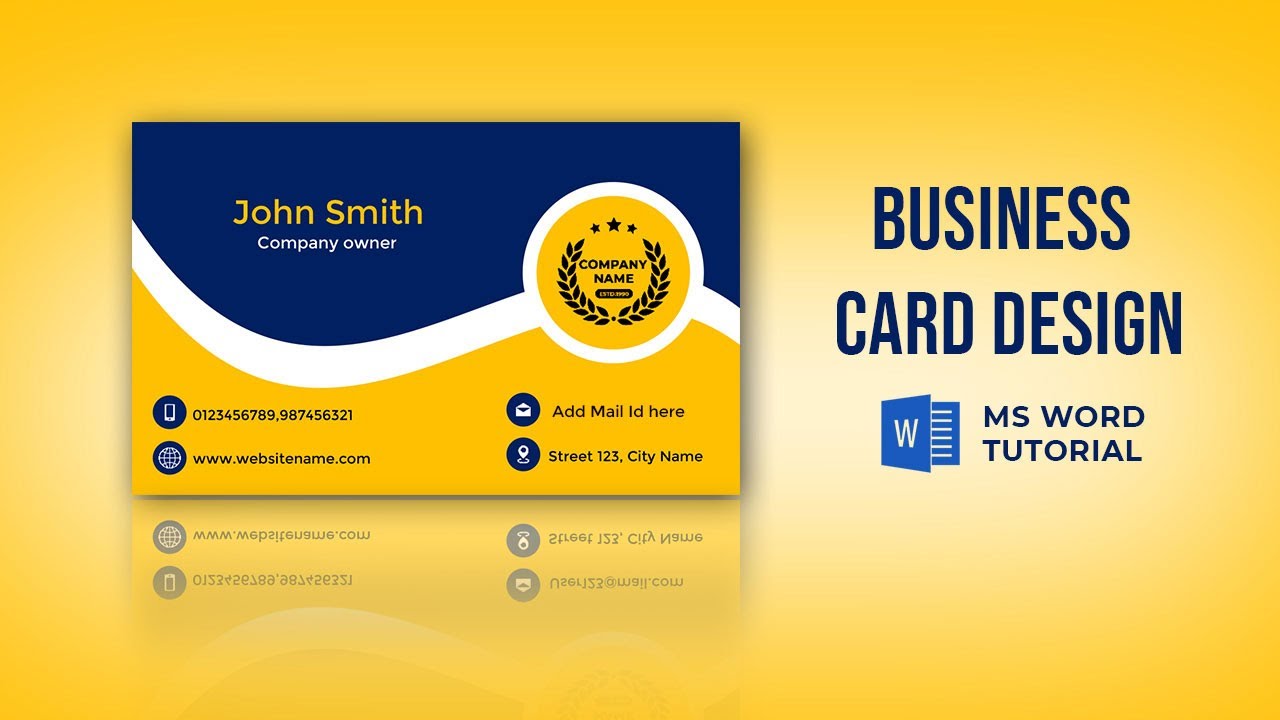
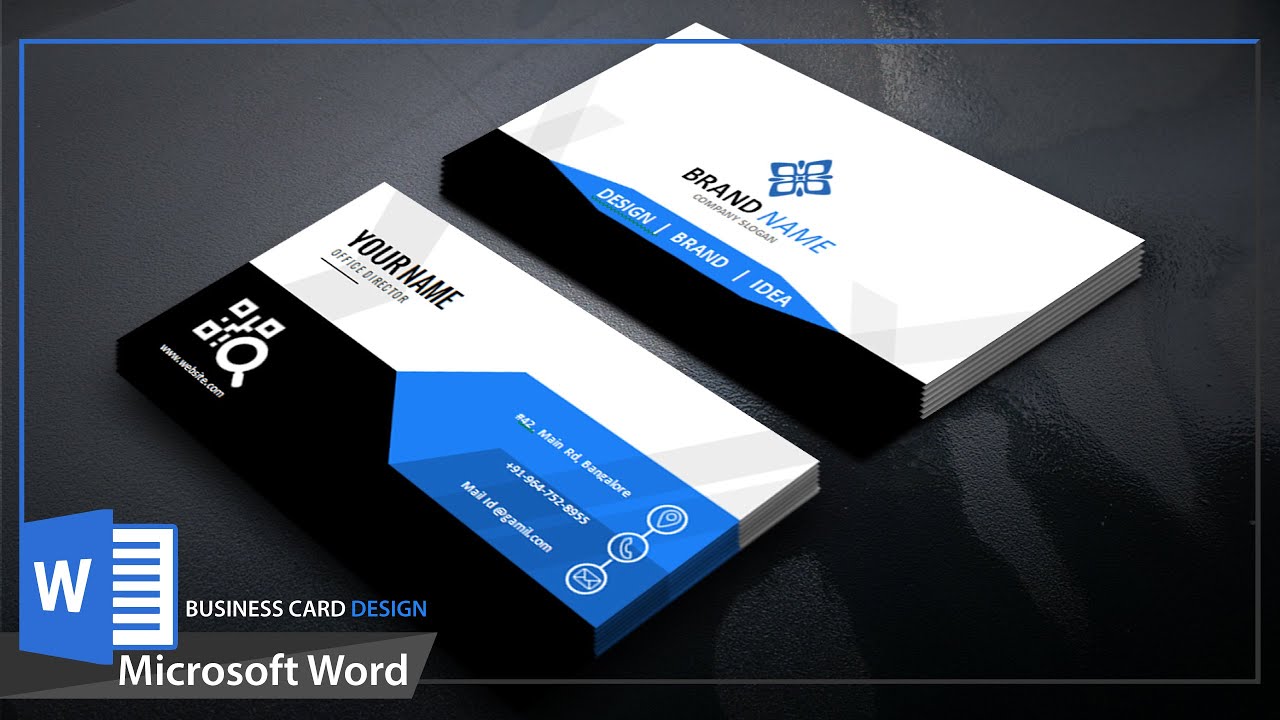
To make your business card more visually appealing, Word provides several options to enhance your design. These options include shapes, WordArt, and SmartArt graphics. Experiment with these features to create a design that suits your brand and personal style.
To add a shape, click on the desired cell, go to the “Insert” tab, and choose “Shapes”. Select the shape you want to add, such as a circle or rectangle, and draw it within the cell. You can then modify the shape’s properties, including color, size, and border style.
Similarly, to add WordArt or SmartArt graphics, select the desired cell, navigate to the “Insert” tab, and choose the corresponding option. WordArt allows you to create stylized text, while SmartArt enables you to add visually appealing diagrams and charts.
Step 7: Printing Your Business Cards

Once you are satisfied with your business card design, it’s time to print! Before printing, it’s essential to do a test run on regular paper to ensure everything appears as expected.
To print your business cards, go to the “File” tab, select “Print”, and choose your printer. Make sure to load your printer with the appropriate cardstock or business card paper. Adjust any print settings, such as paper size and print quality, to match your preferences.
Conclusion
Congratulations! You have successfully created professional business cards using Microsoft Word 2013. With its intuitive interface and powerful design features, Word makes it easy for anyone to design and print their own business cards. So why wait? Start designing business cards that leave a lasting impression today.
Olivia Reynolds, a marketing maven, is passionate about the impact of graphic design on brand success. Her love for outdoor adventures and travel fuels her fresh perspective on the importance of visual aesthetics in business cards and branding.