
Are you looking to create stunning business cards that leave a lasting impression? With the right design tools, such as Photoshop, you can design professional-looking business cards that reflect your unique brand identity. In this guide, we will walk you through the step-by-step process of creating business cards in Photoshop, from setting up your document to adding your logo and contact information. Let’s dive in!
Setting Up Your Document
Before you begin designing your business cards, it’s important to set up the document correctly in Photoshop. Start by opening Photoshop on your computer and selecting “File” from the top menu, followed by “New.” This will open the New Document dialog box.
In the New Document dialog box, enter the desired dimensions for your business cards. Standard business cards are typically 3.5 inches by 2 inches, but you can customize these dimensions according to your preferences. Ensure that the resolution is set to 300 pixels per inch (ppi) for optimal print quality. Once you’ve entered the dimensions and resolution, click on the “Create” button.
Designing Your Business Card
1. Background and Color Scheme
The first step in designing your business card is to choose a background color or image. Select the “Paint Bucket” tool from the toolbar, which looks like a bucket pouring paint. Click on the foreground color swatch at the bottom of the toolbar to choose your desired background color. Alternatively, you can select a gradient or pattern from the options provided.
2. Adding Your Logo
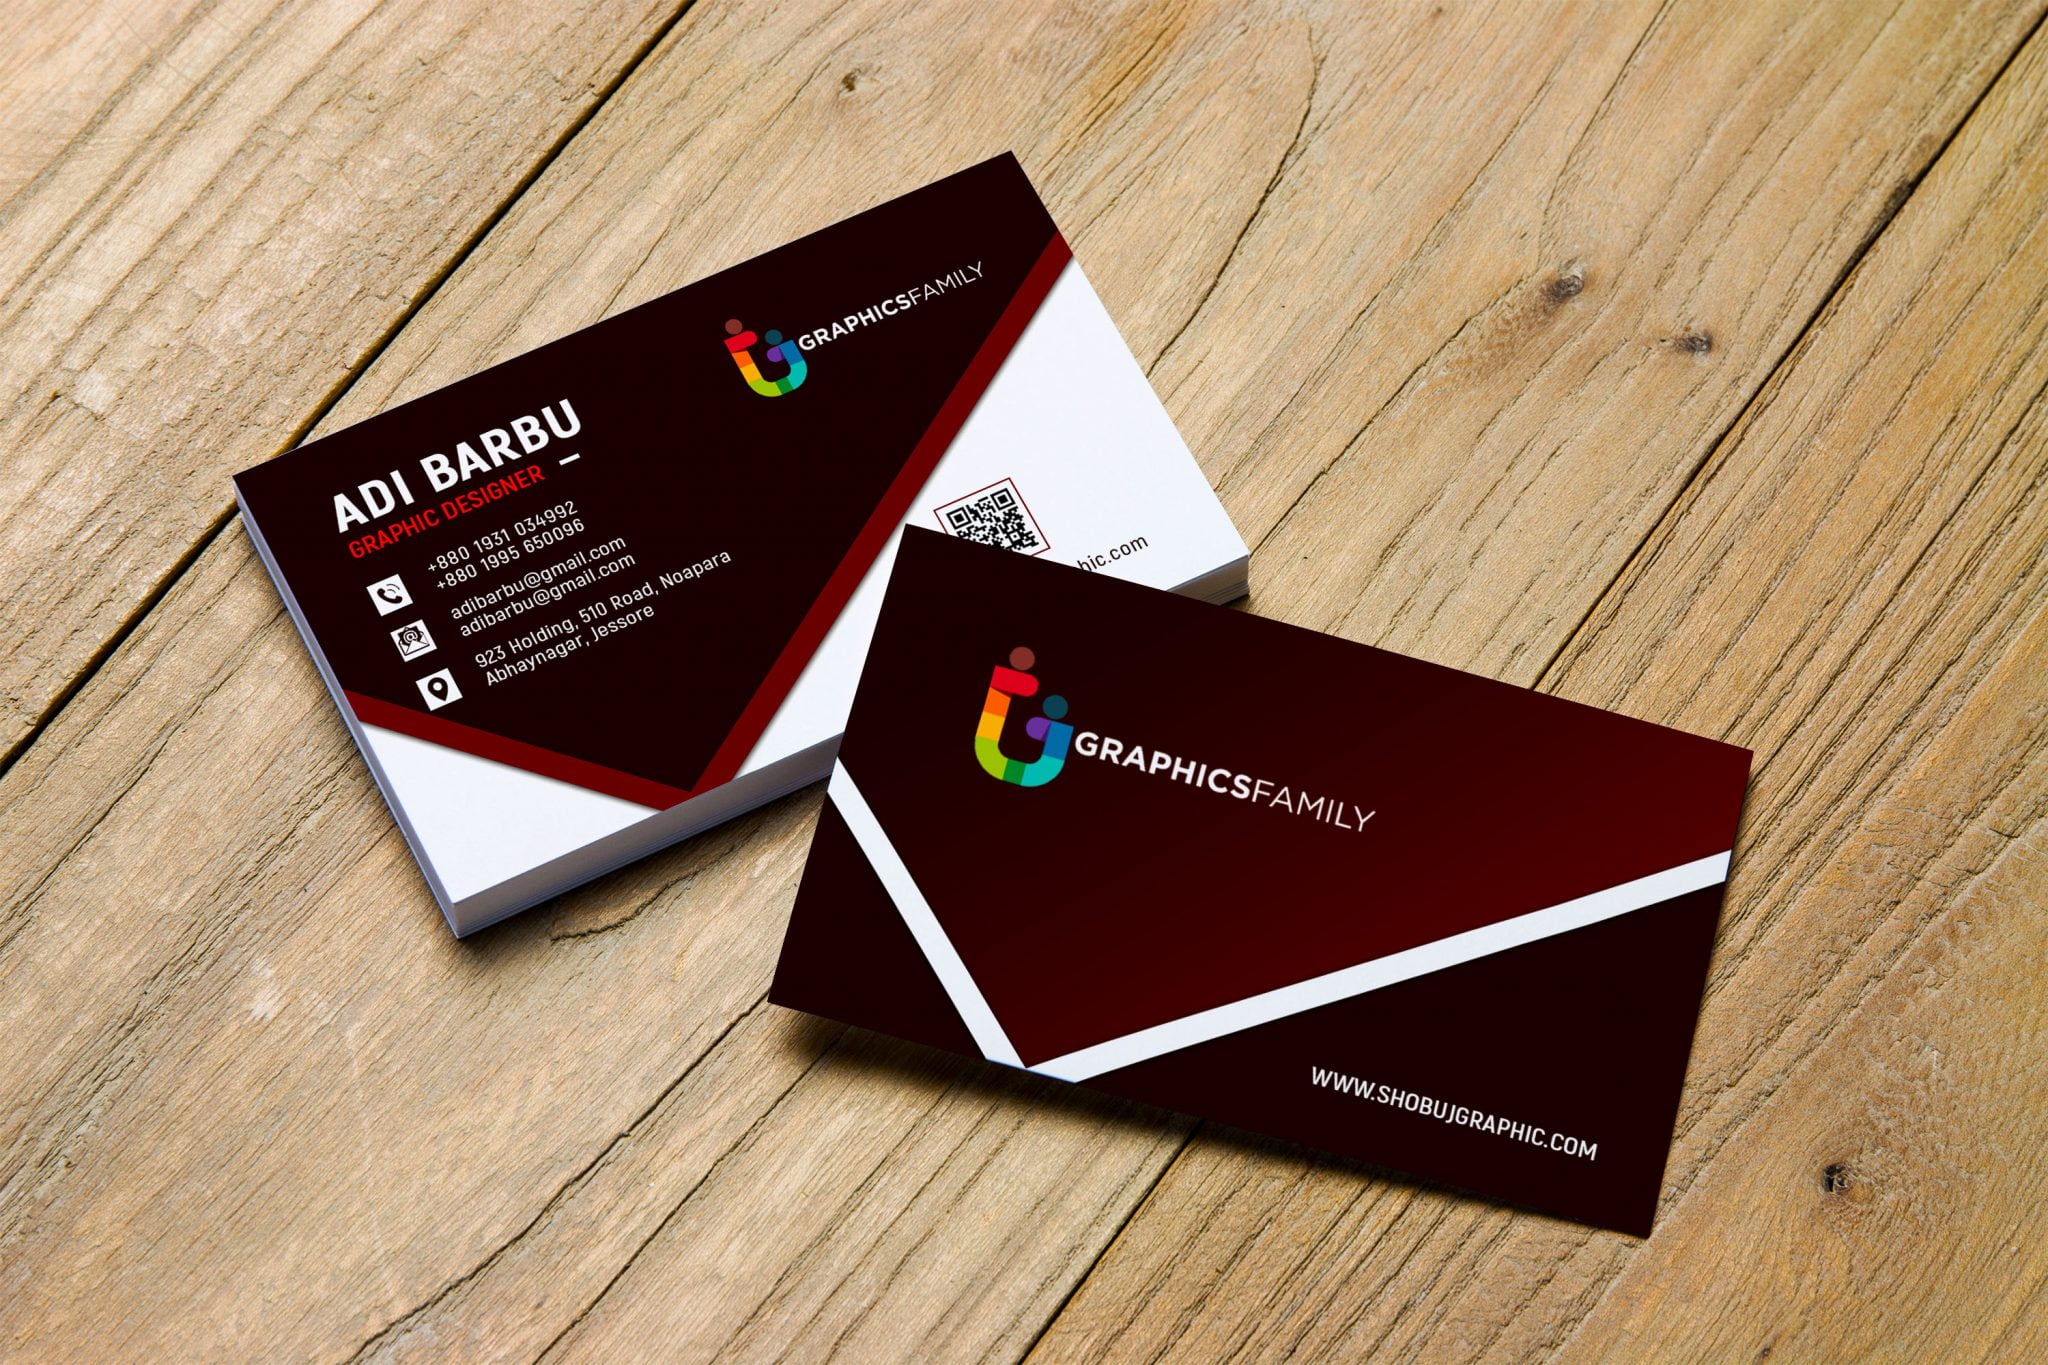
To add your logo to the business card, select the “Place Embedded” option under the “File” tab. Locate your logo file on your computer and click “Place.” Adjust the size and position of the logo on the business card using the transform handles. Once you’re satisfied with the placement, press Enter to confirm.
3. Typography and Fonts
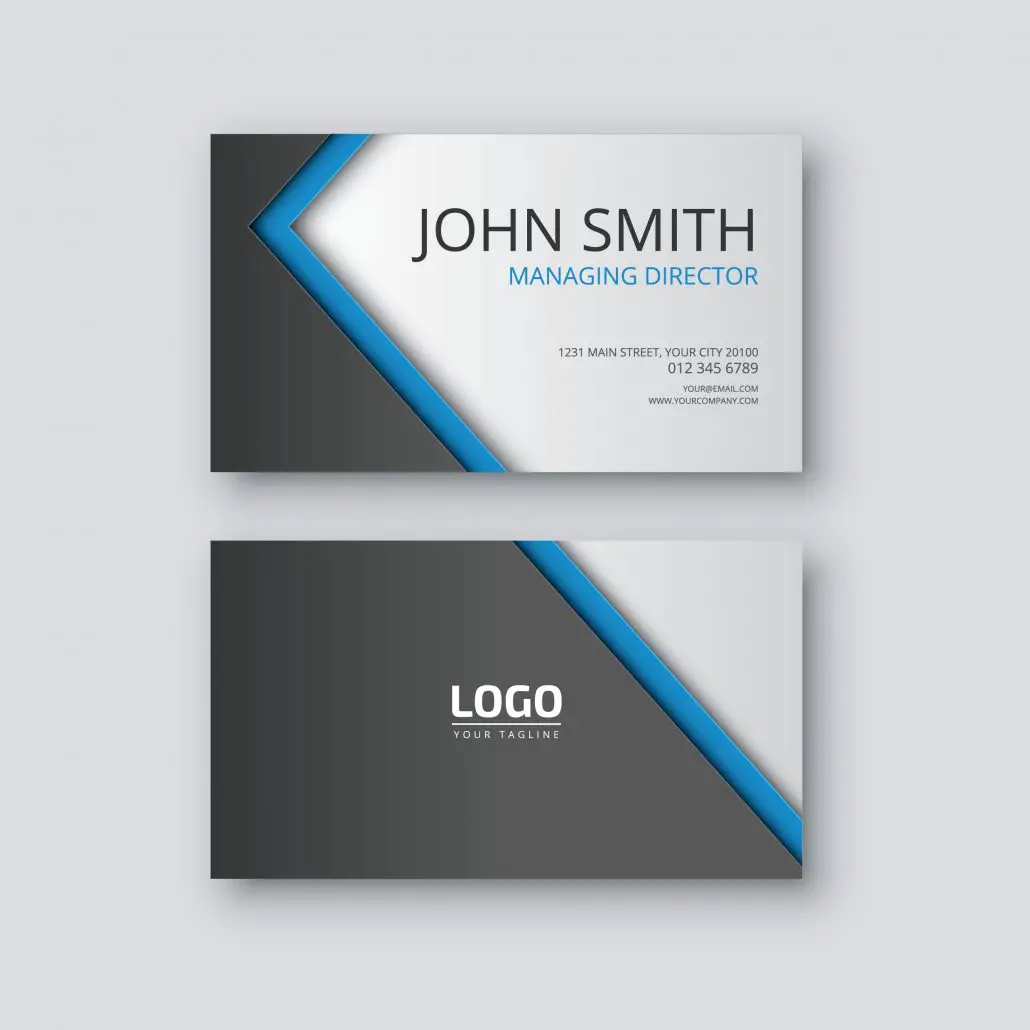
Choose a font that aligns with your brand’s identity and create a hierarchy for your text elements. Use a larger, bolder font for your name or company name, and a smaller, more legible font for your contact information. Experiment with different font combinations and sizes until you find a visually appealing and readable arrangement.
4. Contact Information
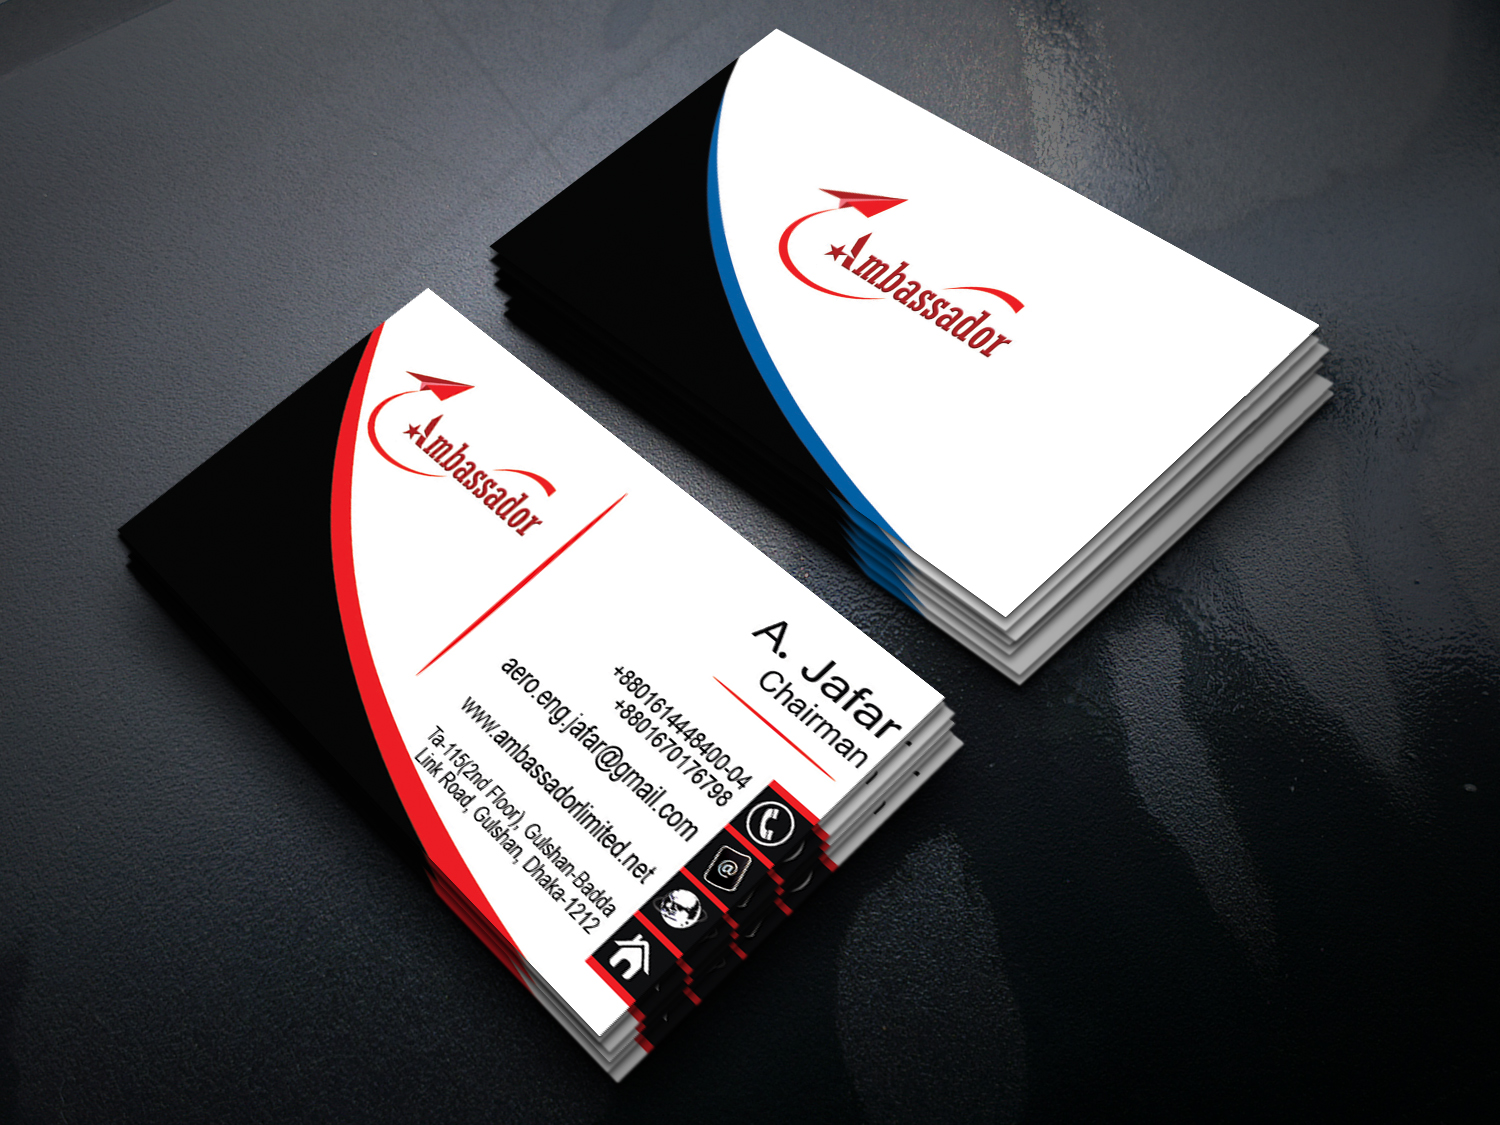
Include essential contact information on your business card, such as your name, job title, phone number, email address, and website. Use the “Type” tool to create text boxes for each piece of information and customize them according to your chosen font and style. Ensure that your contact information is easily readable and not too crowded.
5. Incorporating Design Elements
To make your business cards visually appealing, consider adding design elements such as lines, shapes, or icons. These can help divide different sections of your business card or add an extra touch of creativity. Use the “Shape” tool in Photoshop to create lines or shapes, or import icons that are relevant to your industry or profession.
Exporting and Printing Your Business Cards
Once you’re satisfied with the design of your business cards, it’s time to export them for printing. Here’s how you can save your business card design as a print-ready file:
- Select “File” from the top menu and choose “Save As.”
- Enter a name for your file and choose a location to save it on your computer.
- Select the file format as “PDF” and click on the “Save” button.
- In the PDF dialog box, choose the preset “High Quality Print” and click “Save PDF.”
Now you have a print-ready PDF file of your business card design!
When it comes to printing your business cards, you have a few options. You can either print them yourself using a high-quality printer and cardstock paper, or you can use a professional printing service. Professional printing services offer a range of paper types, finishes, and customization options to give your business cards a professional touch.
Conclusion
Designing business cards in Photoshop allows you to create unique and professional-looking cards that represent your brand effectively. By following the step-by-step instructions in this comprehensive guide, you can design attention-grabbing business cards that make a lasting impression on potential clients and contacts.
Remember to set up your document correctly, choose a suitable background and color scheme, incorporate your logo and contact information, experiment with typography and design elements, and export your design as a print-ready file. With these tips and Photoshop’s powerful design features, you’ll be well on your way to creating stunning business cards that truly stand out in the crowd.
So, what are you waiting for? Get started with designing your business cards in Photoshop today and elevate your professional image!
Sophia is a branding expert who intertwines style and substance in her writing. Her marketing background and love for fashion contribute to her unique take on business card design. When not writing, Sophia explores her creative side through painting and DIY projects.