Do you want to create eye-catching and professional business cards using Photoshop? Understanding the correct dimensions for your business cards is crucial for achieving a polished and visually appealing result. In this guide, we will explore the standard dimensions for business cards in Photoshop and provide step-by-step instructions on how to create your own cards with ease.
Understanding the Importance of Correct Dimensions
Before diving into the specifics of business card dimensions in Photoshop, it is important to understand why getting the dimensions right is crucial. Business cards serve as a powerful marketing tool, representing your brand and helping you make a memorable first impression.
Using the correct dimensions ensures that your business cards fit perfectly in standard cardholders, wallets, and other accessories. Additionally, a well-designed card, with appropriate dimensions, can help you stand out among your competitors and convey a sense of professionalism and attention to detail.
Standard Business Card Dimensions
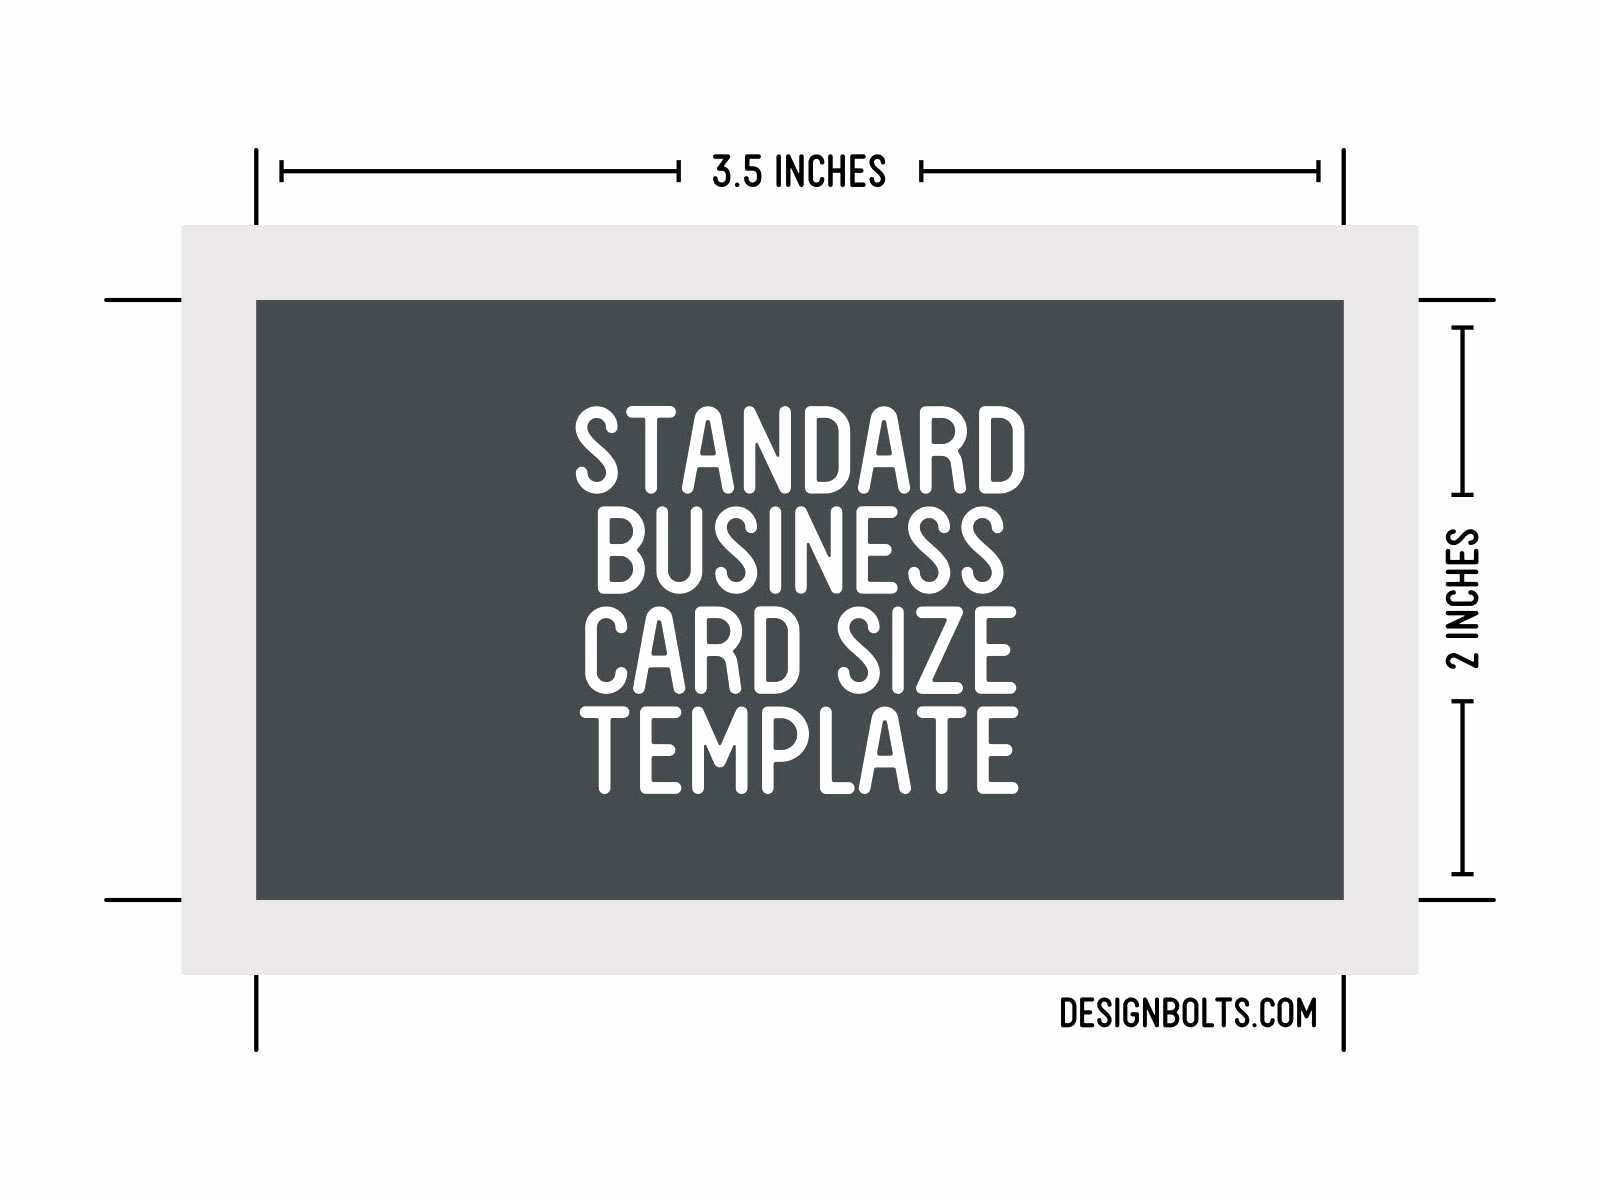
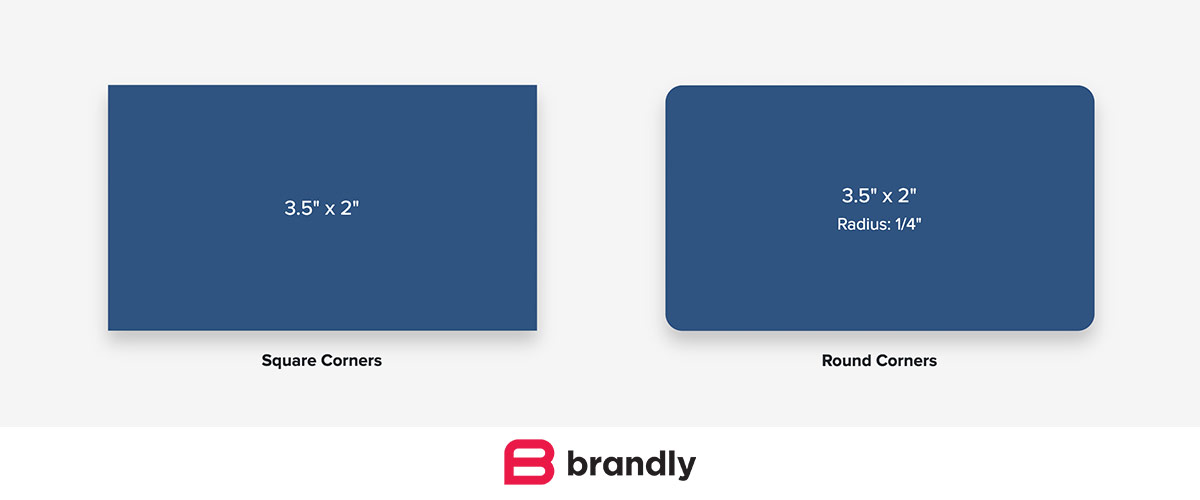
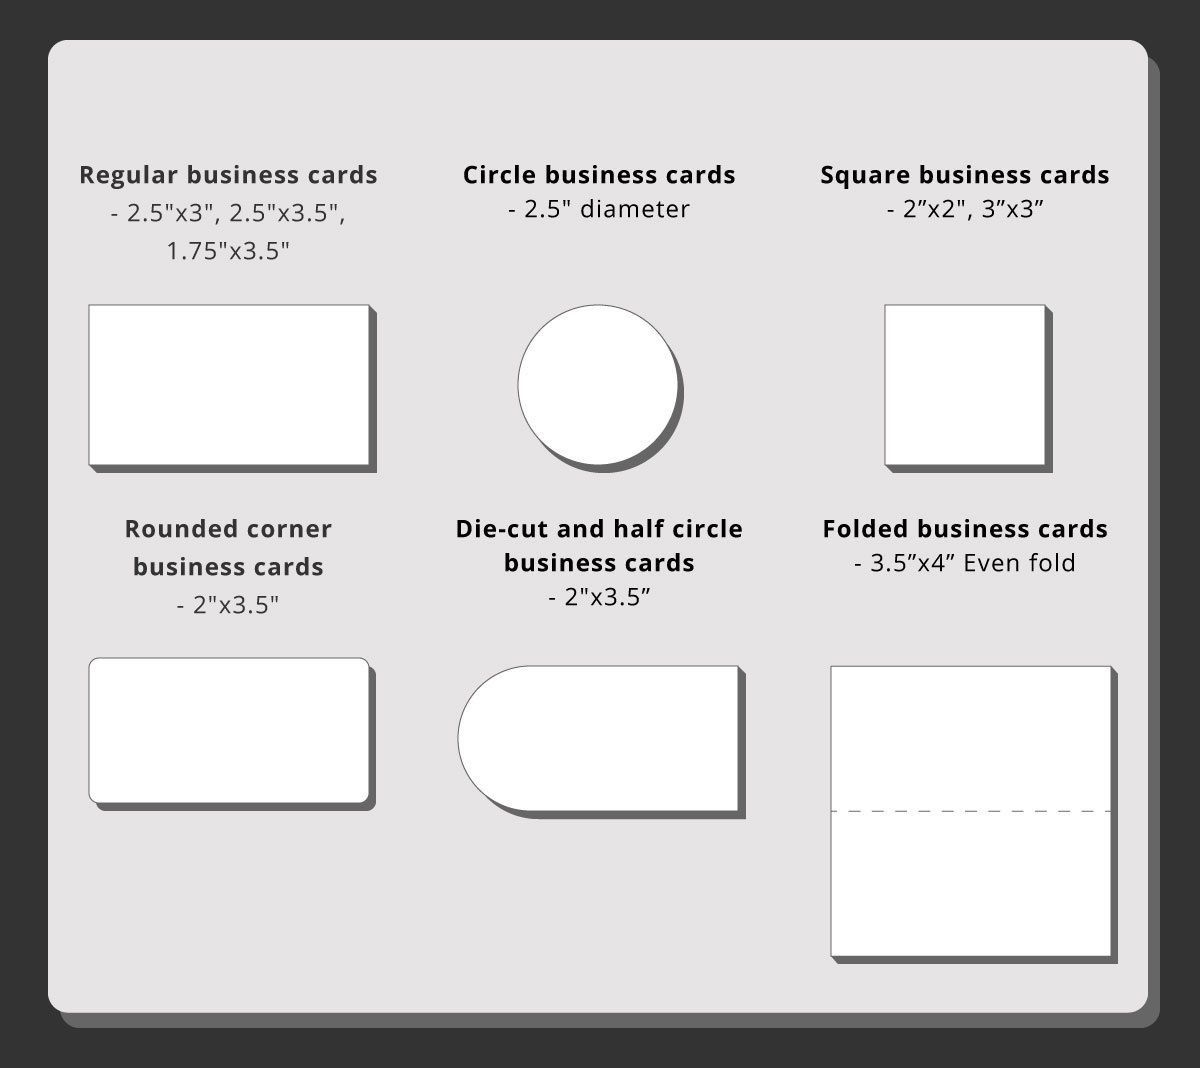
The standard dimensions for a business card can vary slightly depending on the country. In most cases, the dimensions are set at 3.5 inches by 2 inches (3.5″ x 2″). This size is widely accepted and recognized as the standard in the business world.
Setting Up Your Photoshop Document
To ensure that your business cards meet the standard dimensions, you need to set up your Photoshop document correctly. Follow these steps:
- Open Photoshop and create a new document by clicking on “File” and selecting “New.
- In the “New Document” window, enter the width as 3.5 inches and the height as 2 inches.
- Set the resolution to 300 pixels per inch (ppi) to maintain a high-quality print output.
- Choose RGB color mode for digital designs or CMYK color mode for print-ready files.
- Set the background contents to your desired color or leave it transparent if you wish to place a background image or pattern.
Once you have adjusted these settings, click on “Create” to generate your business card canvas.
Designing Your Business Card in Photoshop
Now that your Photoshop document is set up with the correct dimensions, it’s time to unleash your creativity and design a professional business card that represents your brand effectively. Follow these steps to get started:
1. Design the Front of the Business Card
Start by focusing on the front of your business card, where most of the essential information will be displayed. This typically includes your name, job title, company logo, contact details, and any additional key information you want to highlight.
Invest time in choosing the right fonts, colors, and layout to create a visually appealing front side. Keep in mind that simplicity and readability are key factors in making a lasting impression.
2. Utilize Guidelines for Precise Placement
To ensure that your design elements are aligned and properly placed, it is recommended to enable guidelines in Photoshop. These guidelines can act as a visual reference to help you maintain consistency and balance in your design.
To create guidelines, go to “View” in the menu bar and select “New Guide.” Specify either a horizontal or vertical guide and enter the desired position. Repeat this step for each guideline you wish to add.
3. Design the Back of the Business Card
The back of your business card offers an opportunity to showcase additional details or reinforce your brand identity. Consider including a tagline, social media handles, a QR code, or a brief overview of your products or services.
Remember to maintain visual consistency with the front side while keeping the overall design uncluttered and easy to read. Striking the right balance between creativity and professionalism can make your business card stand out.
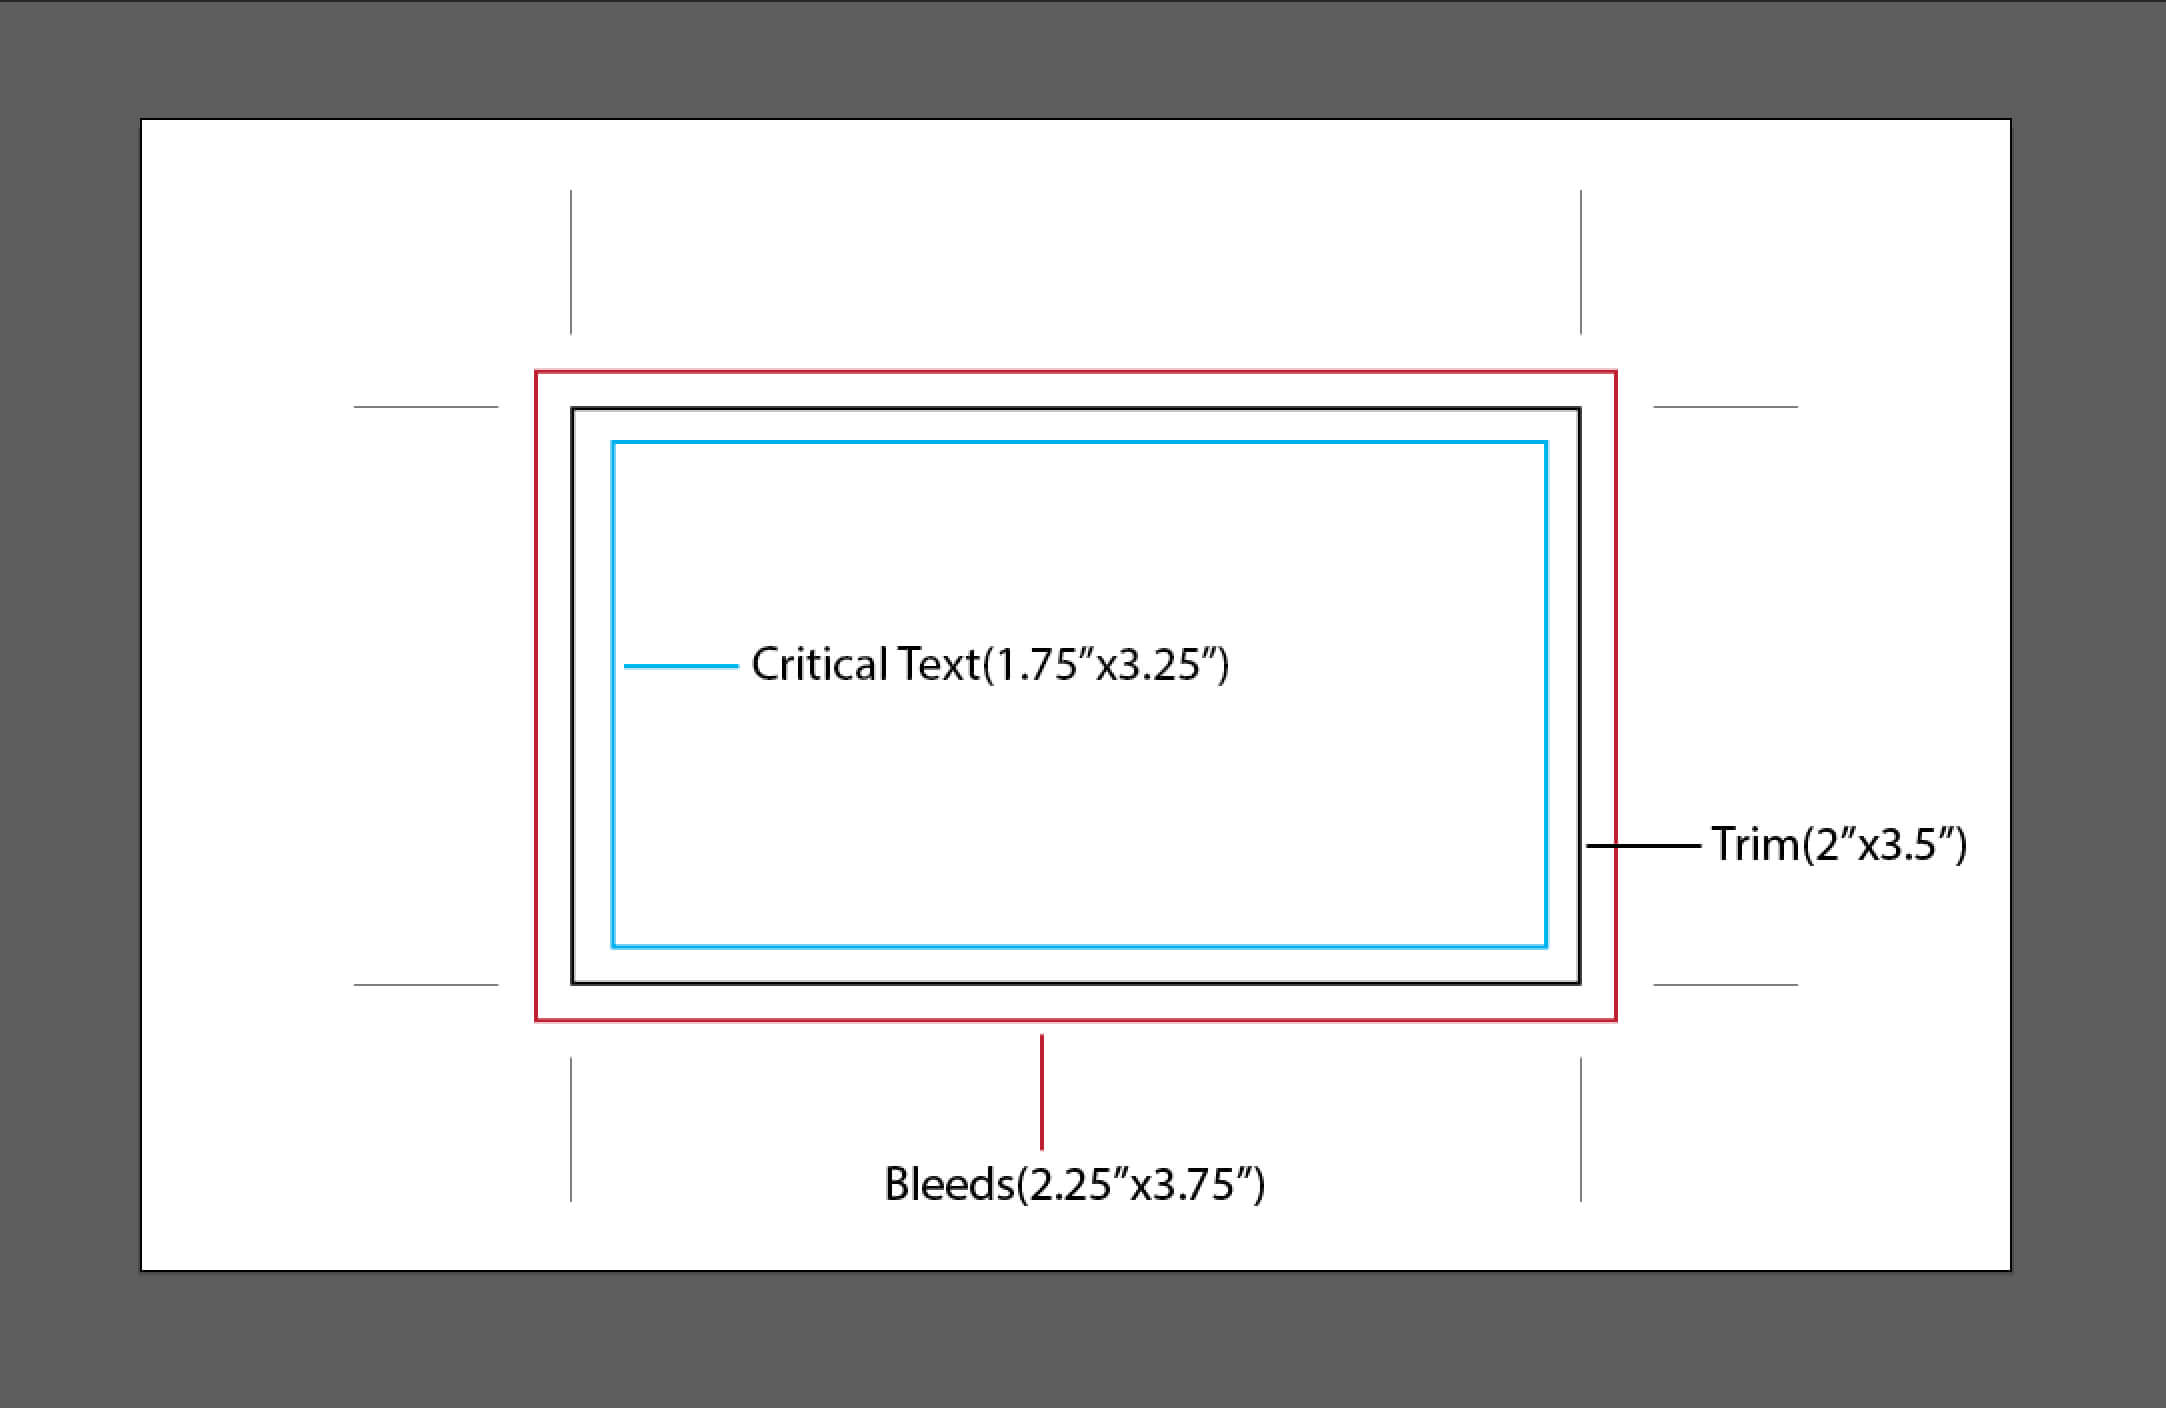
4. Add Bleed for a Professional Finish
To ensure your business cards are professionally printed without any white borders, it is crucial to include a bleed area. Bleed refers to the extended area beyond the final cut size where the design elements can extend.
To add a bleed to your Photoshop document, go to “Image” in the menu bar, select “Canvas Size,” and increase the dimensions by 0.125 inches on all sides. This will create a safe area where your design can extend, preventing any unwanted trim during the printing process.
5. Double-check Your Design and Dimensions
Before finalizing your business card design, it is essential to double-check your artwork and make sure it meets the standard dimensions. Take a moment to review the layout, typography, and overall visual appeal of your design.
Measure the dimensions of your card visually using the rulers in Photoshop or by referring to the image size dialog under the “Image” menu. This final step ensures that your business cards are ready to be printed or shared digitally.
Conclusion
Designing business cards in Photoshop grants you creative freedom while ensuring a professional output. By adhering to the standard dimensions of 3.5 inches by 2 inches, you can effortlessly create visually appealing and properly sized business cards that leave a lasting impression.
Remember, the dimensions may slightly vary in different countries, so it is always a good idea to confirm the standard size in your region. Armed with this knowledge, you are now equipped to design impressive business cards that effectively communicate your brand identity and contact information to potential clients and business partners.
Samuel Anderson, a branding connoisseur, brings his knack for design and a strong marketing background to the forefront. He’s a voracious reader and enjoys delving into psychology, which he incorporates into his marketing strategies for business cards and brand development.