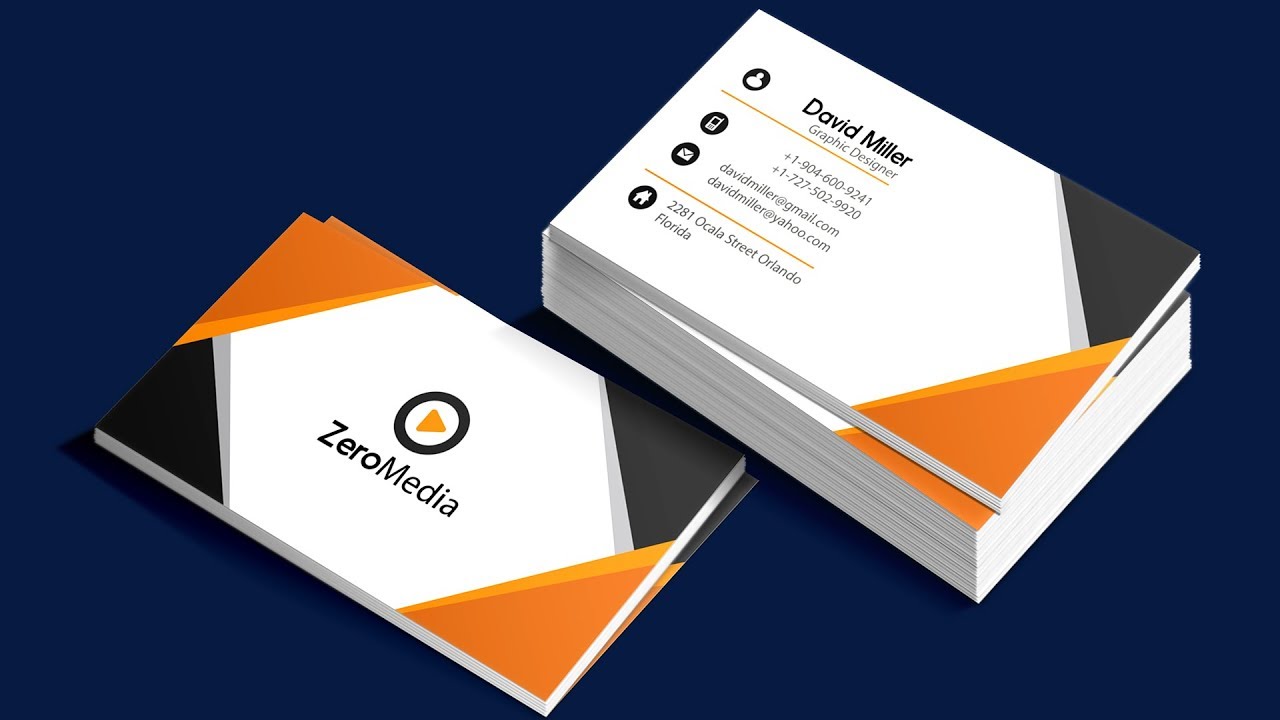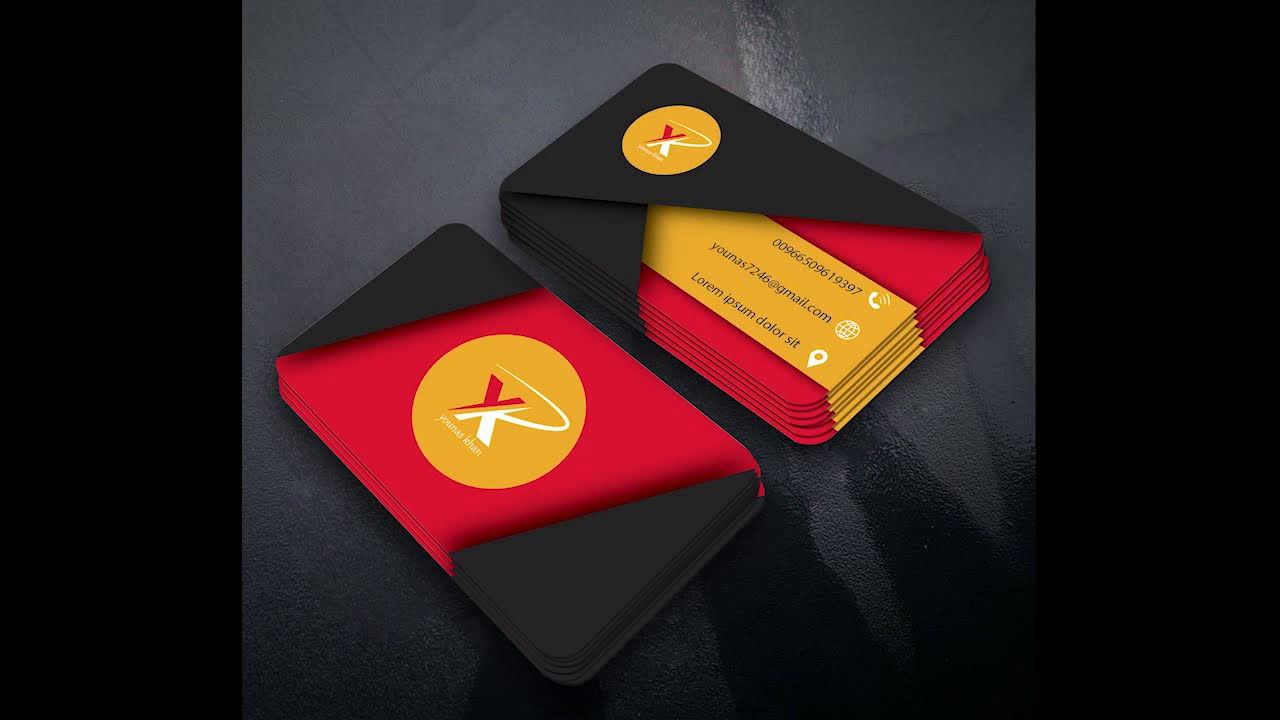
If you’re looking to create professional and eye-catching business cards, Adobe Illustrator is the perfect tool for the job. This versatile software provides the necessary tools and features to design and customize business cards to suit your unique requirements. In this article, we will guide you through the process of making business cards in Illustrator, from setting up your document to exporting the final design.
Setting Up Your Document

Before you dive into designing your business cards, it’s essential to set up your document properly. Follow these steps to ensure your design is ready for print:
- Open Adobe Illustrator and create a new document by selecting File > New.
- In the New Document dialog box, specify the size of your business card. The standard business card size is typically 3.5 inches by 2 inches.
- Set the Units to Inches and enter the desired dimensions for your business card.
- Choose the appropriate color mode. For print, it’s recommended to use CMYK color mode.
- Set the Bleed and Margins. Bleed refers to the area outside the trim marks that will be trimmed off after printing. Adding a bleed ensures that your design extends to the edge of the card without any white borders.
- Enter the desired bleed value (usually around 0.125 inches) and set the margins according to your preference.
- Click Create to generate your document.
Designing Your Business Card

Now that you have set up your document, it’s time to unleash your creativity and design a visually appealing business card. Here are some steps to follow:
- Start by considering the layout of your business card. Think about the placement of key elements such as your logo, contact information, and any additional graphics you want to include.
- Use the Shapes tool in Illustrator to create a background for your business card. Choose a shape that complements your brand and adds visual interest. You can experiment with rectangles, circles, or other geometric shapes.
- Customize the appearance of your background by applying colors, gradients, or patterns. Experiment with different combinations to find one that aligns with your brand identity.
- Import your logo into Illustrator by selecting File > Place. Resize and position it accordingly on your business card.
- Now, focus on adding your contact information. Use the Type tool to create text boxes and input your name, job title, phone number, email address, and website.
- Select appropriate fonts for your text. Ideally, choose clean and legible fonts that reflect your brand identity. Avoid using too many different fonts to maintain a cohesive and professional look.
Adding Additional Design Elements
To make your business card visually appealing and memorable, consider incorporating additional design elements. Here are a few ideas to get you started:
- Utilize icons or vector graphics that represent your industry or services you offer. These can be placed strategically on your card to draw attention.
- Experiment with different colors and gradients to create a visually striking design. Be mindful of color psychology and select colors that evoke the desired emotions or feelings.
- Include graphic elements that reflect your brand, such as patterns, textures, or illustrations.
- Add a QR code that links directly to your website or portfolio. This can be a convenient way for potential clients or contacts to access more information about you.
Finalizing Your Design
Once you’re satisfied with your business card design, it’s essential to carefully review and prepare it for print. Follow these steps to ensure a seamless final product:
- Proofread your text to eliminate any typos or errors. It’s crucial to double-check your contact information for accuracy.
- Ensure that all important elements, such as text and logos, are within the designated safe zone and won’t be cut off during the printing process.
- Review the dimensions, bleed, and margins of your document to ensure they align with your printer’s requirements.
- Save your Illustrator file in a suitable format, such as PDF or EPS, for printing purposes.
- Export a high-resolution PDF that includes crop marks and bleed. This will provide the printer with all the necessary information for accurate trimming.
Conclusion

Designing your business cards in Adobe Illustrator allows for endless creativity and customization. By following the steps outlined in this guide, you can create professional-looking business cards that effectively represent your brand and make a lasting impression on potential clients and contacts. So, get started on your business card design in Illustrator and showcase your professionalism to the world!
Isabella, a branding guru, merges her love for storytelling with her marketing expertise. Her fascination with cultural diversity and travel lends a global perspective to her writing about business cards and graphic design. In her free time, she explores new cuisines and documents her culinary adventures.