
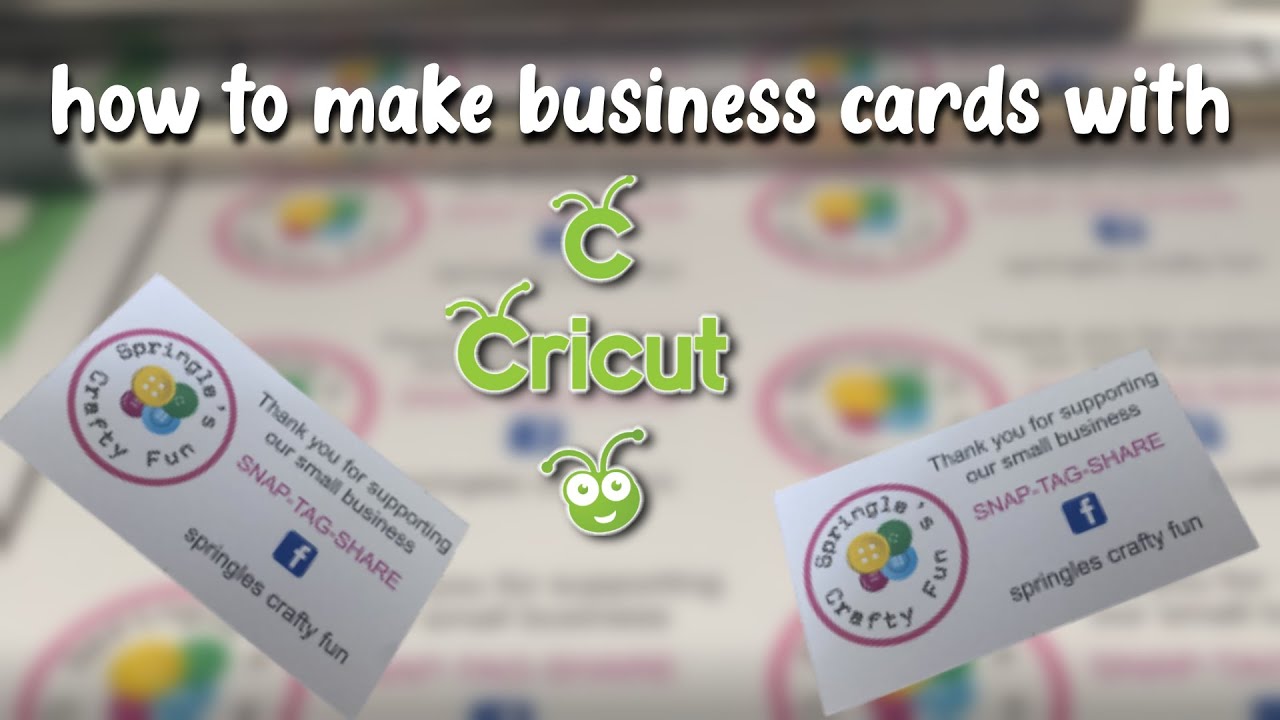
Are you looking to create professional and personalized business cards using your Cricut machine? With its precise cutting capabilities and versatility, the Cricut can help you design and craft unique business cards that make a lasting impression. In this step-by-step guide, we will walk you through the process of creating business cards with your Cricut machine, from choosing the right materials to designing and cutting your cards.
Materials Needed
Before you start making business cards with your Cricut, gather the following materials:
- Cricut machine (Cricut Explore Air 2 or Cricut Maker)
- Cricut cutting mat (standard grip)
- Cardstock in your preferred color and weight
- Cricut fine point blade
- Cricut Design Space software
- Basic card-making supplies such as adhesive, scissors, and a ruler
Step 1: Designing Your Business Card
The first step in creating business cards with your Cricut is to design your cards in the Cricut Design Space software. Here’s how you can do it:
- Open Cricut Design Space on your computer or mobile device.
- Create a new project and set the canvas size to match the dimensions of a standard business card (3.5 inches by 2 inches).
- Explore the various design options available in Cricut Design Space, including pre-made templates, shapes, and fonts. Alternatively, you can design your own business card from scratch by combining different elements.
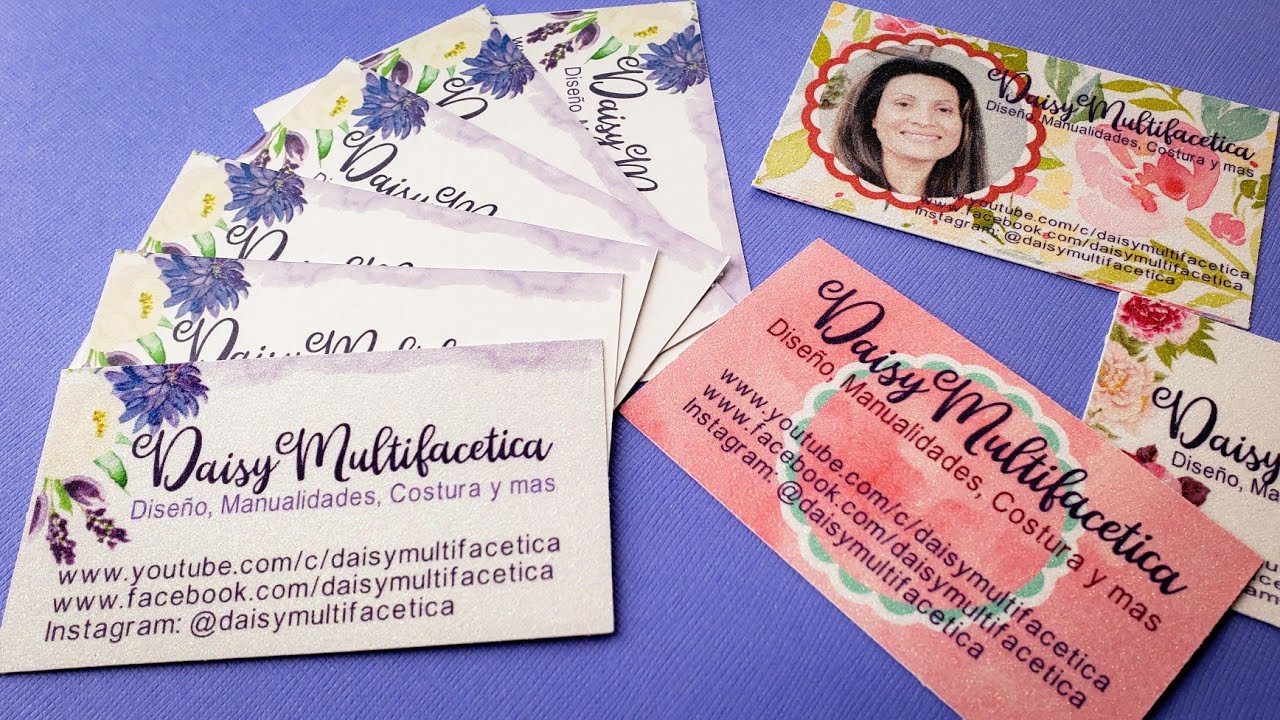
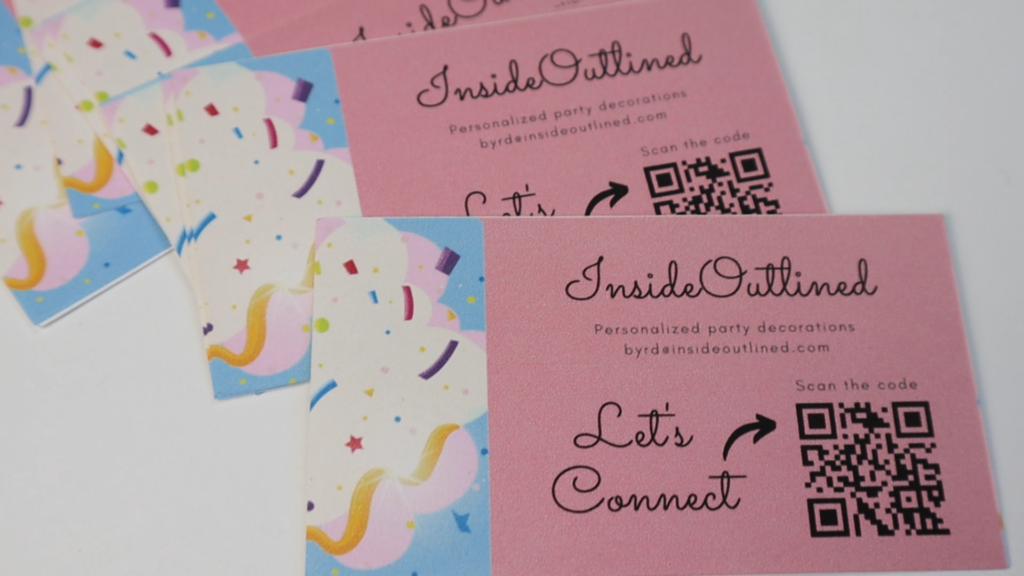
- Customize your business card by adding your logo, contact information, and any other relevant details. Experiment with different fonts, colors, and layouts until you are satisfied with the design.
- Once you are happy with your business card design, save the project and proceed to the next step.
Step 2: Preparing the Cutting Mat
To ensure accurate and clean cuts, it is essential to prepare your Cricut cutting mat properly. Follow these steps:
- Place the cardstock onto the Cricut cutting mat, aligning it with the top left corner of the mat.
- Smooth out any wrinkles or bubbles on the cardstock to ensure that it adheres to the mat securely.
- Load the cutting mat into your Cricut machine, aligning it with the guides and making sure it is properly inserted.
Step 3: Cutting Your Business Cards

Now that everything is set up, it’s time to cut your business cards with your Cricut machine. Here’s how you can do it:
- Turn on your Cricut machine and connect it to your computer or mobile device.
- Open the design you created in Cricut Design Space and confirm that all the settings are correct, including the material type and blade pressure.
- Click on the “Make It” button in Cricut Design Space to proceed to the cutting preview screen. This screen will show you how the machine will cut your business cards.
- If everything looks good, click on the “Continue” button to proceed.
- Follow the on-screen prompts to load the correct blade into your Cricut machine and ensure that the cutting mat is properly positioned.
- When you’re ready, click on the “Go” or “Start” button in Cricut Design Space to begin cutting your business cards.
- Once the cutting process is complete, unload the cutting mat from your Cricut machine.
Step 4: Assembling Your Business Cards

Now that your business cards are cut, it’s time to assemble them. Here’s how you can do it:
- Carefully remove the cut business cards from the cutting mat, ensuring that they remain in the correct order.
- Separate the individual business cards from each other by cutting along the perforations if necessary.
- Apply adhesive to the back of each business card, either using a glue stick or double-sided tape.
- Align and place the adhesive side of the business card onto a blank cardstock of the same color and weight.
- Press firmly to ensure that the two pieces adhere to each other and form a sturdy business card.
- Repeat this process for all your business cards.
Step 5: Finishing Touches
To give your business cards a polished and professional look, consider adding some finishing touches. Here are a few ideas:
- Round the corners of your business cards using a corner rounder punch for a softer and more visually appealing finish.
- Apply a matte or glossy varnish to protect your business cards from wear and tear, and to give them a professional sheen.
- Consider embossing or foiling certain elements of your business card to add a touch of elegance and sophistication.
Conclusion
Creating business cards with your Cricut machine is a fun and creative way to personalize your brand and make a lasting impression on potential clients. By following the step-by-step guide outlined in this article, you can easily design, cut, and assemble your own professional business cards. Remember to experiment with different designs and materials to make your business cards truly unique. With your Cricut and a little creativity, the possibilities for crafting beautiful business cards are endless!
Ethan is a branding enthusiast and a master of storytelling. With a background in advertising, he leverages his expertise to explore the art of graphic design and its impact on business. In his free time, Ethan enjoys photography and capturing the world’s visual intricacies.