
If you are looking to create or update your business cards, using Microsoft Word can be a convenient and cost-effective option. With its user-friendly interface and a wide range of features, Word allows you to design and personalize your two-sided business cards to suit your brand and style. In this article, we will guide you through the process of editing two-sided business cards in Word, helping you create professional-looking cards that make a lasting impression.
Customizing the Layout
Before you dive into editing your two-sided business cards, it’s essential to choose the right layout that suits your needs. Word offers a variety of pre-designed business card templates that you can work with. To browse through the available options and select a layout, follow these steps:
- Open Microsoft Word on your computer.
- Click on the “File” tab located in the top-left corner of the screen.
- Select “New” from the left-hand sidebar.
- In the search bar at the top of the page, type “Business Card” and hit Enter.
- Browse through the available templates and click on the one that catches your eye.
- Click on the “Create” button to open the chosen template in a new Word document.
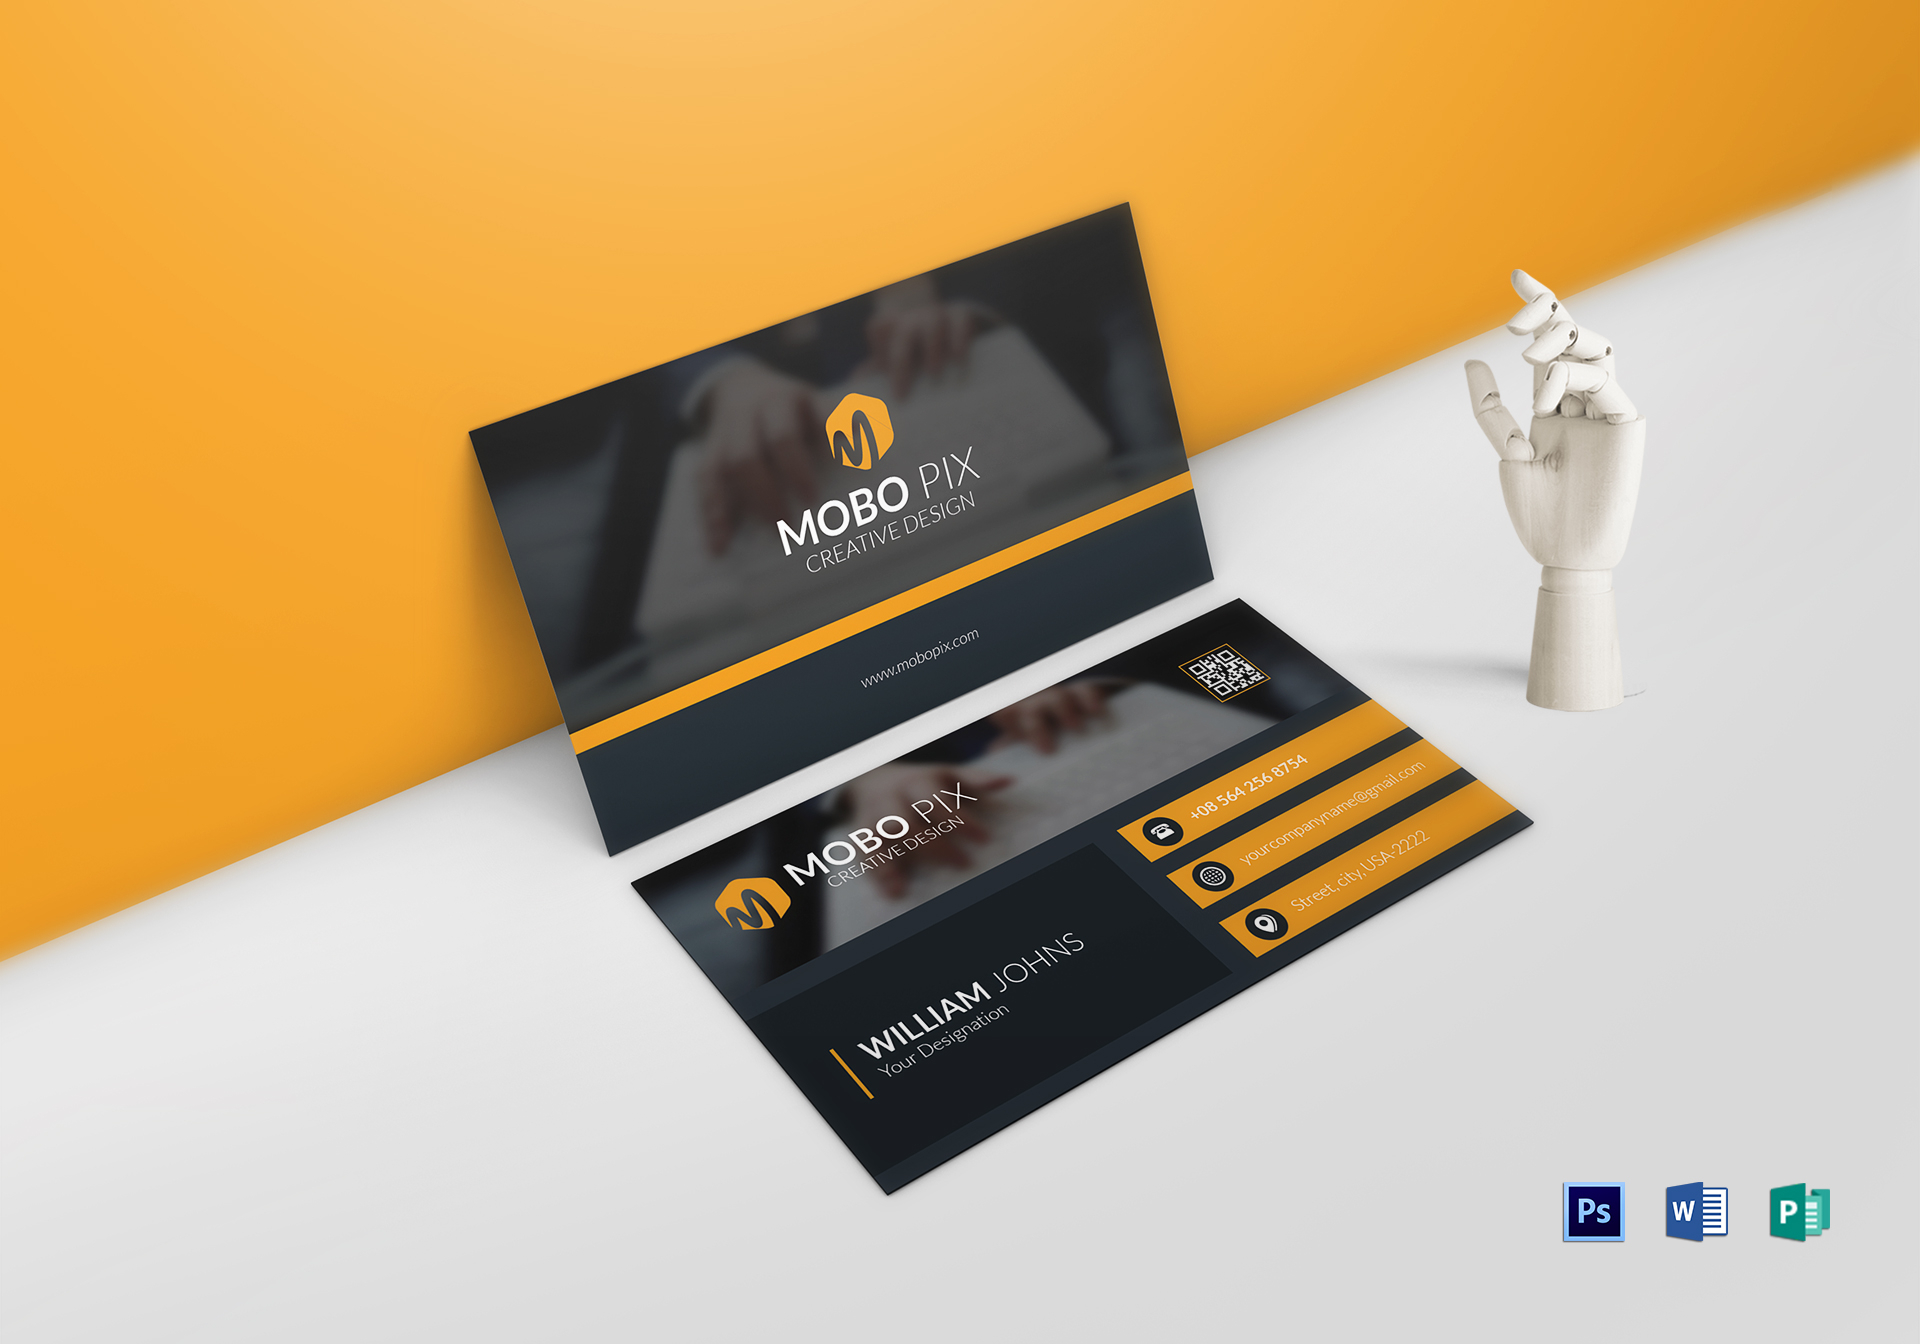
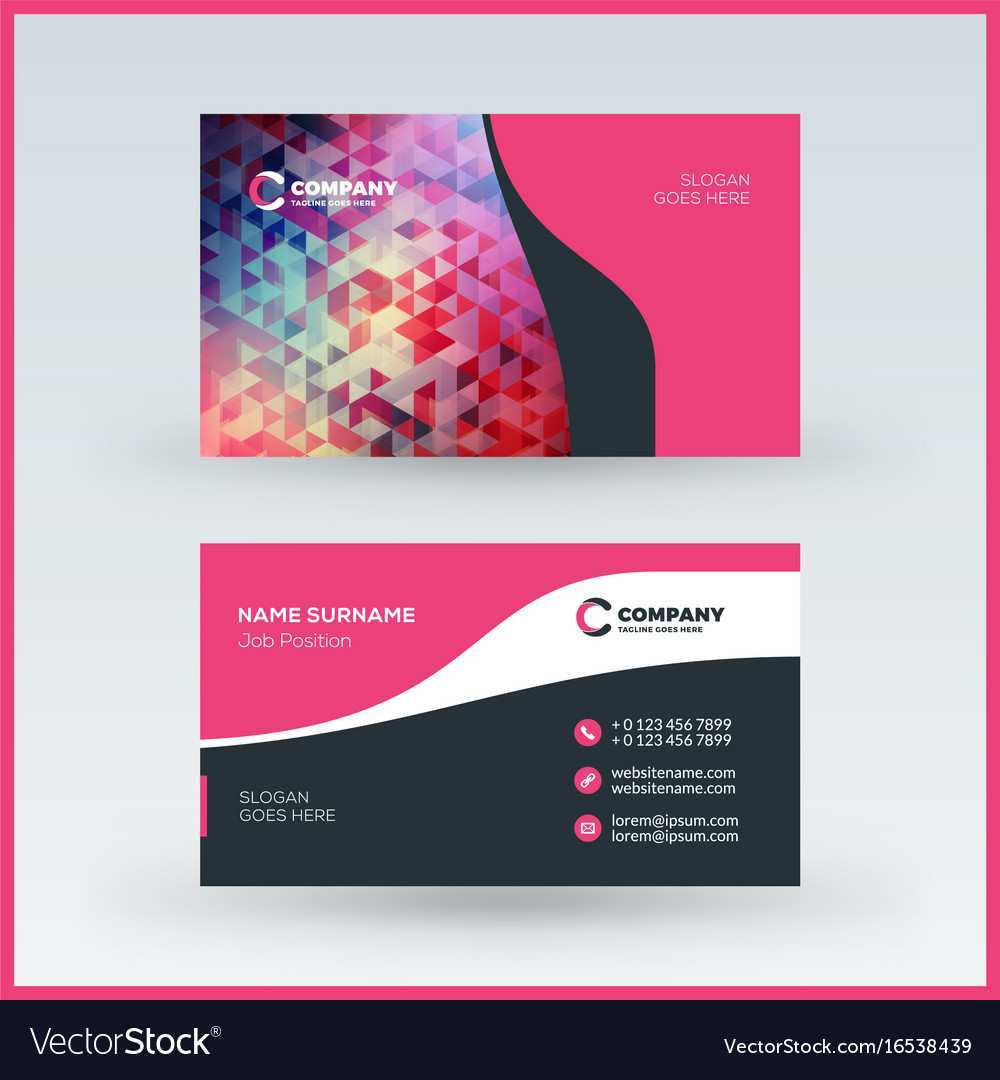
Editing the Front Side
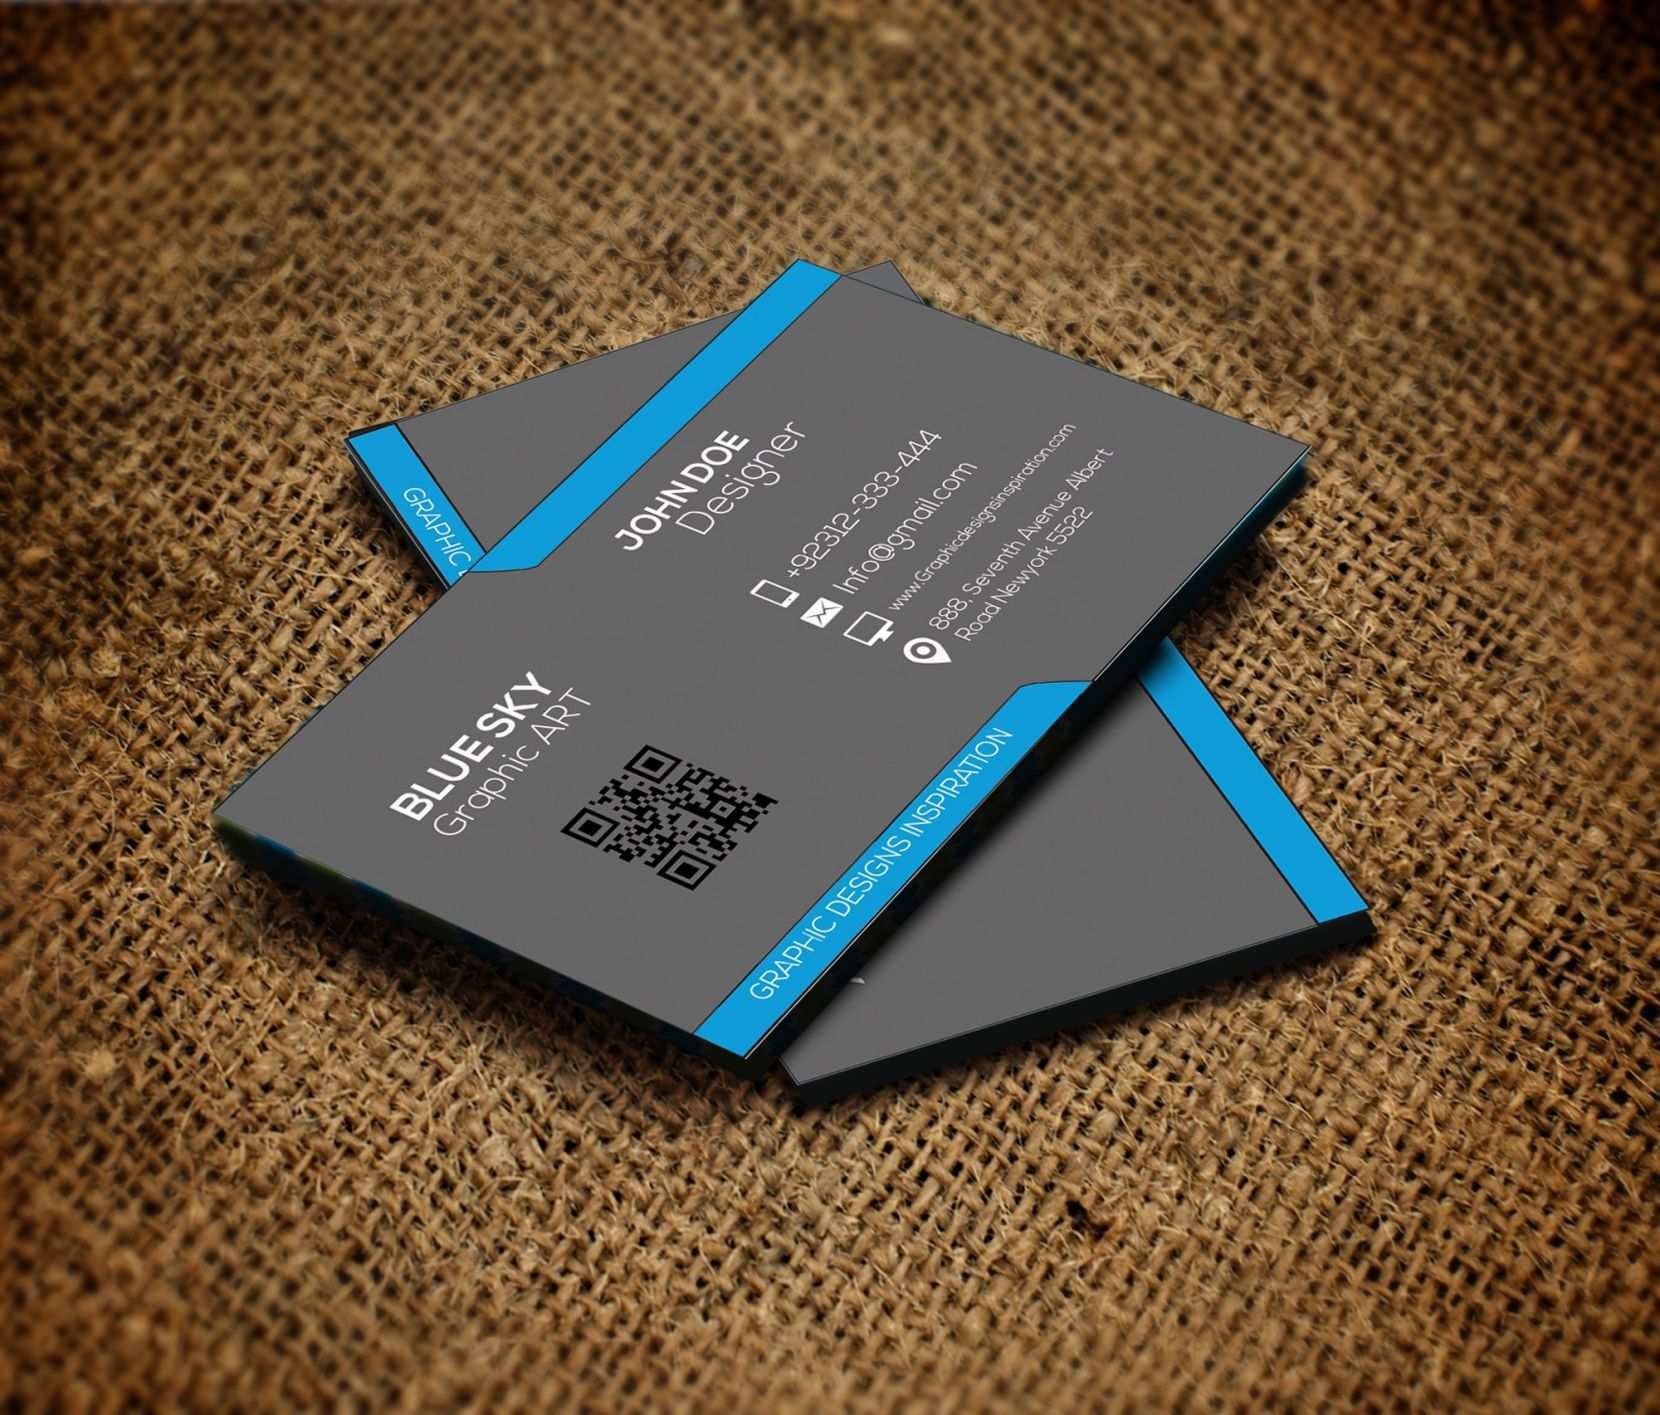
Once you have selected a template, you can proceed to edit the front side of your business card. The front side of the card typically includes your company logo, name, job title, and contact information. To make these changes, follow these steps:
- Double-click on the existing text elements to select and edit them.
- Replace the placeholder text with your own company name, name, job title, and contact information.
- To add or remove text elements, click on the “Insert” tab at the top of the screen and select the appropriate option.
- To change the font style, size, or color of the text, use the formatting options available in the “Home” tab.
- To insert your company logo, click on the “Insert” tab, select “Pictures,” and browse for the image file on your computer. Once selected, resize and position the logo as desired.
Designing the Back Side
After customizing the front side of your business card, it’s time to move on to the back side. The back side can be an excellent opportunity to showcase additional information about your business, such as a slogan, social media handles, or your company’s mission statement. To design the back side of your business card, follow these steps:
- To switch to the back side of your business card, scroll down or use the sidebar located on the left-hand side of the screen until you reach the desired page.
- Follow the same steps outlined for editing the front side to make changes to the text and insert any desired visual elements.
- Consider adding complementary colors, patterns, or graphics that align with your brand identity to make your business card visually appealing and memorable.
- Ensure that the font and text size are legible and easy to read, especially for any additional information you choose to include on the back side.
Formatting and Final Touches
Once you have finished editing both sides of your business card, take a moment to review and fine-tune the design. Pay attention to the alignment, spacing, and overall balance of the elements on both sides. Here are a few formatting tips to consider:
- To align elements precisely, use the alignment tools available in the “Home” tab.
- Adjust the spacing between lines or paragraphs to enhance readability.
- Select high-quality cardstock paper for printing to ensure durability and a professional finish.
Saving and Printing

Before printing your two-sided business cards, it’s crucial to save your document. To save your work, follow these steps:
- Click on the “File” tab located in the top-left corner of the screen.
- Select “Save As” from the left-hand sidebar.
- Choose a destination folder on your computer and enter a name for the file.
- To ensure compatibility across different software versions, select the appropriate file format, such as .doc or .docx.
- Click the “Save” button to save your document.
To print your business cards, follow these steps:
- Ensure that you have high-quality cardstock paper and a printer that supports two-sided printing.
- Click on the “File” tab and select “Print” from the left-hand sidebar.
- Adjust the print settings as needed, such as the number of copies and the printer preferences.
- Insert the cardstock paper into your printer according to the manufacturer’s instructions.
- Click the “Print” button to start printing your two-sided business cards.
Conclusion
With Microsoft Word’s wide range of features and customizable templates, editing two-sided business cards becomes a simple and straightforward process. By designing and personalizing your business cards using Word, you can create professional-looking cards that reflect your brand identity and leave a lasting impression on potential clients or business partners. So, unleash your creativity, follow the steps outlined in this article, and get ready to network in style with your customized two-sided business cards.
Olivia Reynolds, a marketing maven, is passionate about the impact of graphic design on brand success. Her love for outdoor adventures and travel fuels her fresh perspective on the importance of visual aesthetics in business cards and branding.